Physical Address
304 North Cardinal St.
Dorchester Center, MA 02124
Physical Address
304 North Cardinal St.
Dorchester Center, MA 02124
A detailed list off the products and colors we used is at the end of this article.
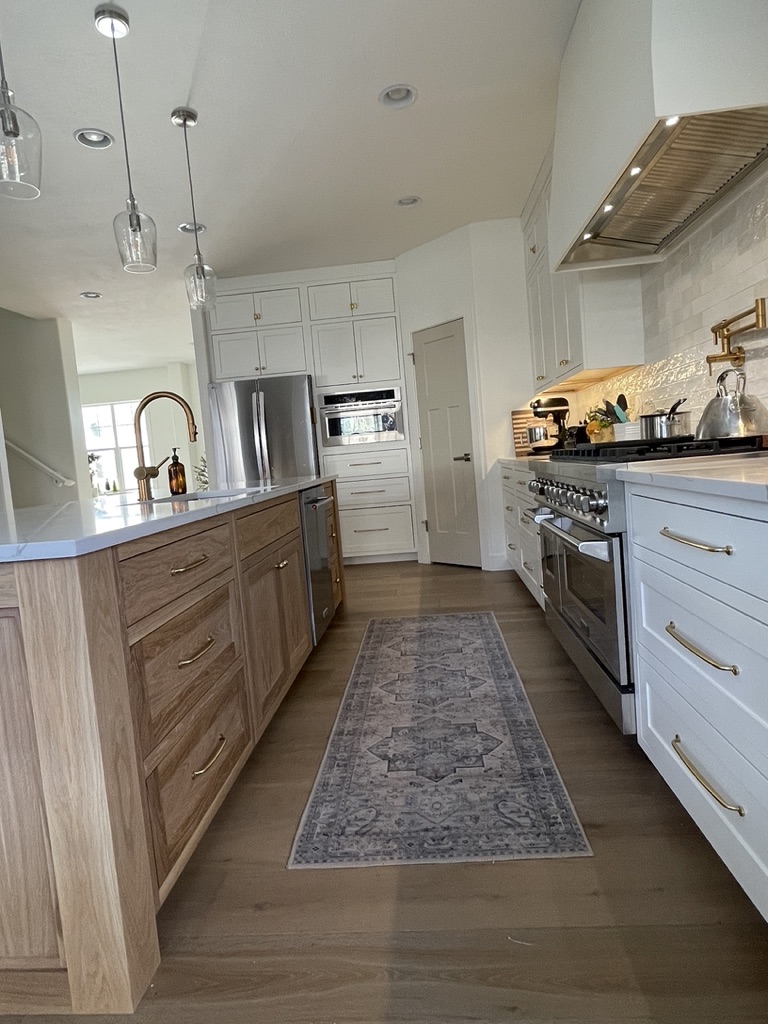
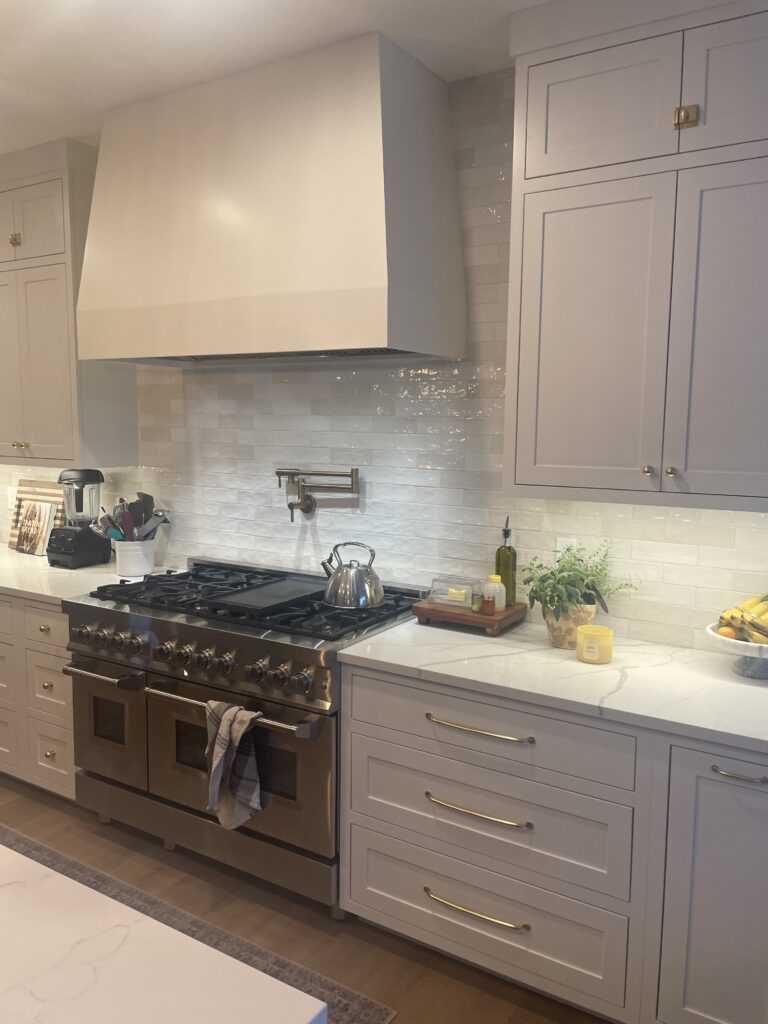
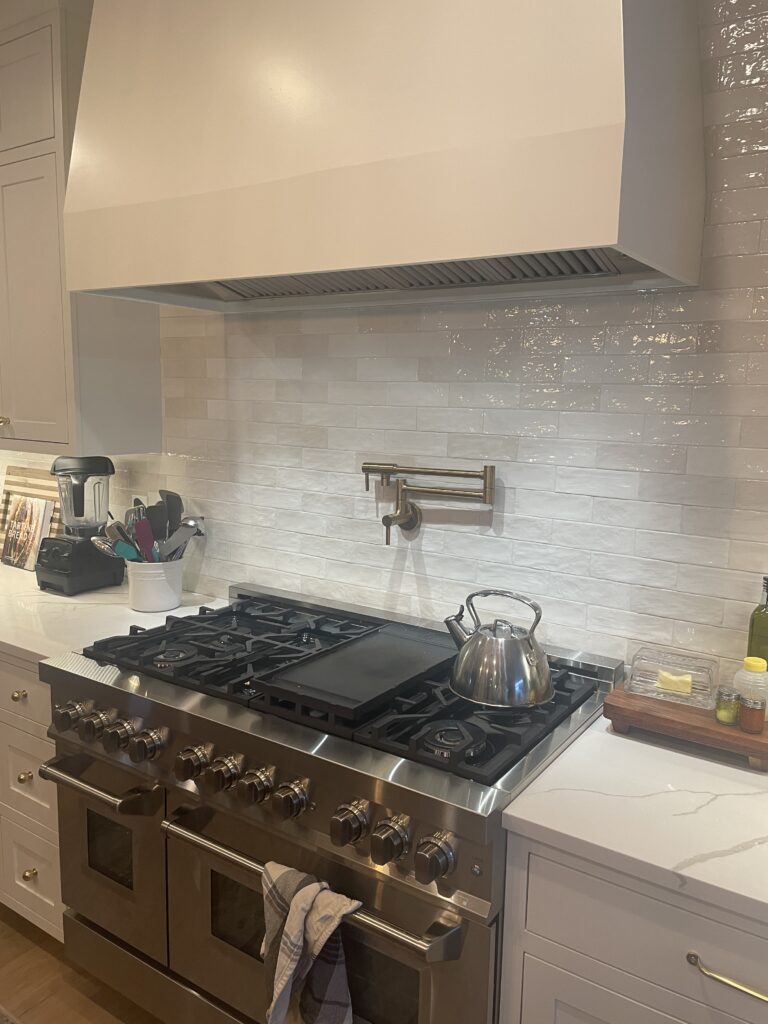
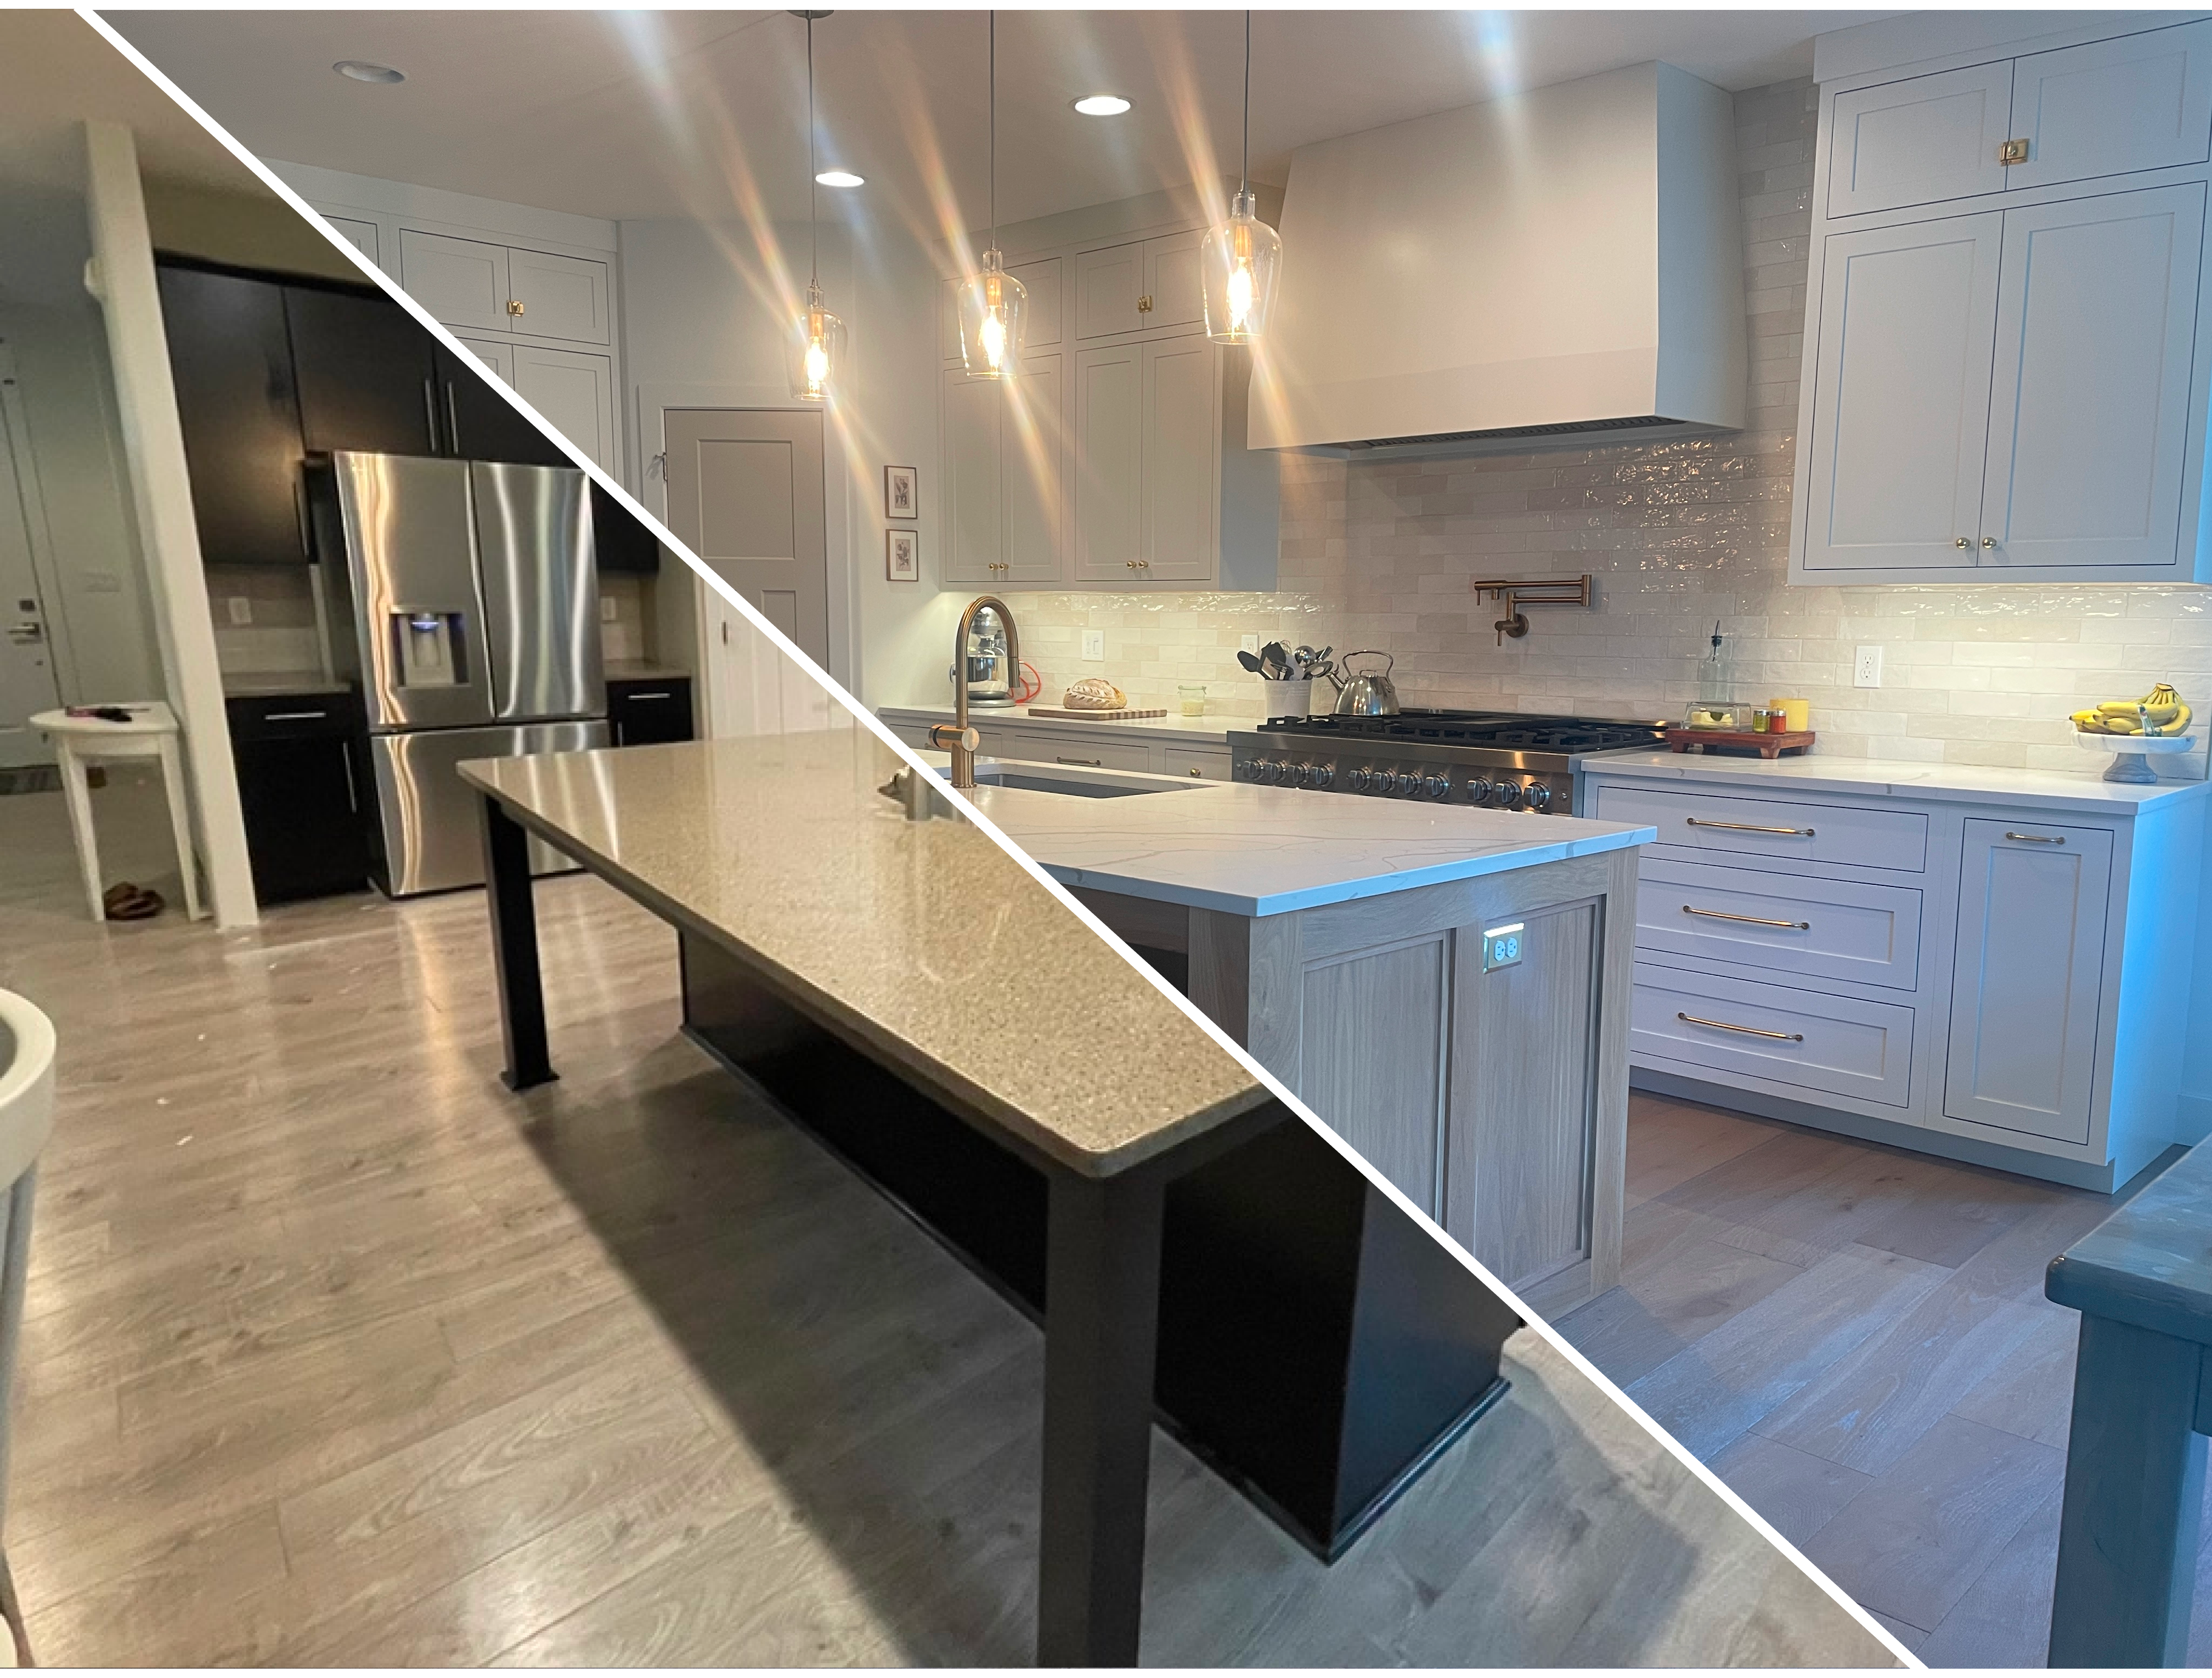
We tore out our kitchen that was only seven years old! That “before” photo might be deceiving – the cabinets were showing their age, with drawer fronts and bottoms needing frequent repairs. One of the wall cabinets was even starting to detach, which was a safety concern. The laminate floor was also wearing down, and the planks never seemed to stay in place. Beyond that, the kitchen just wasn’t very functional. There wasn’t enough counter space or drawers, making cooking and organizing a challenge.
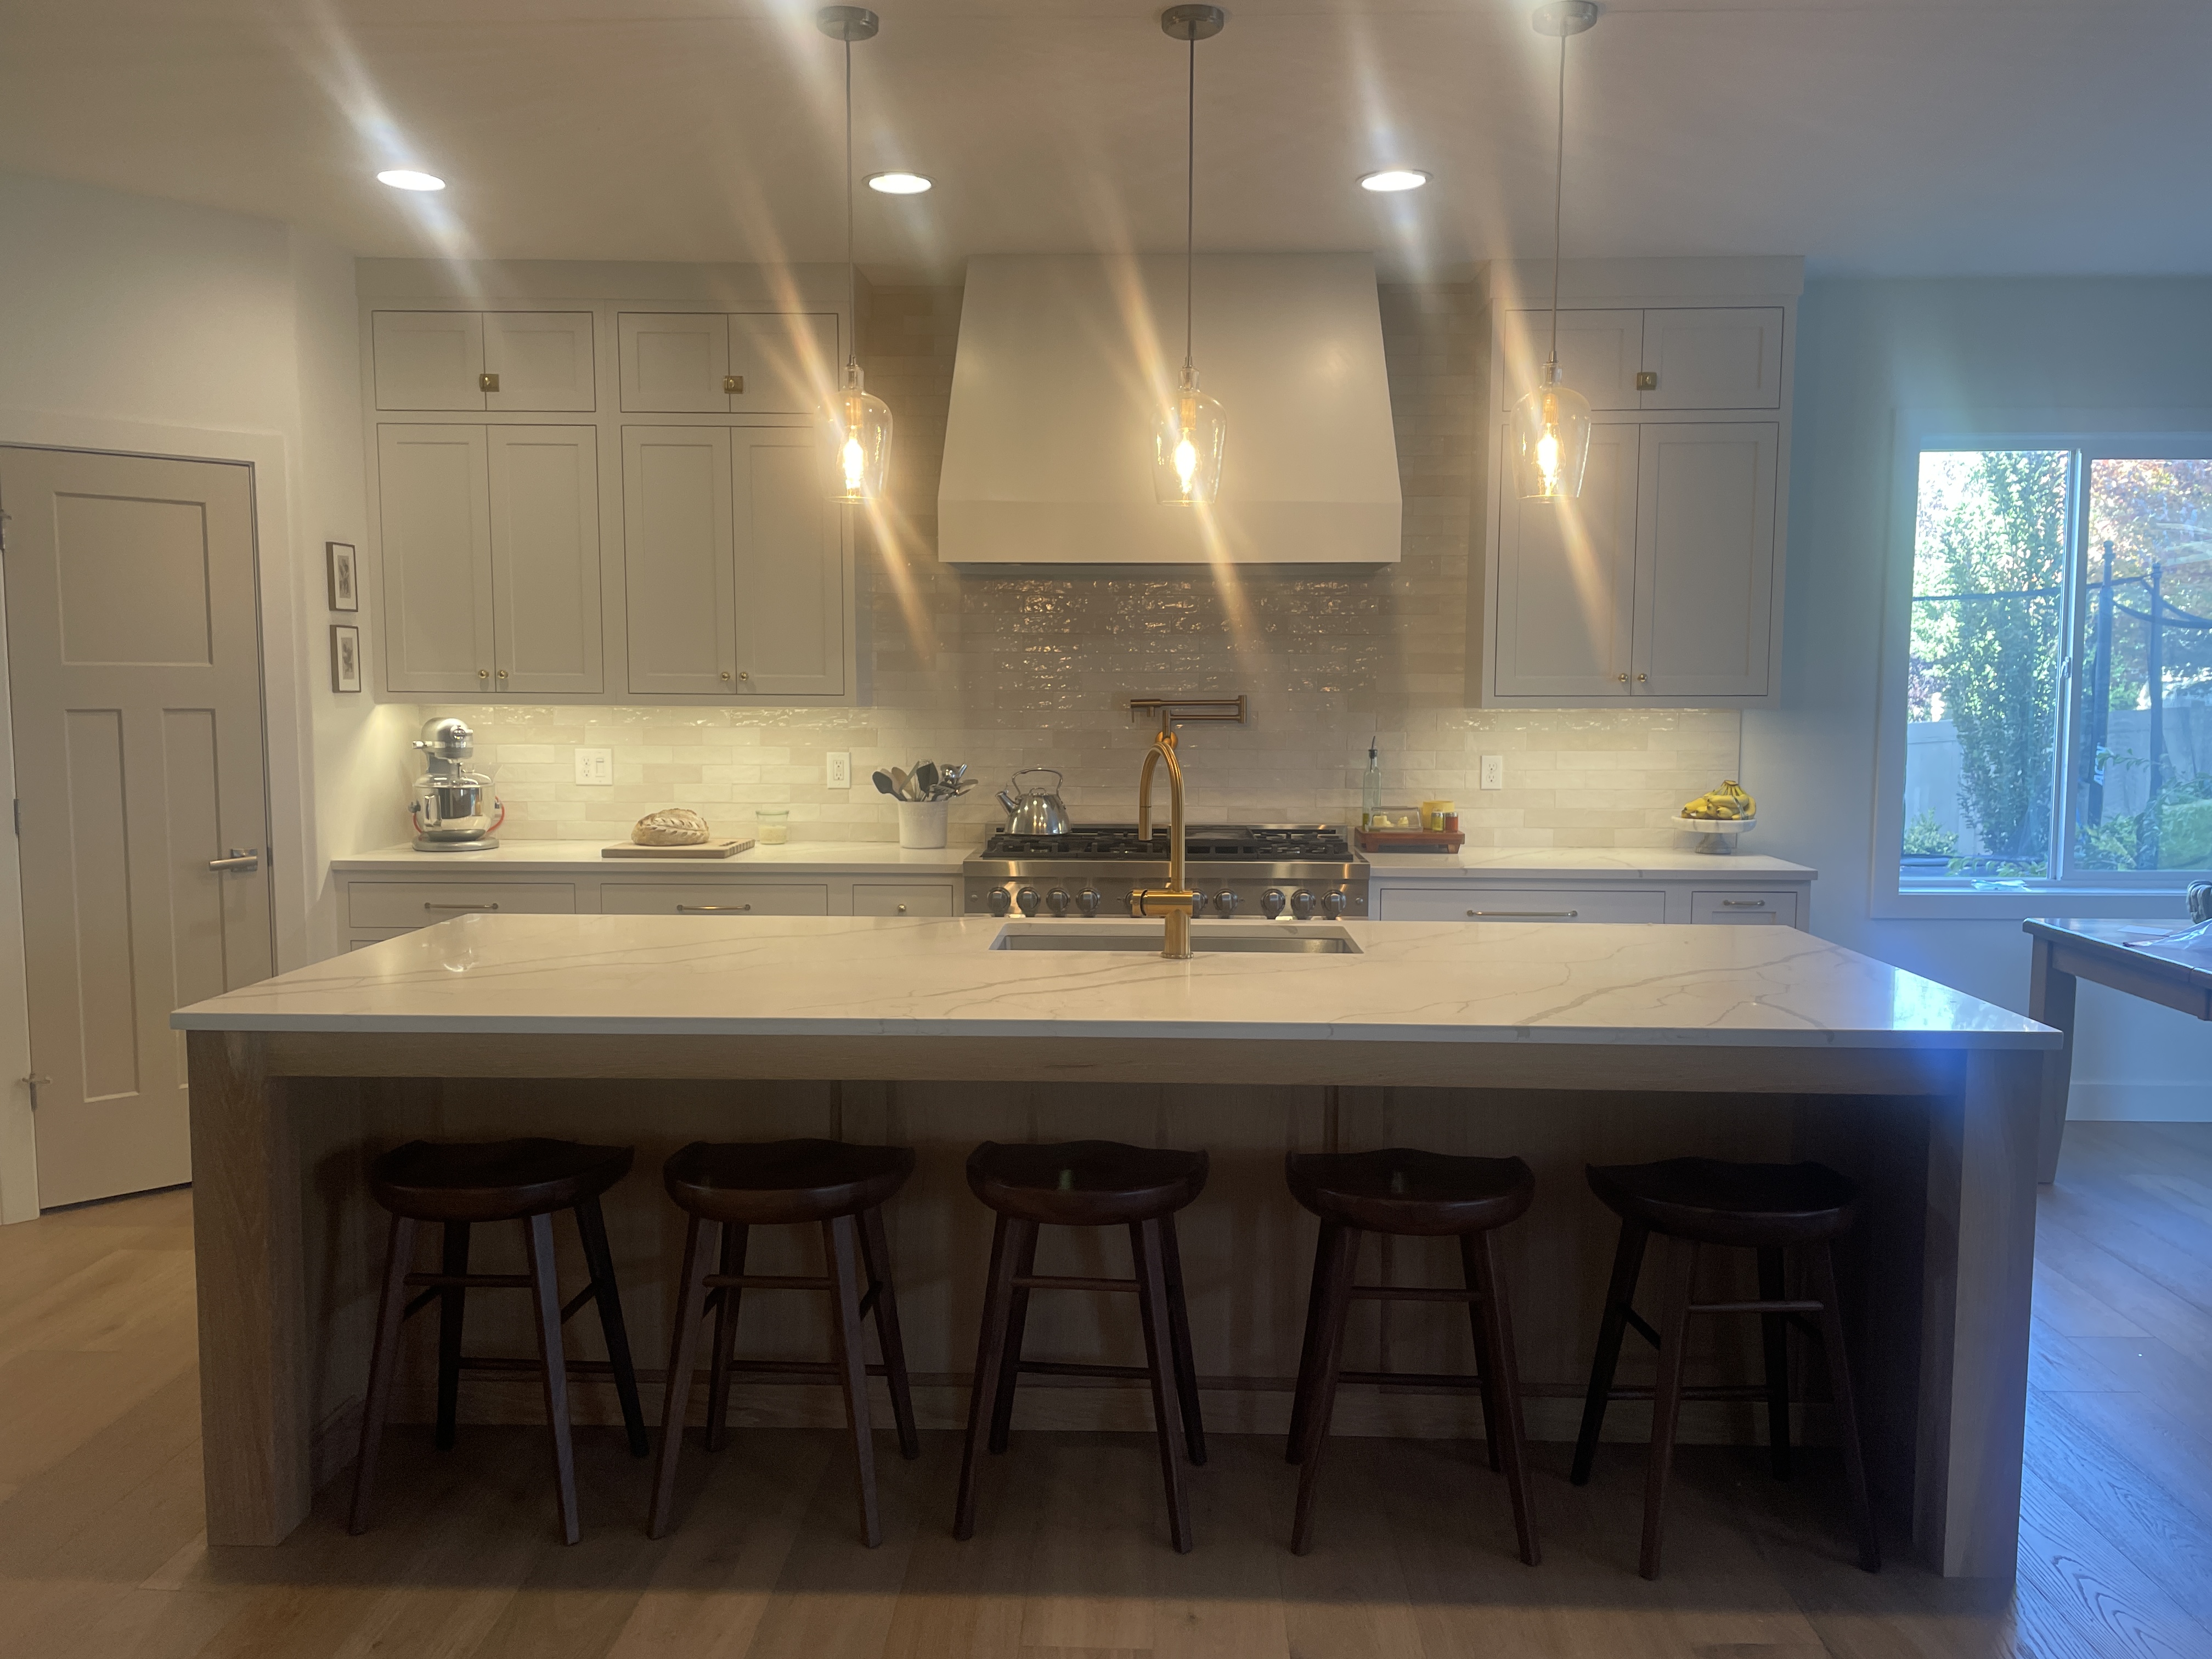
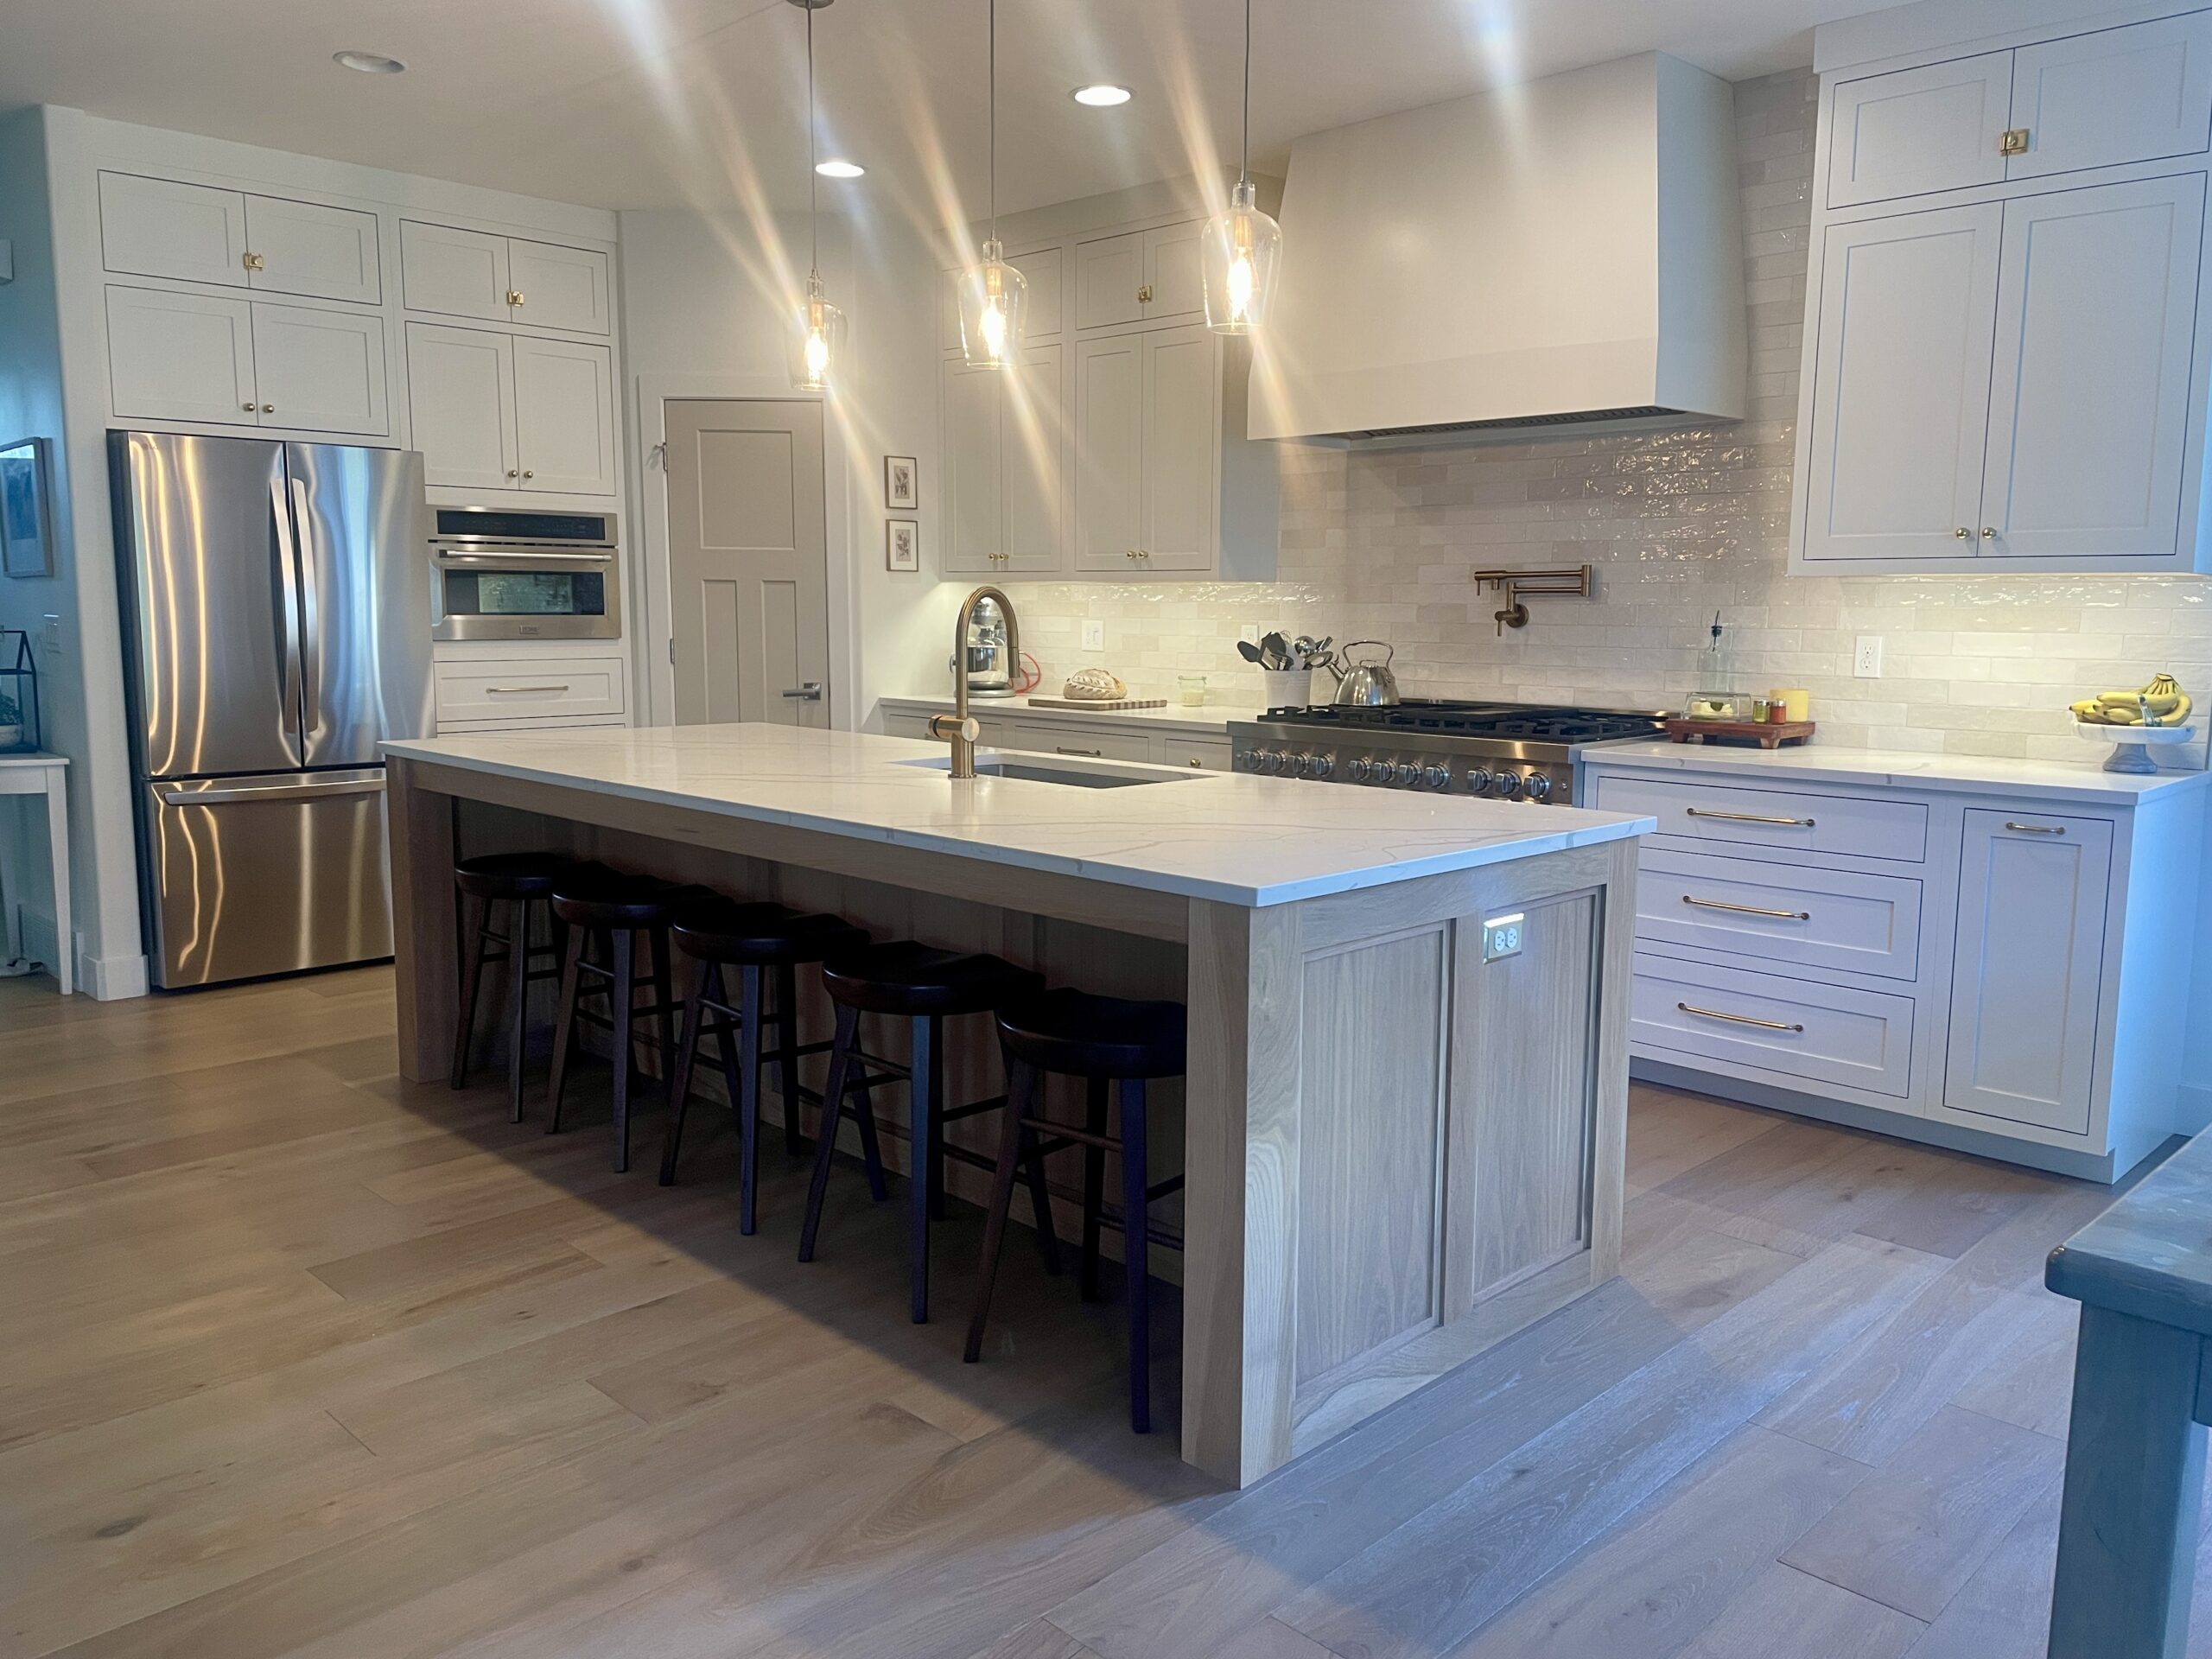
We were ready for a change – a kitchen that was both beautiful and practical. Our goal? To build a brand new, high-quality kitchen entirely from scratch, all while sticking to a budget.
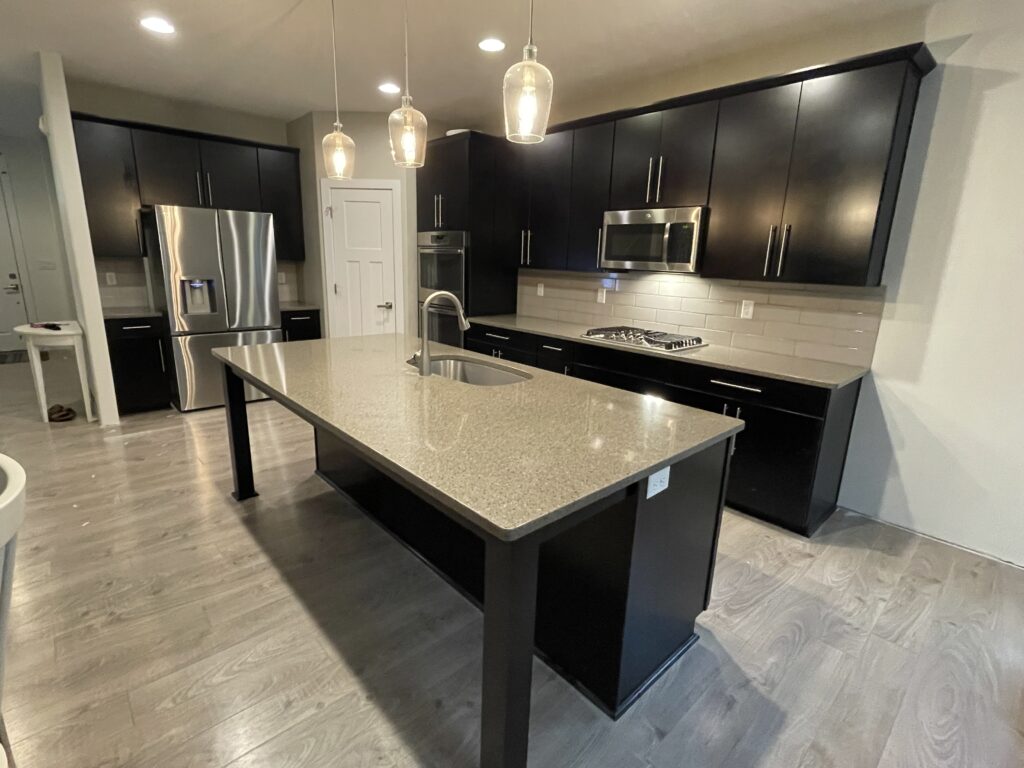
From a distance, the old kitchen looked just fine, but it was falling apart. It was all builder-grade particle board and was not holding up the to abuse my family put on it. Drawer fronts had fallen off and been reattached. The bottom of the drawers were falling out. The flooring was sliding out of place and surface wearing through. On top of that, we wanted a brighter space—we spend the majority of our time in the kitchen.
Planning: Before diving headfirst into demolition, I needed a plan. The plan was to build everything in the garage, and then take a week off of work to demo and install. So, I started by drawing up the space using Sketchup on my iPad with the Apple Pencil, I created a detailed 3D model of our existing kitchen. This allowed me to experiment with different layouts and visualize how the new design would look. I measured it to the faction of an inch, ensuring my digital model was an exact replica of the real thing. This step was crucial for accurate planning and avoiding costly mistakes later on.
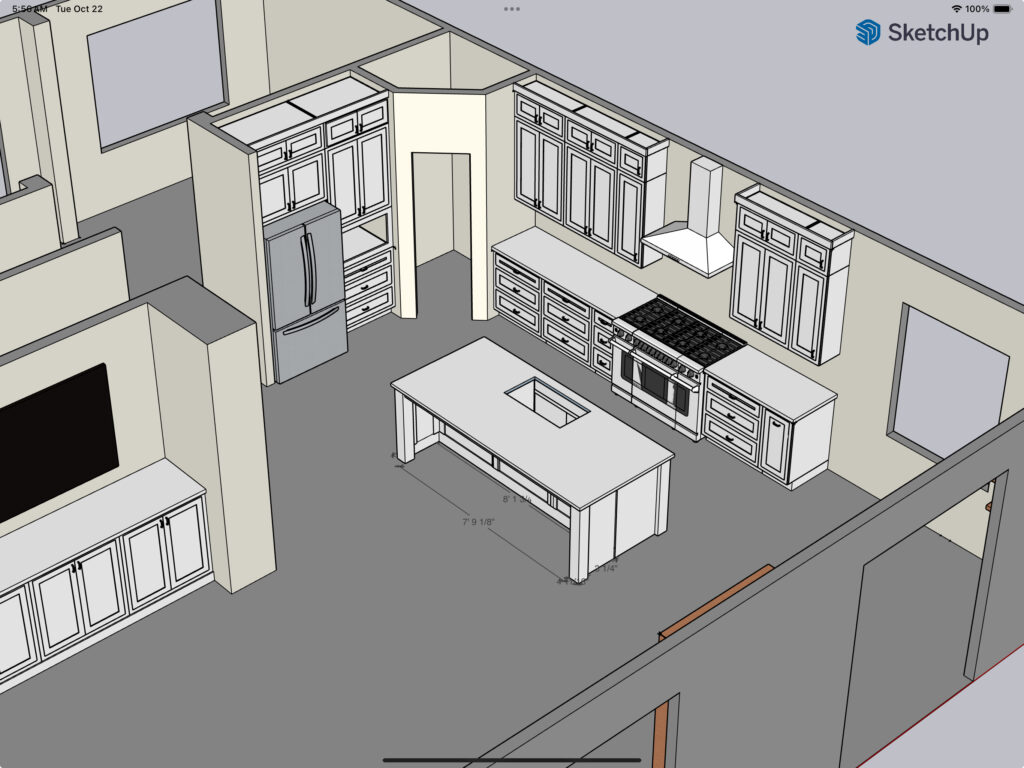
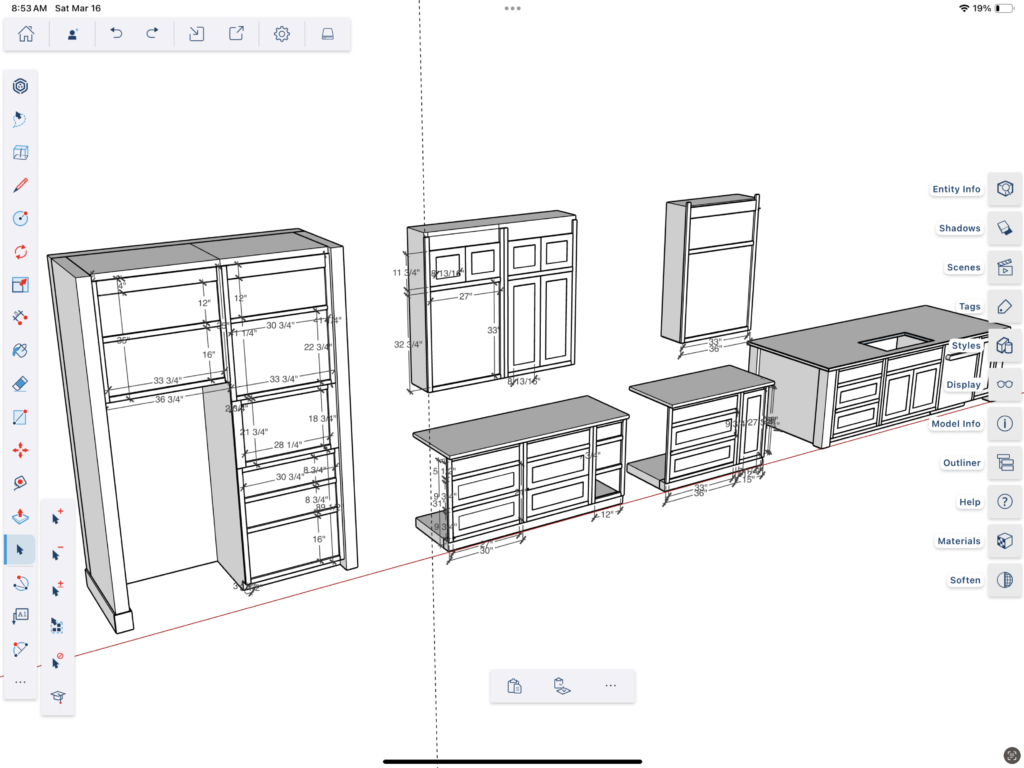
Detailed Building Plans. With the overall design in place, it was time to get specific. I translated the 3D model into detailed building plans, meticulously outlining the dimensions for each cabinet, drawer front, and door. These plans proved to be very helpful! All I have to do is built it to match exactly. No pressure! 😅
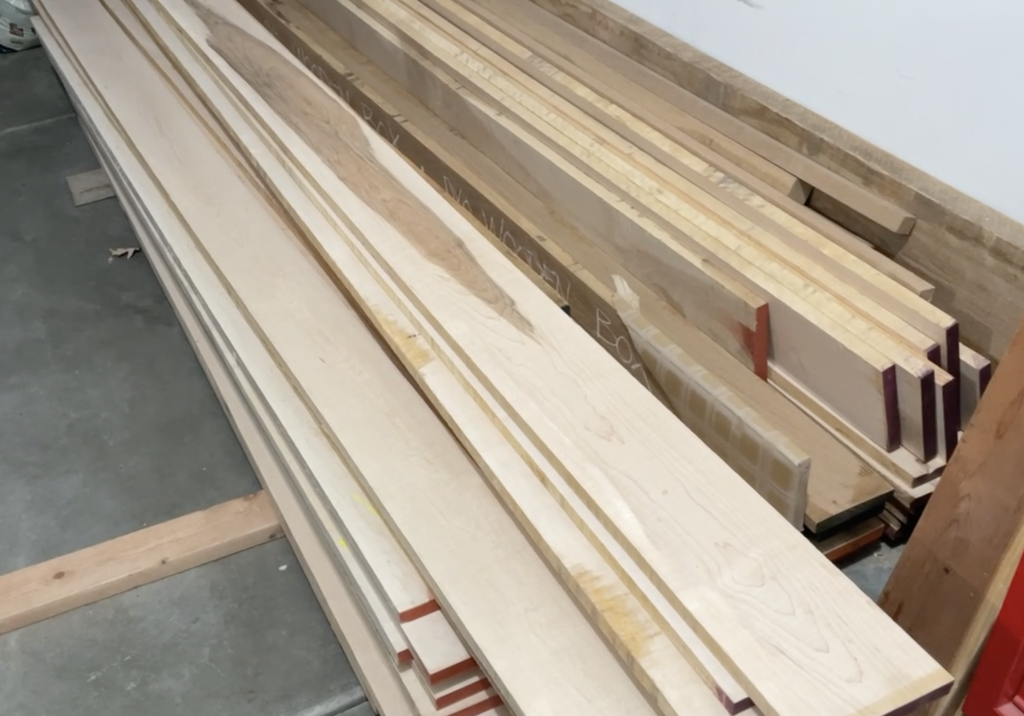
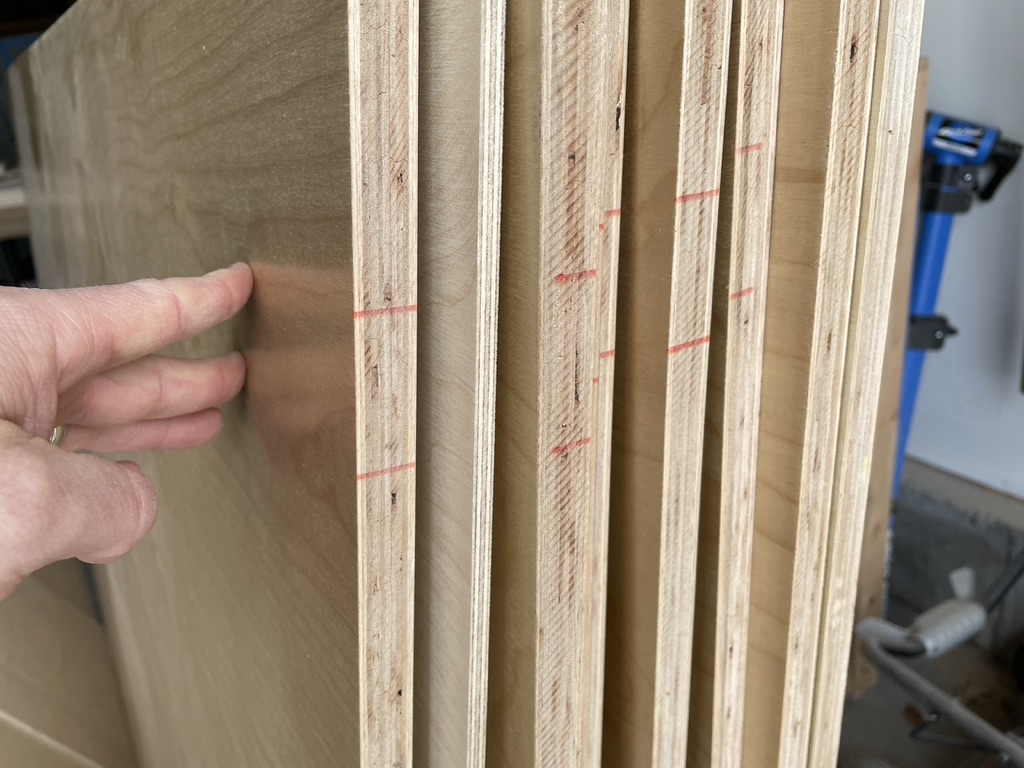
Building: This was my first experience building kitchen cabinets, and I’ll admit, it was intimidating. I remember that initial trip to the lumber store, spending close to $1500 and staring at the mountain of plywood and lumber, wondering how I’d ever transform it into the kitchen we’d envisioned.
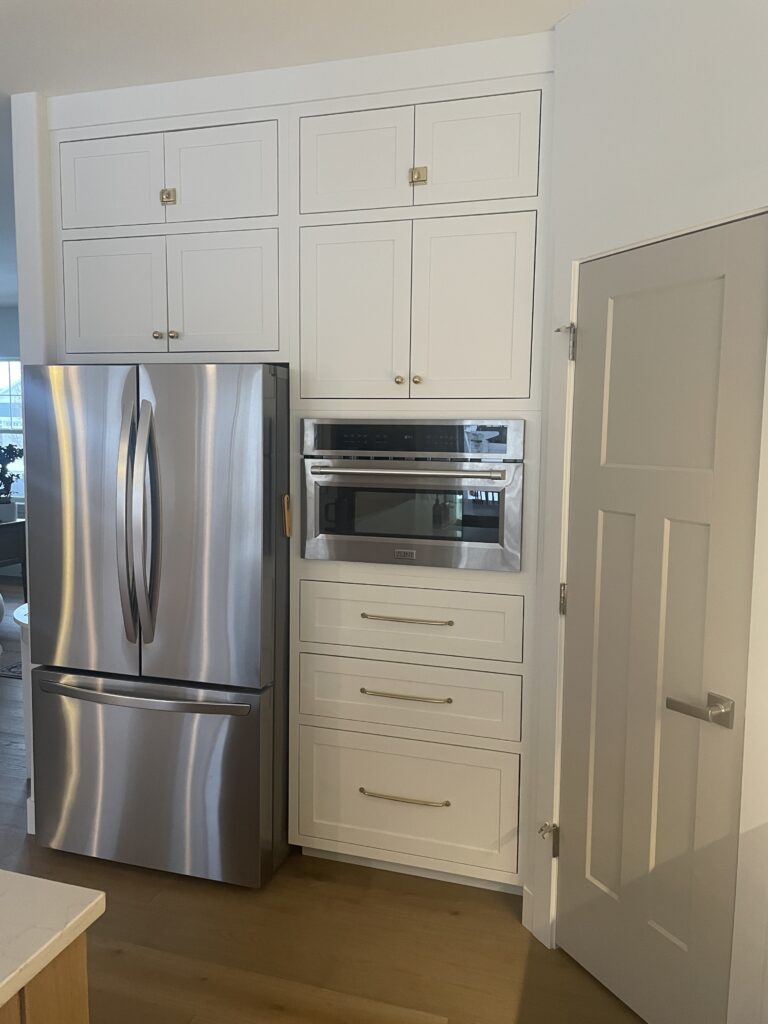
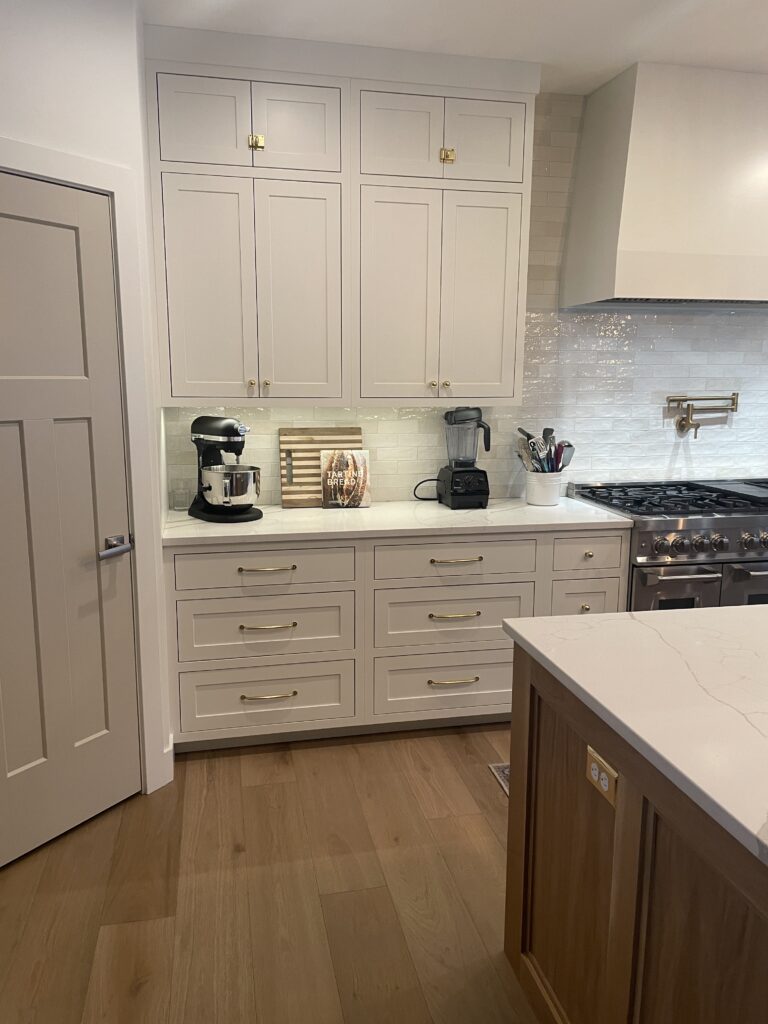
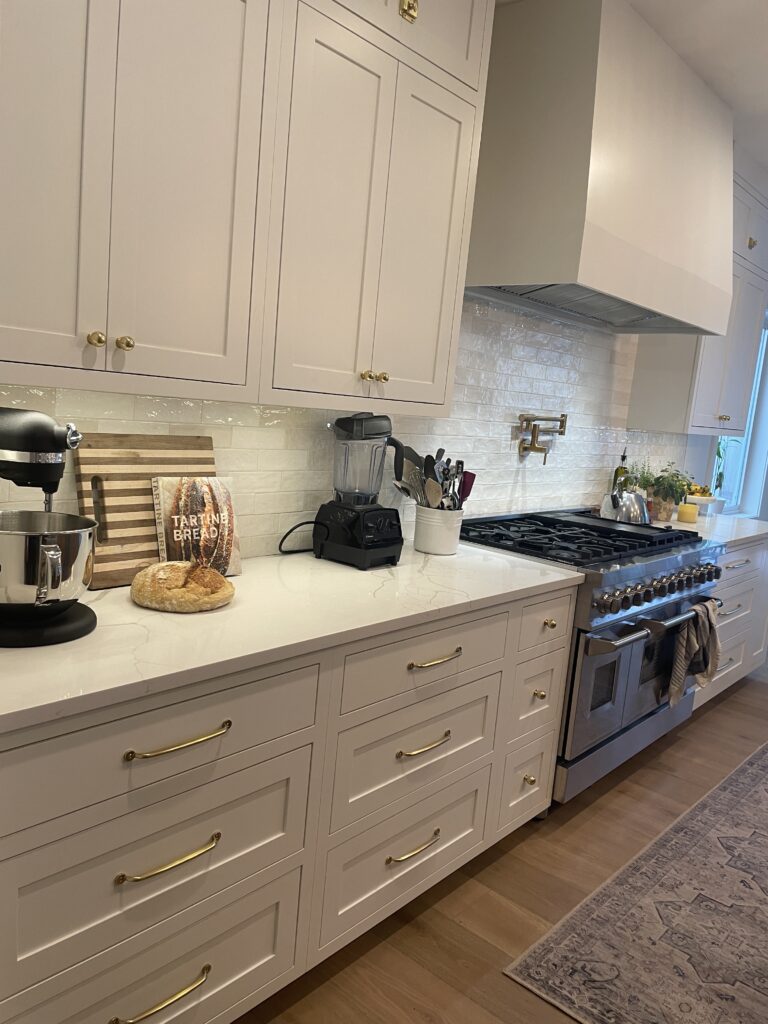
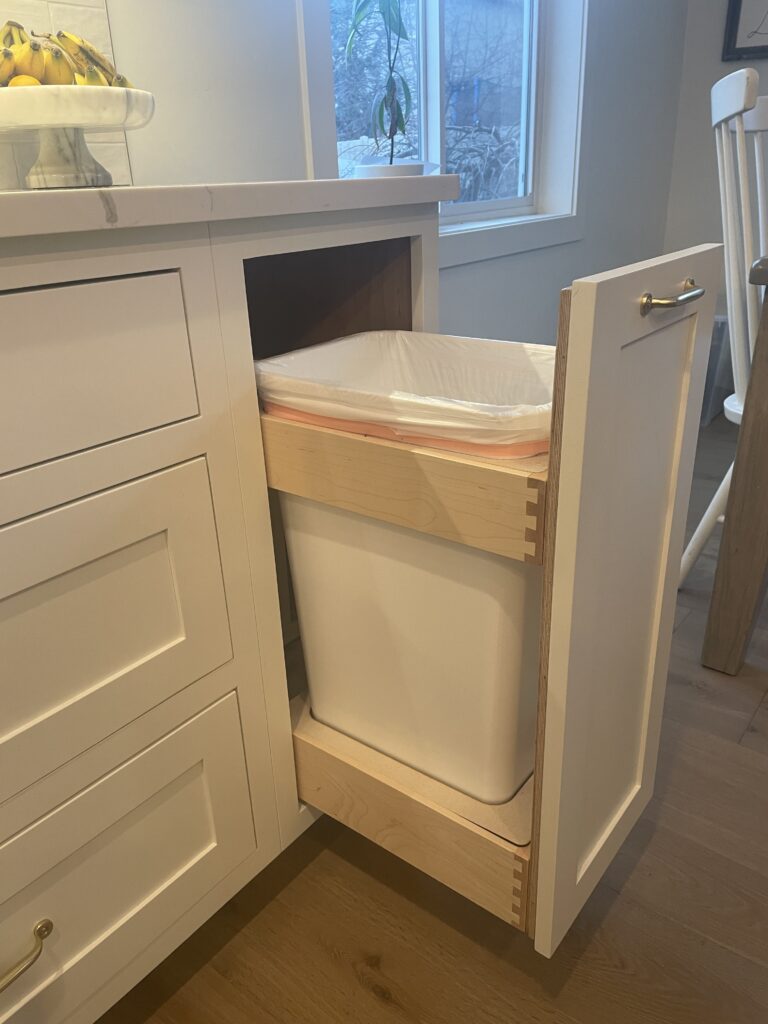
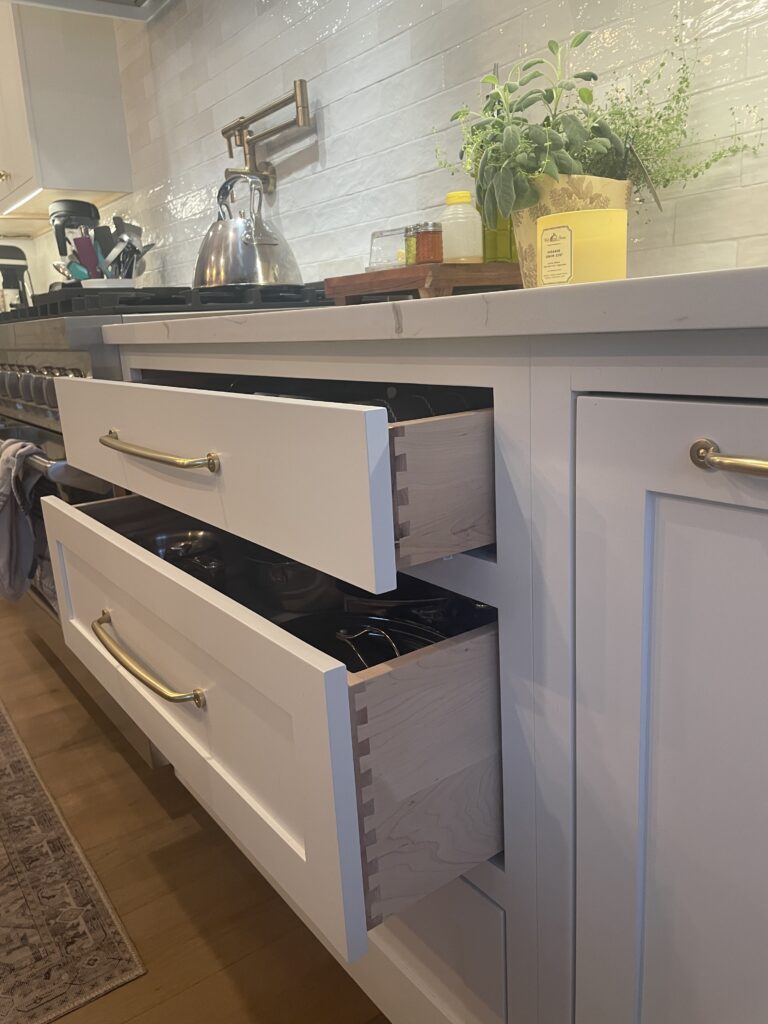
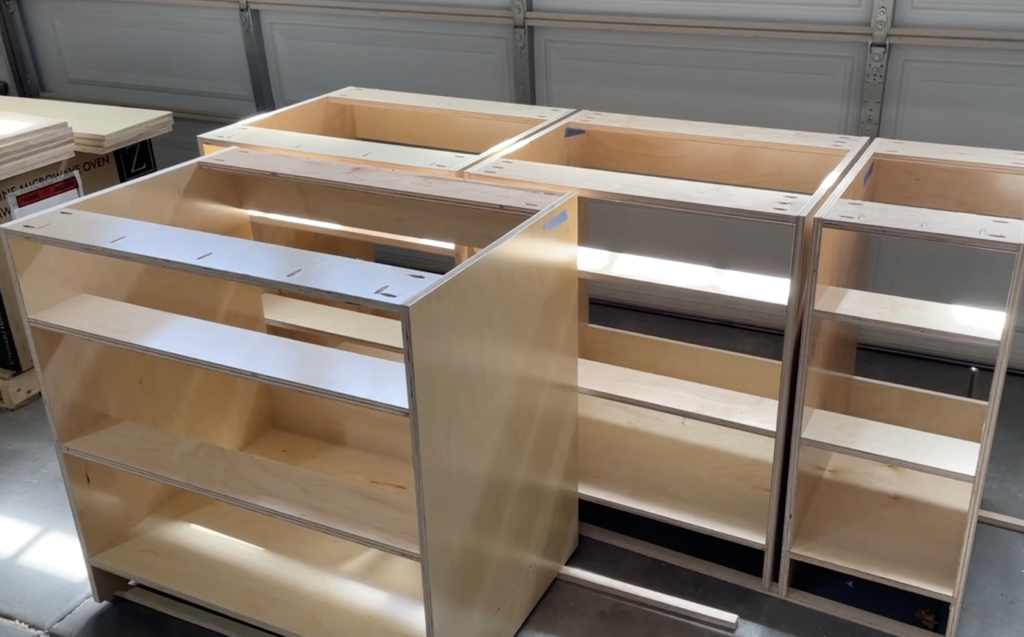
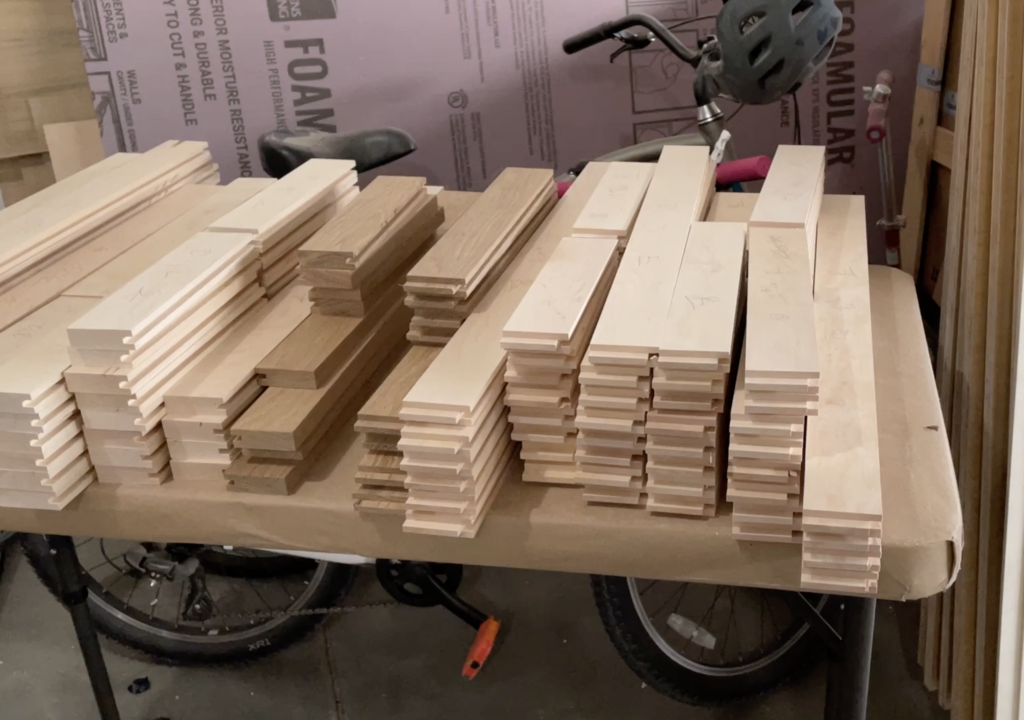
I built everything from scratch: the cabinet boxes (also known as carcasses), the dovetail drawer boxes, the face frames, and all the door and drawer fronts. To make sure everything fit together as planned, I did a dry fit before moving on to the finishing stages. This is where I discovered a couple of doors were the wrong size – annoying, but much better to catch it then than after painting!
One of the things I stressed about was getting the most use out of each sheet of plywood because they are so expensive. I found this site to be my go to for planning my cuts: https://www.opticutter.com/. You can plug in the sizes and grain direction for each of your cuts and it will fit the most cuts into each board. This helped a lot!


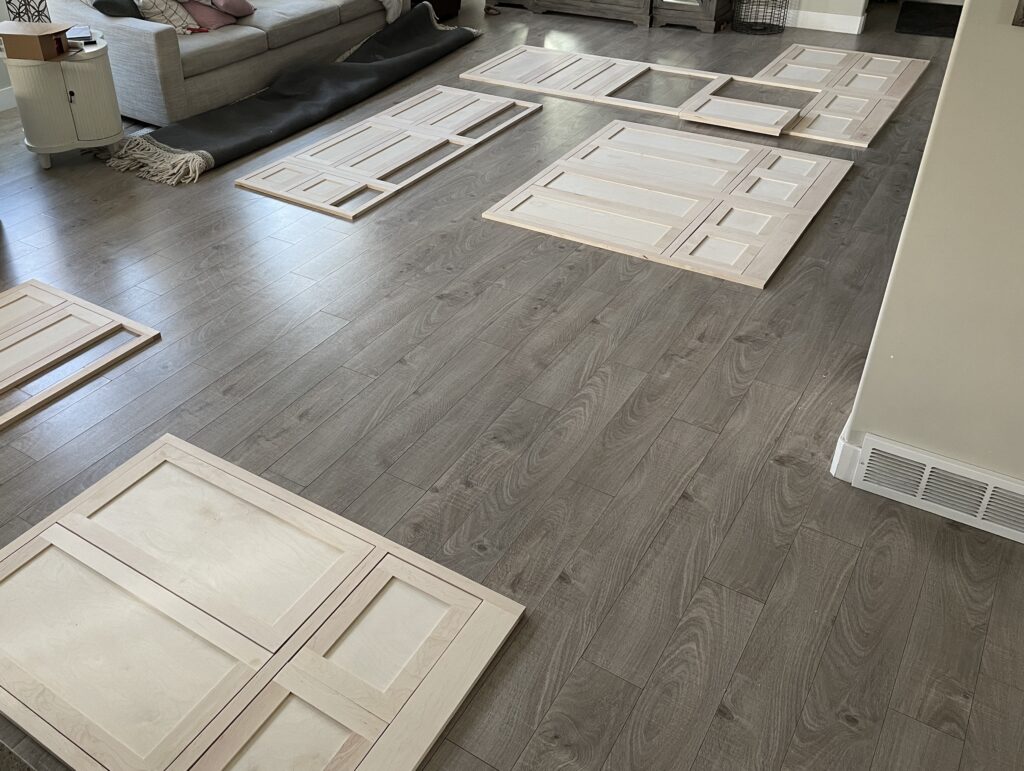
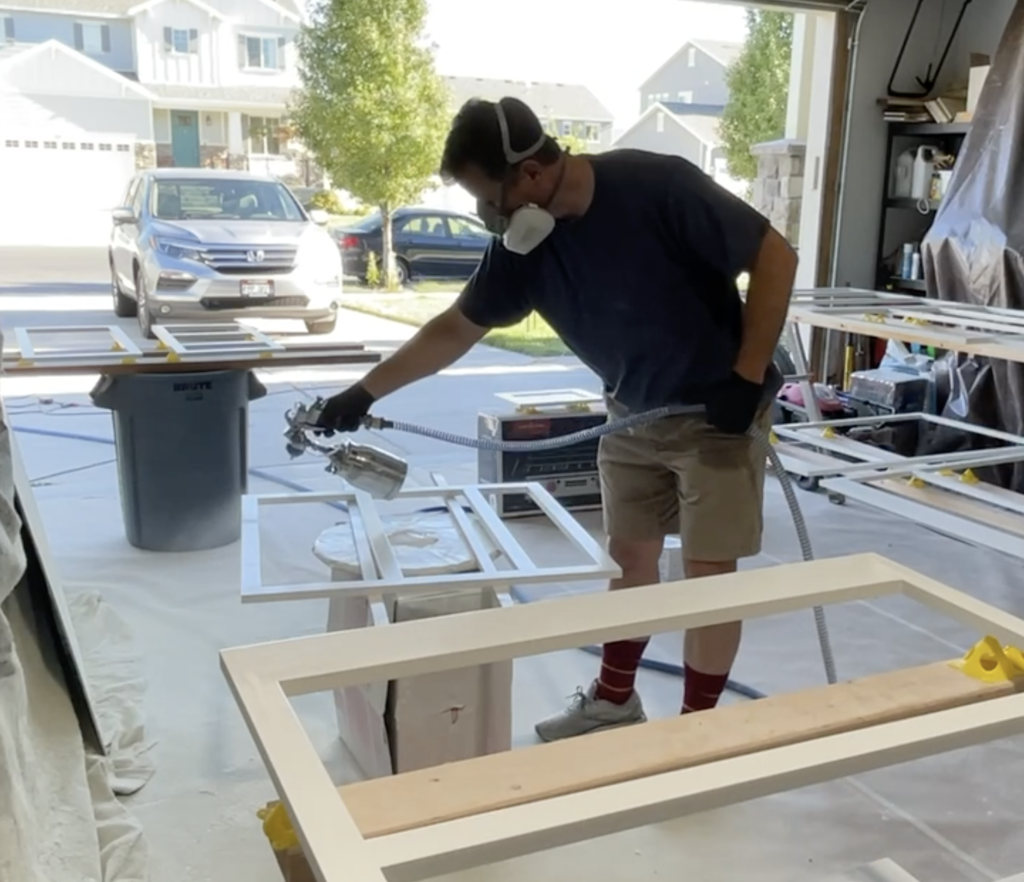
Painting and Staining: We wanted a finish that was both beautiful and durable, so after extensive research, I chose tinted conversion varnish for the cabinets. I’ll admit, I used to think conversion varnish was just a clear topcoat, but it turns out it can be tinted to any color and provides a hard, smooth finish all on its own. I picked up the conversion varnish from a Sherwin Williams professional store (their regular locations don’t carry it). After sanding all the wood to 220 grit, I sprayed on three coats – no primer or topcoat needed!
A word of caution: this stuff is potent, so make sure to wear a respirator. It also requires mixing with a catalyst, but don’t worry, it’s not complicated. I have another article that covers the process in detail.
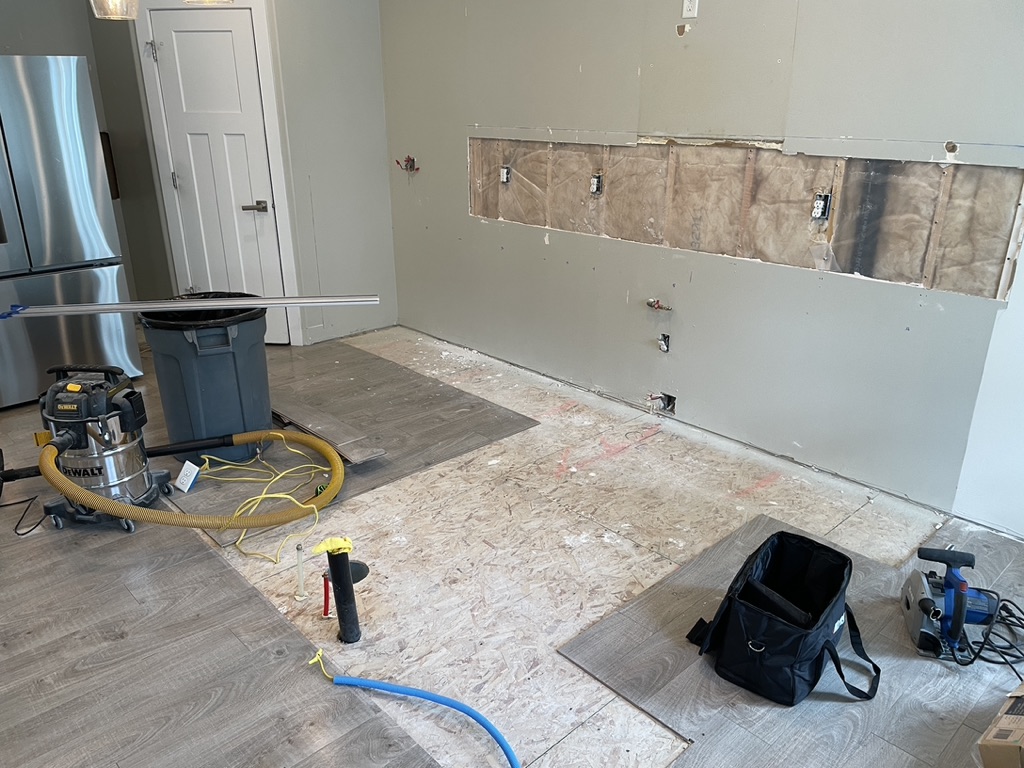
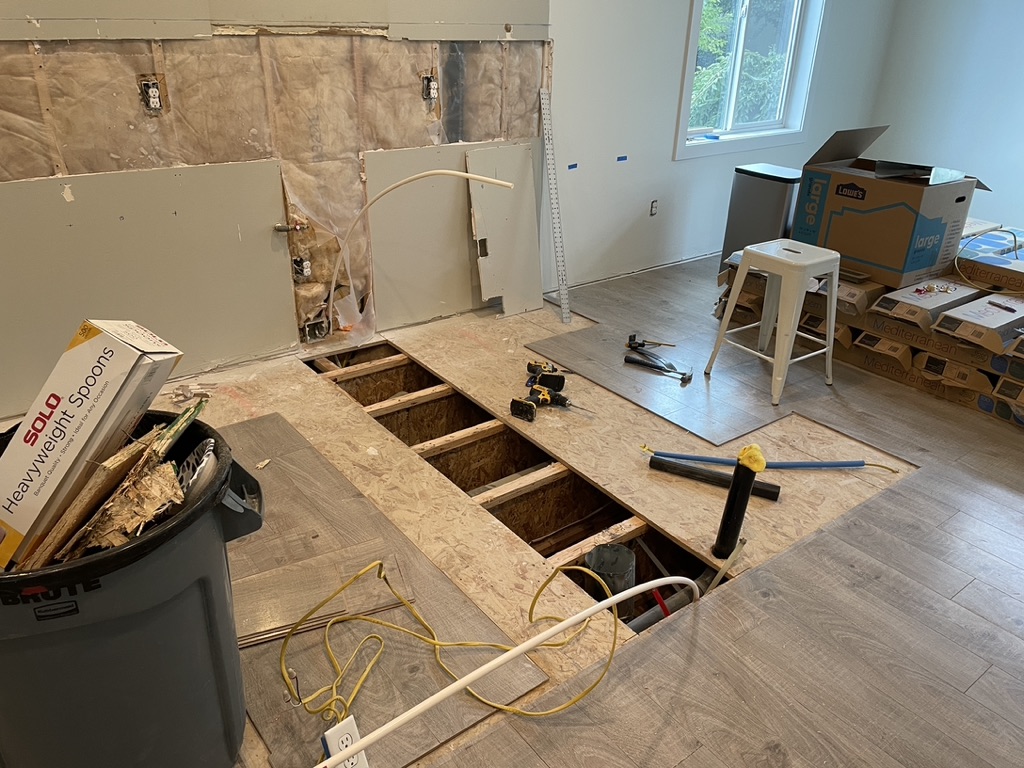
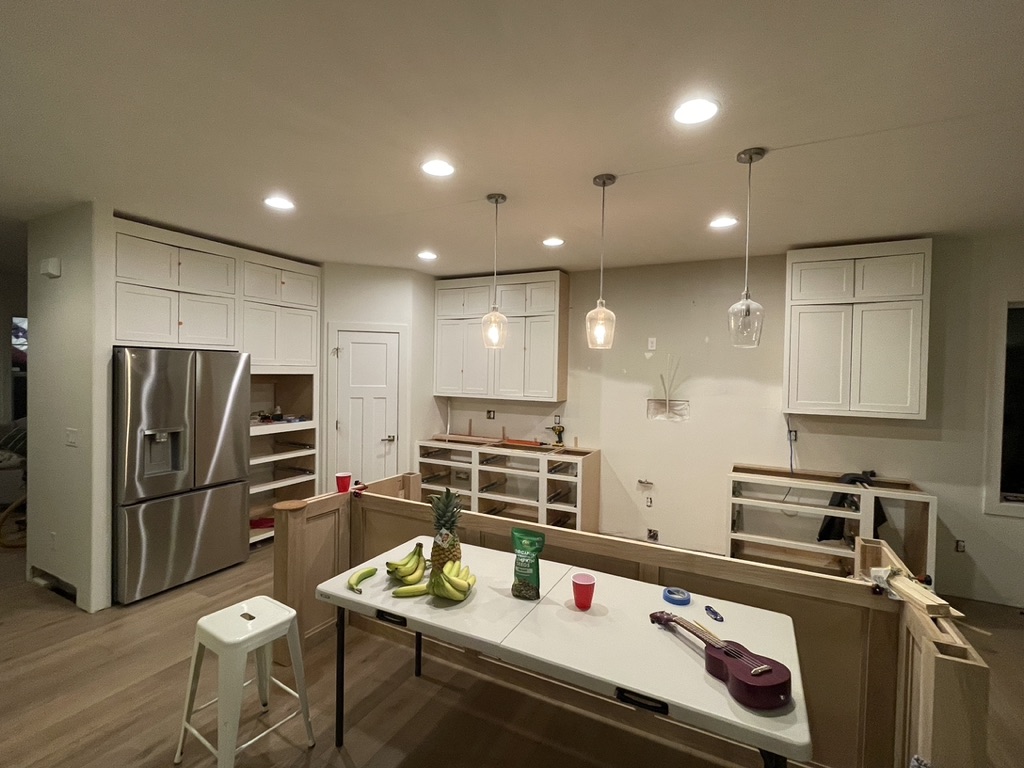
Demo and Installation: After months of planning and building, it was finally time to bring the vision to life! With the cabinets finished and ready to go, we began by demolishing the old kitchen. Then came the installation phase. Before bringing in the new cabinets, we painted the walls, installed the new flooring, moved some electrical outlets, and prepared the plumbing for the pot filler.

If you’ve ever watched a home renovation show, you know the drill: a team of experts swoops in, demolishes a kitchen, and magically transforms it into a masterpiece within a 30-minute episode. Ours didn’t go like that at all!
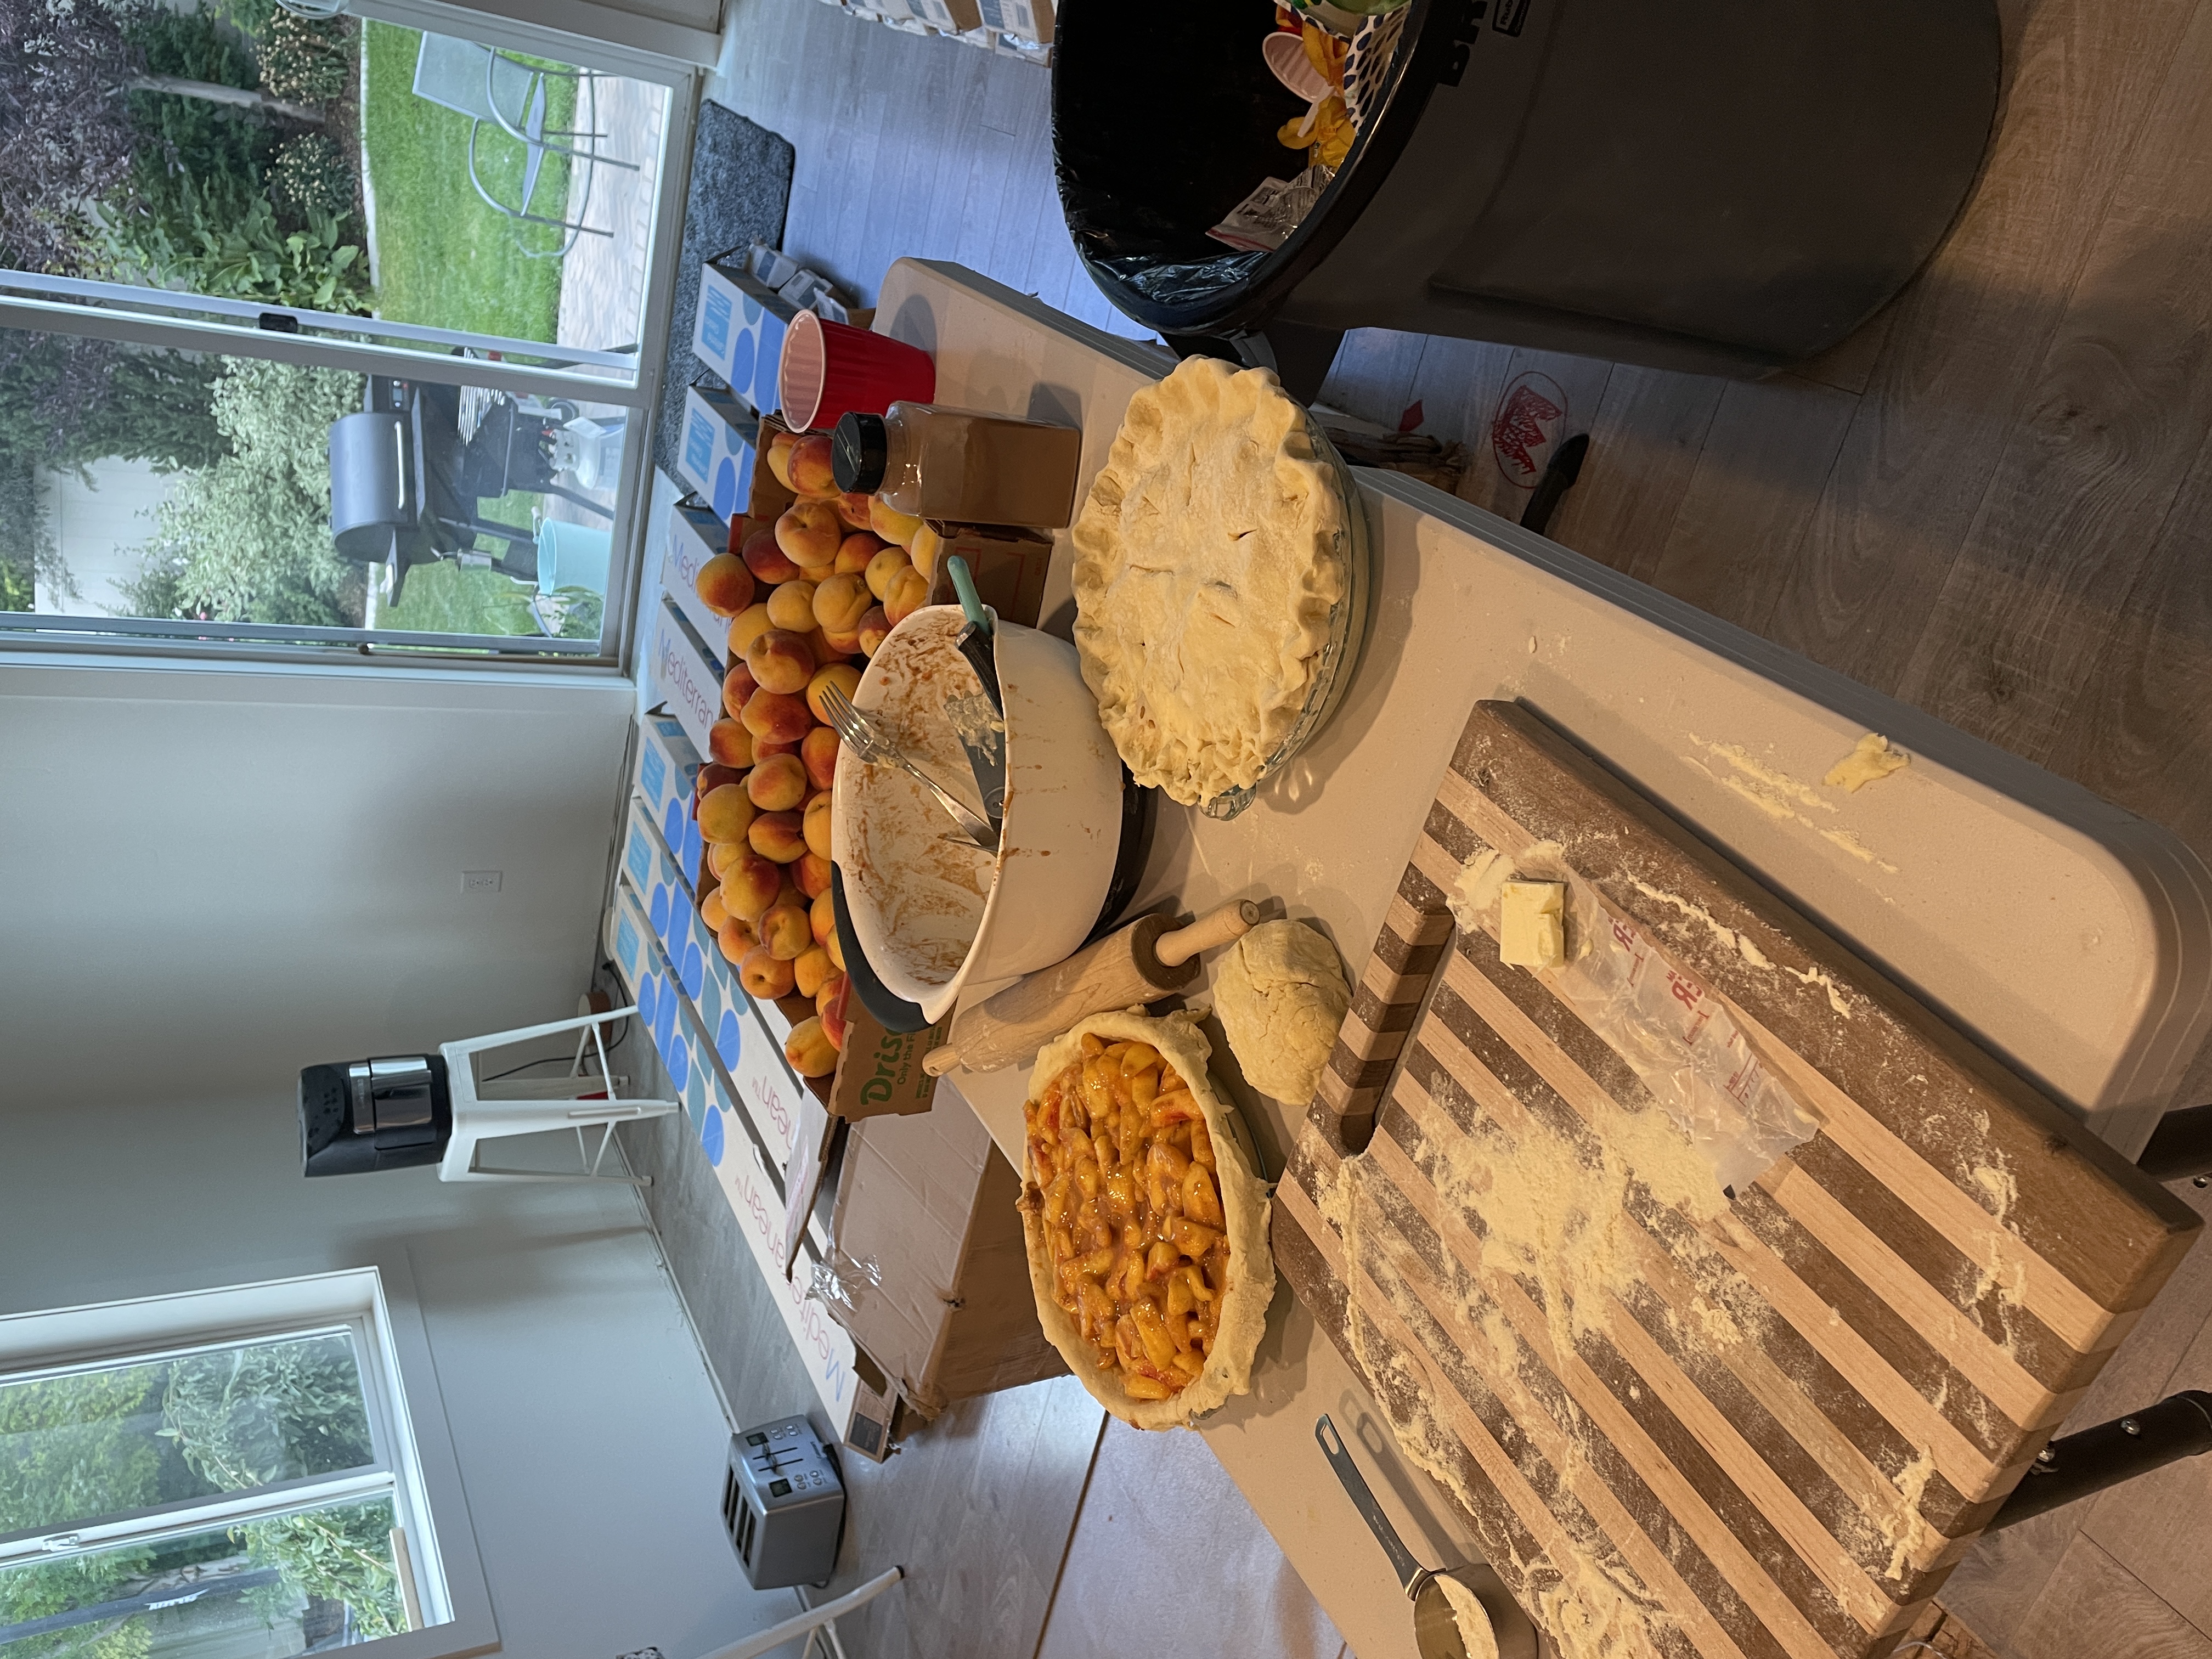
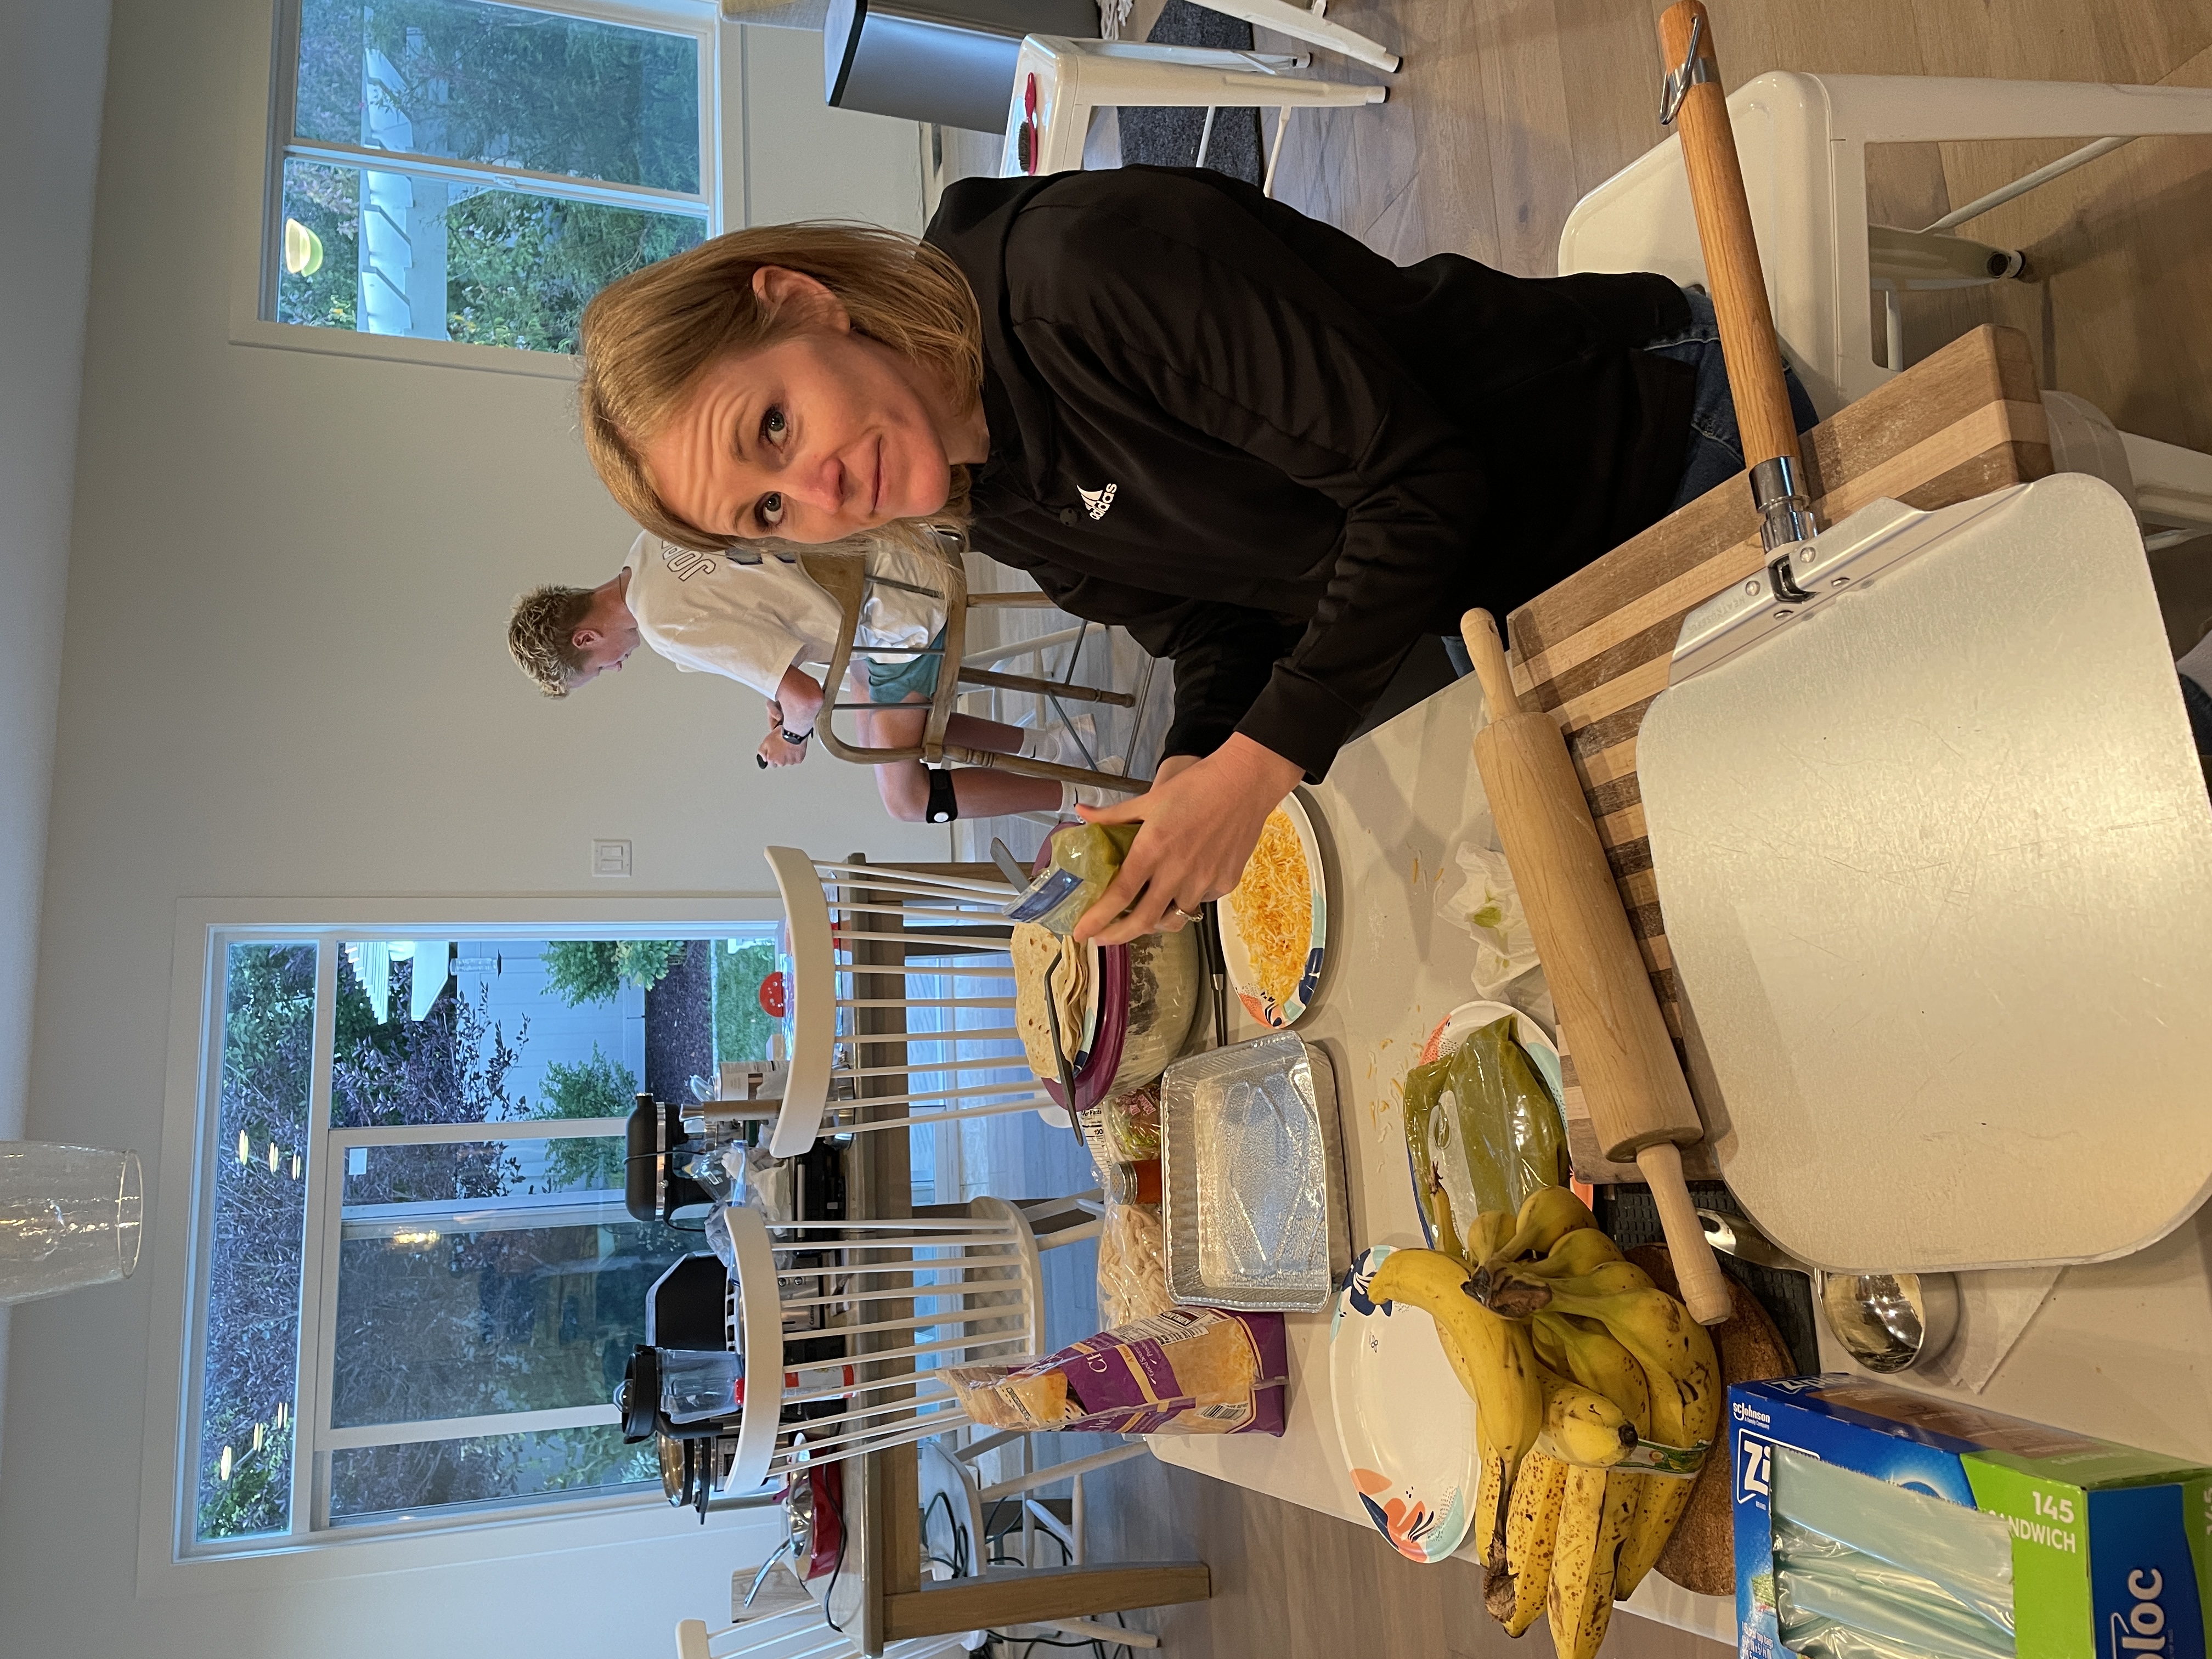
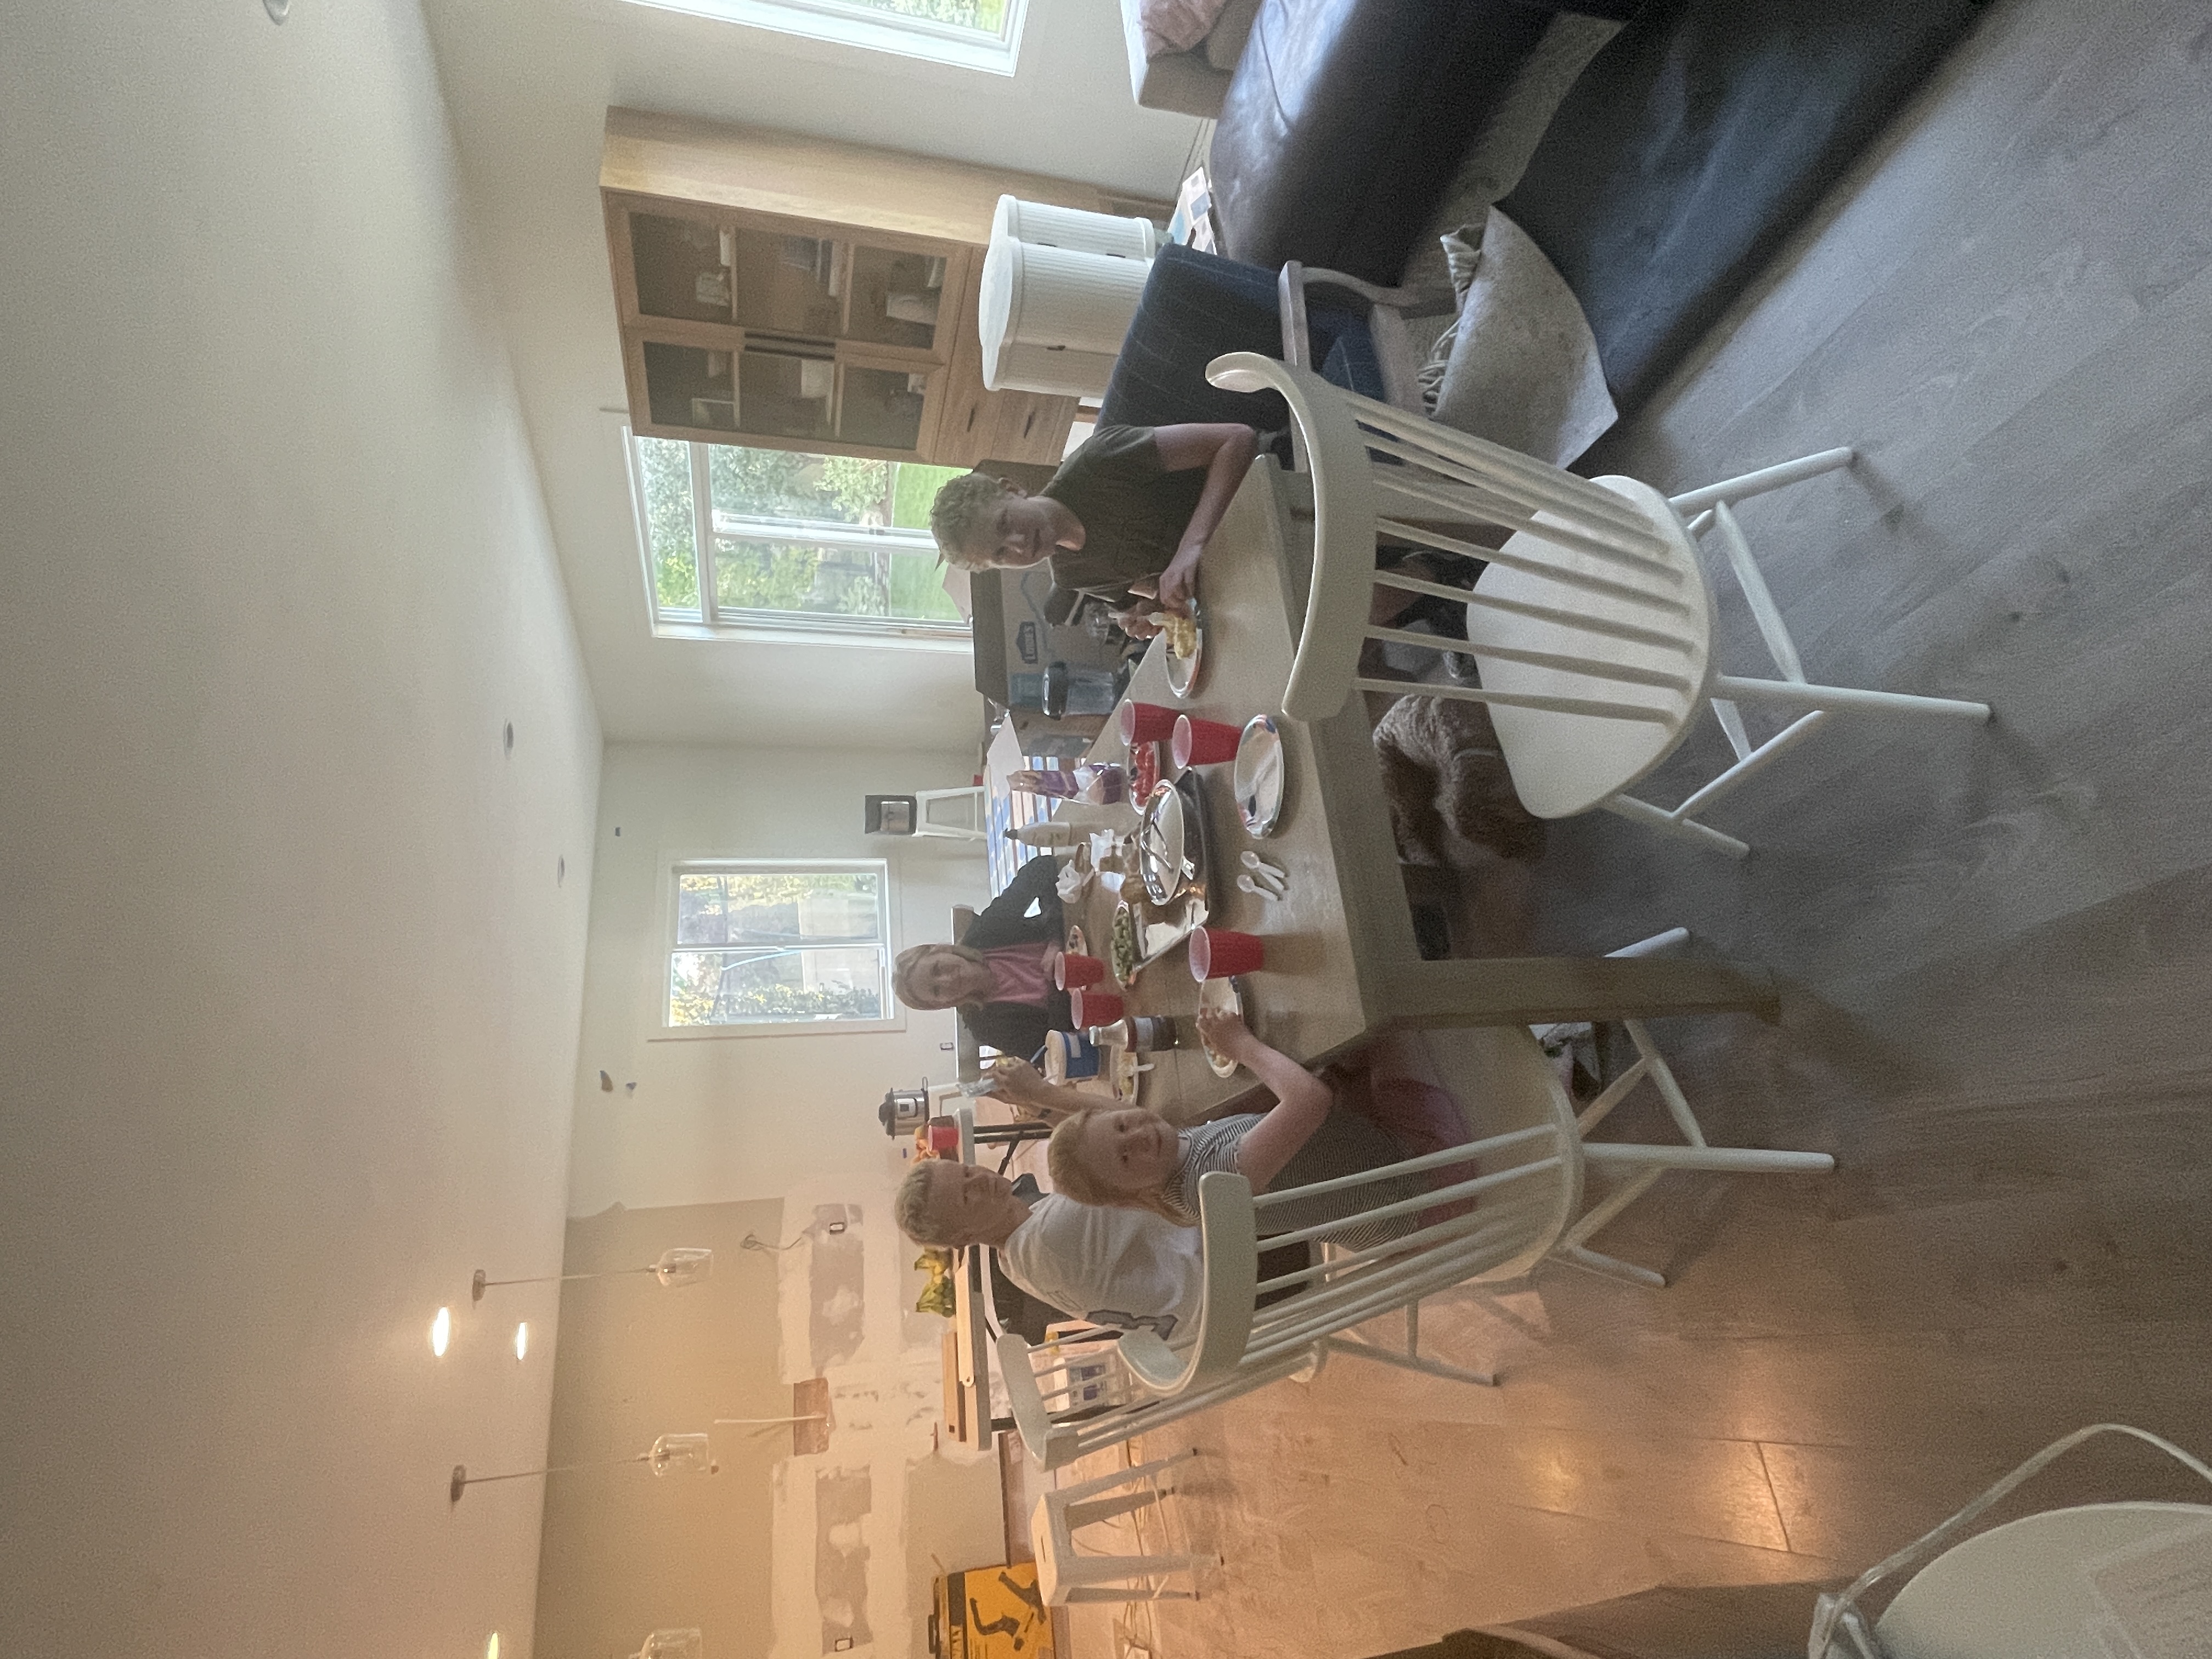
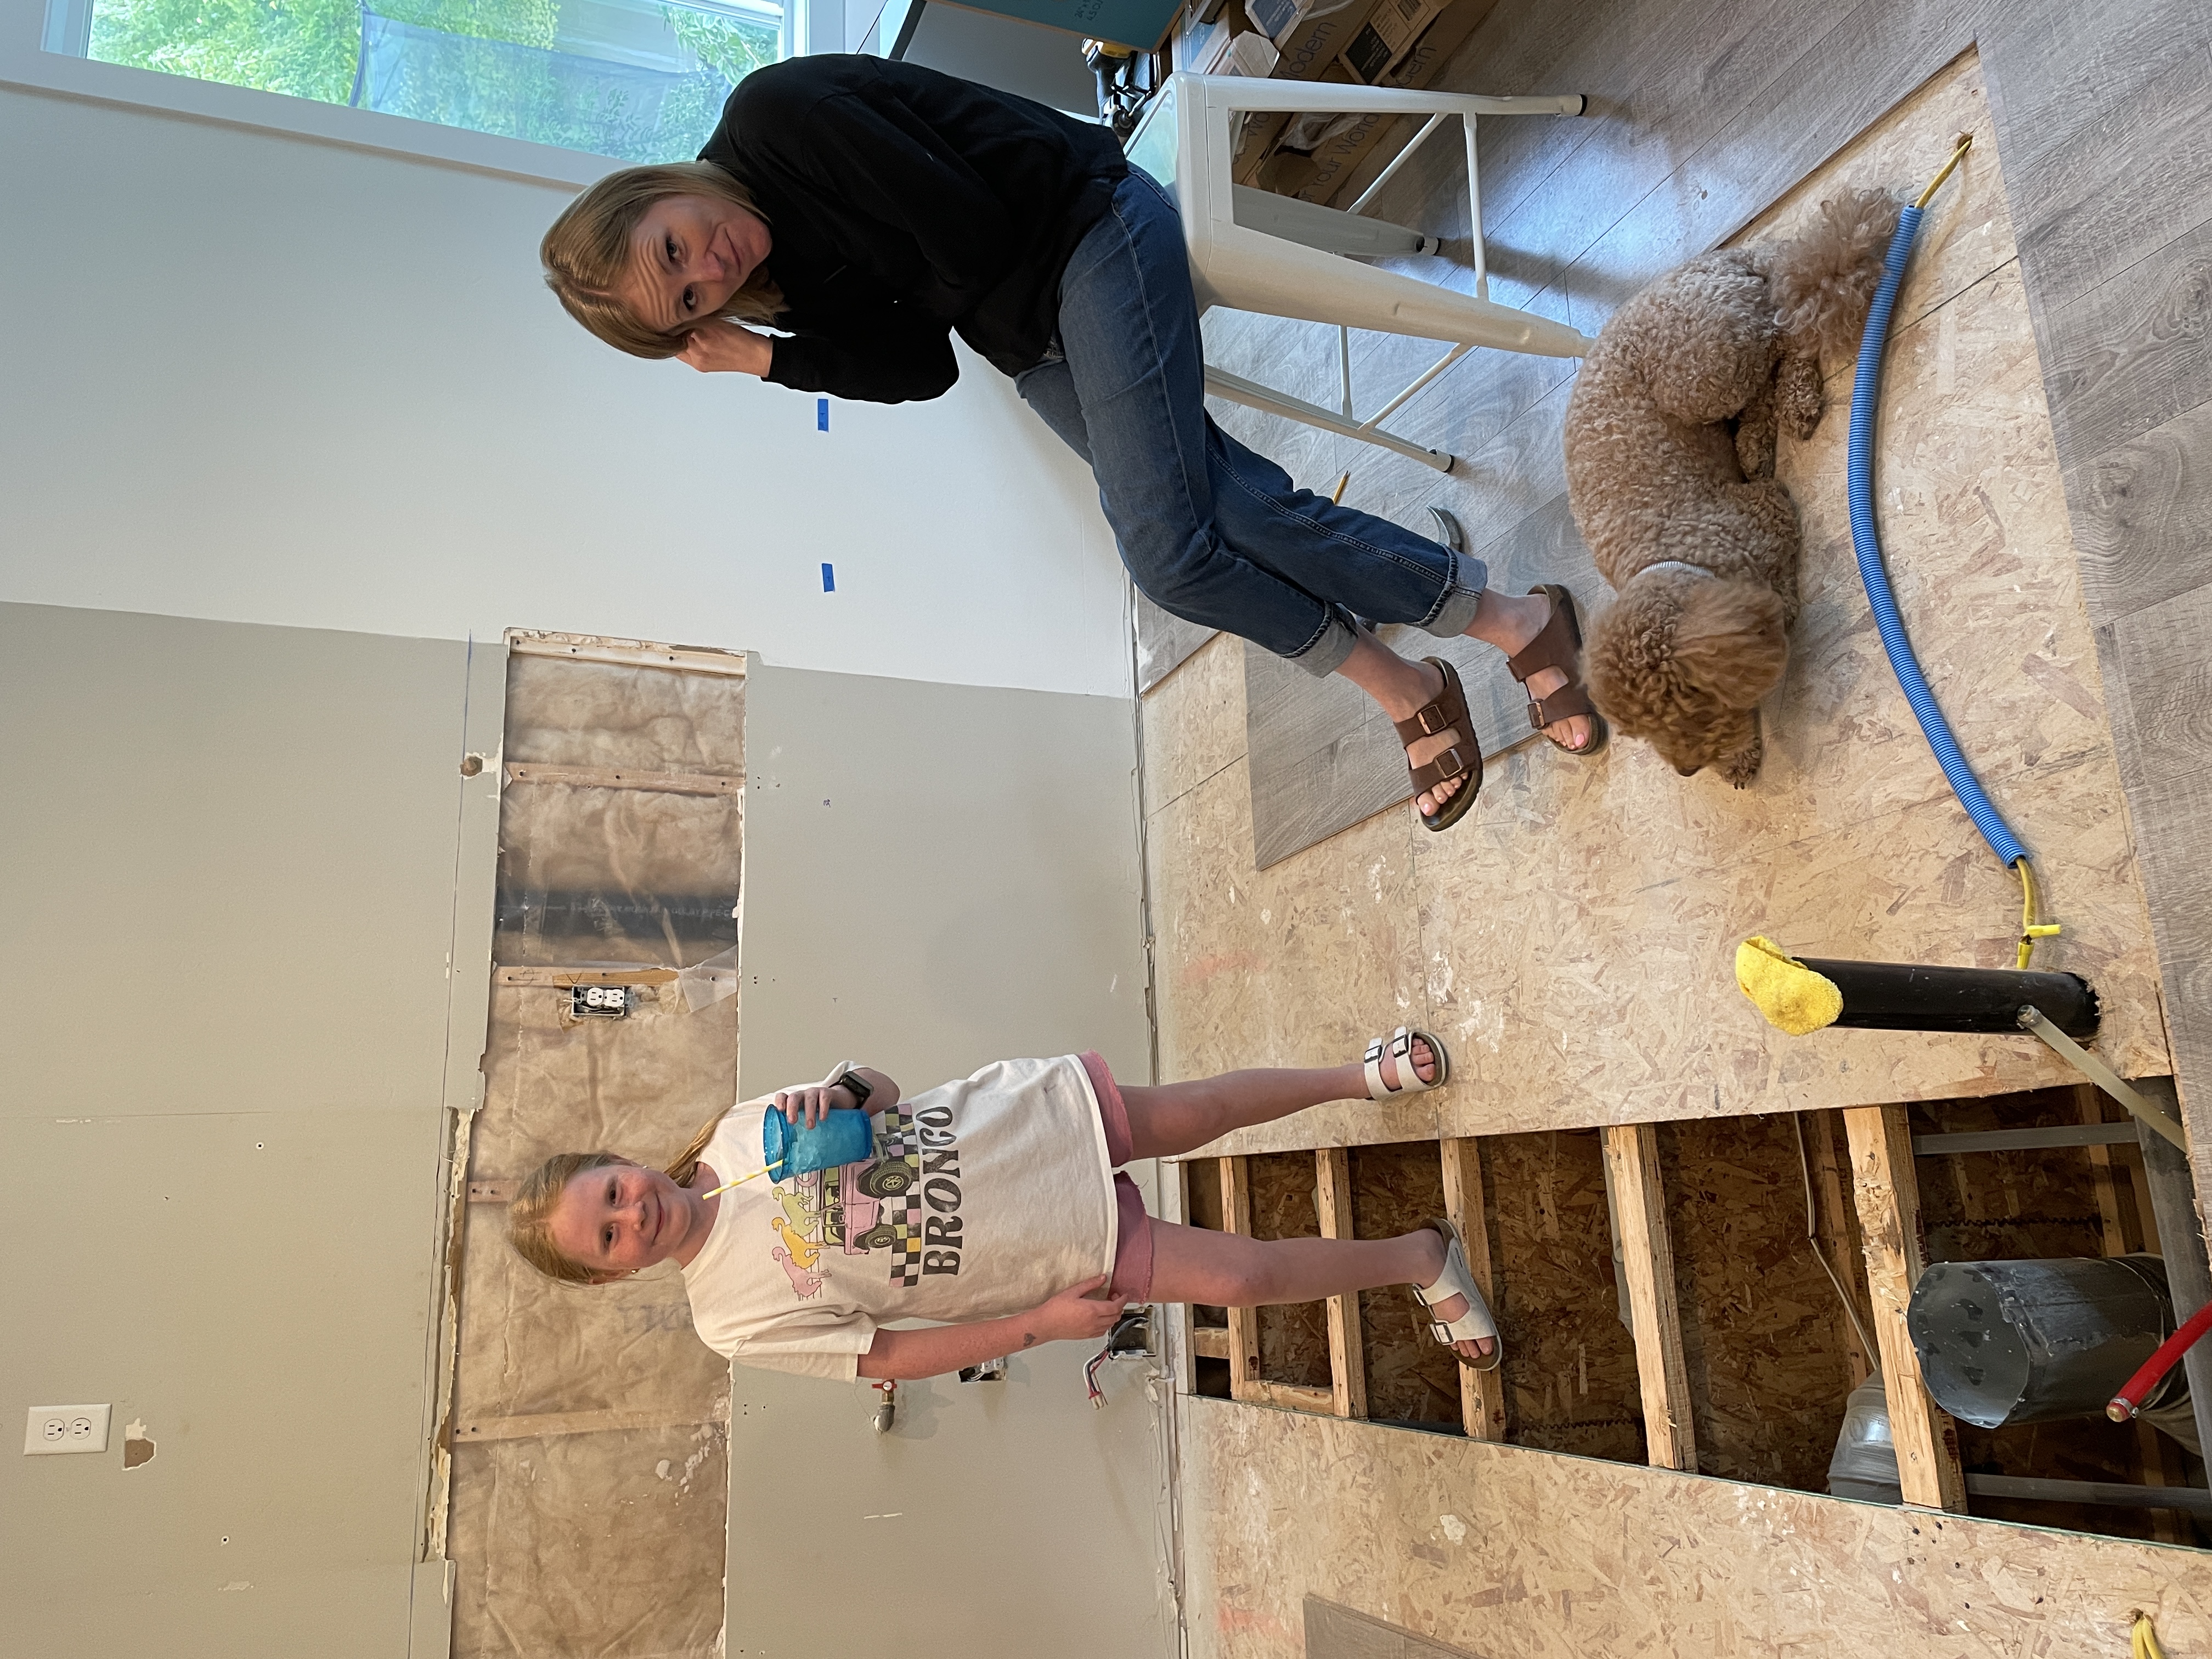
Life doesn’t stop just because you’ve torn out your kitchen. Peach trees still need to be harvested, birthdays still need to be celebrated, and let’s face it, takeout every night gets old fast. While we had planned to take a few days off work and knock out the entire installation (including the painting and flooring), the reality was quite different. We ended up living without a proper kitchen for almost two months! (My wife deserves a medal for her patience.)
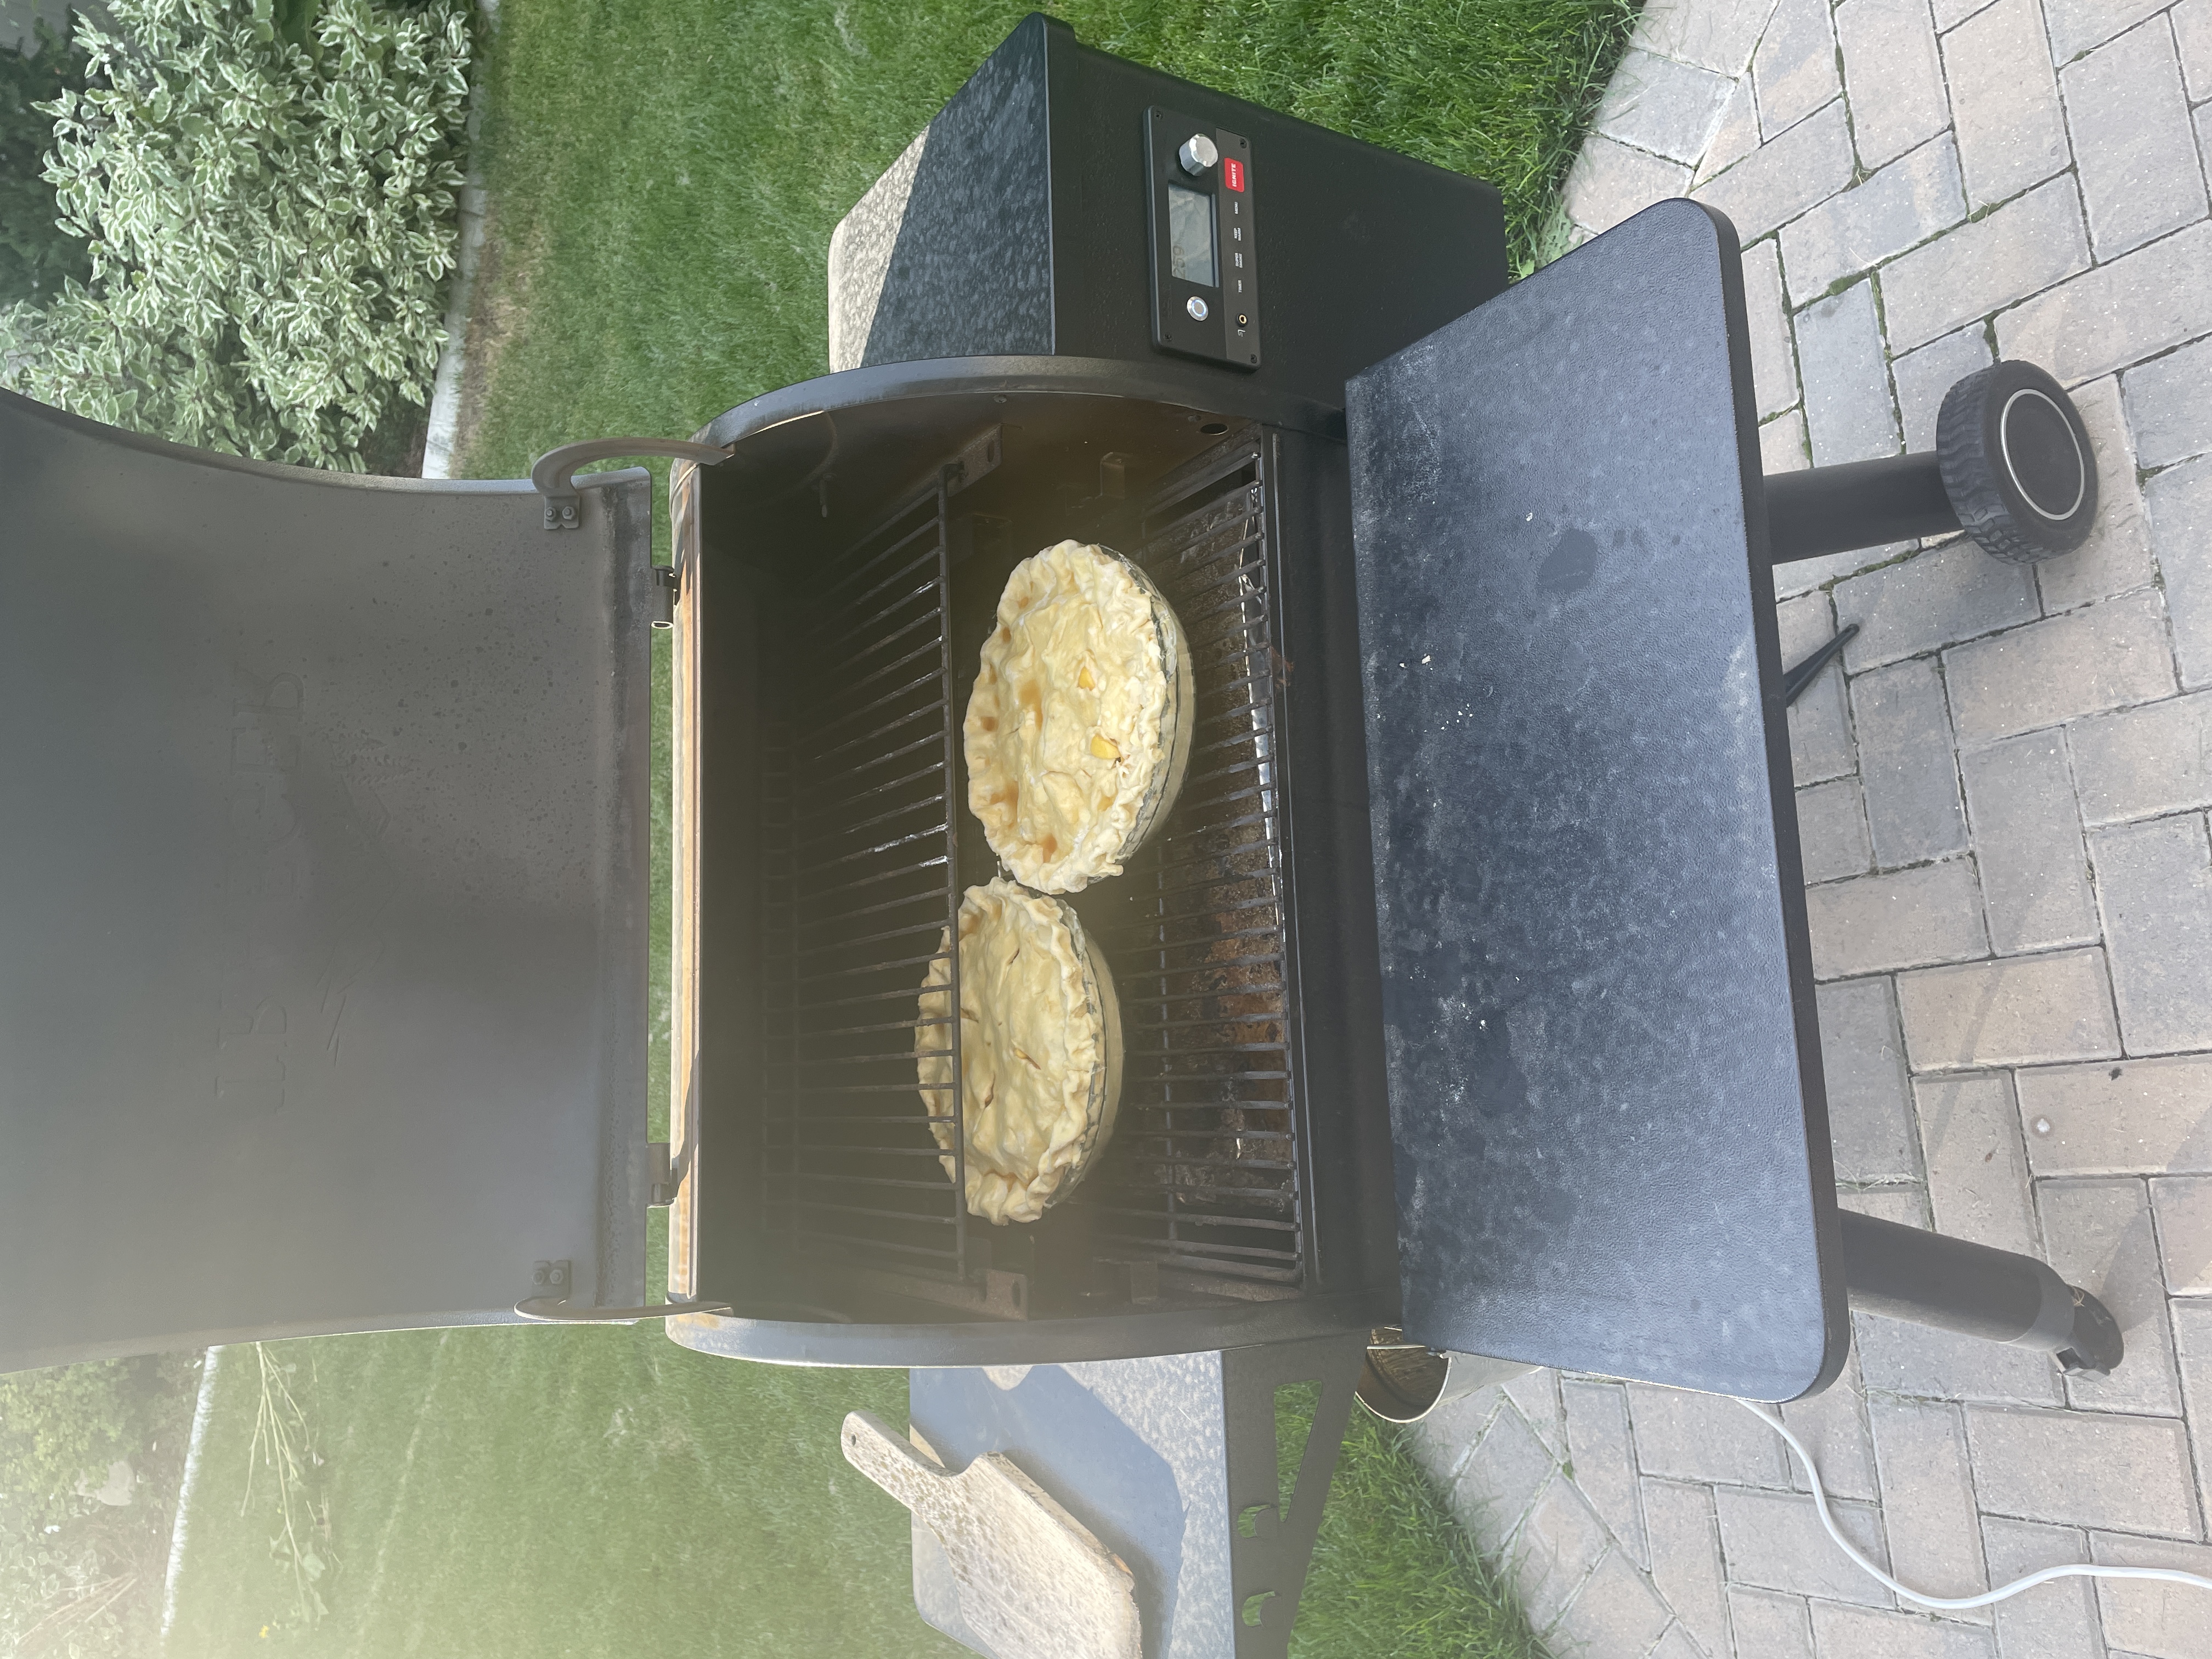
Here’s a glimpse into our “rustic” kitchen setup: cooking on the Traeger and Campchef, washing dishes in the laundry room sink upstairs, and navigating a constant state of organized chaos. The peach pie cooked on the smoker was amazing!