304 North Cardinal St. Dorchester Center, MA 02124
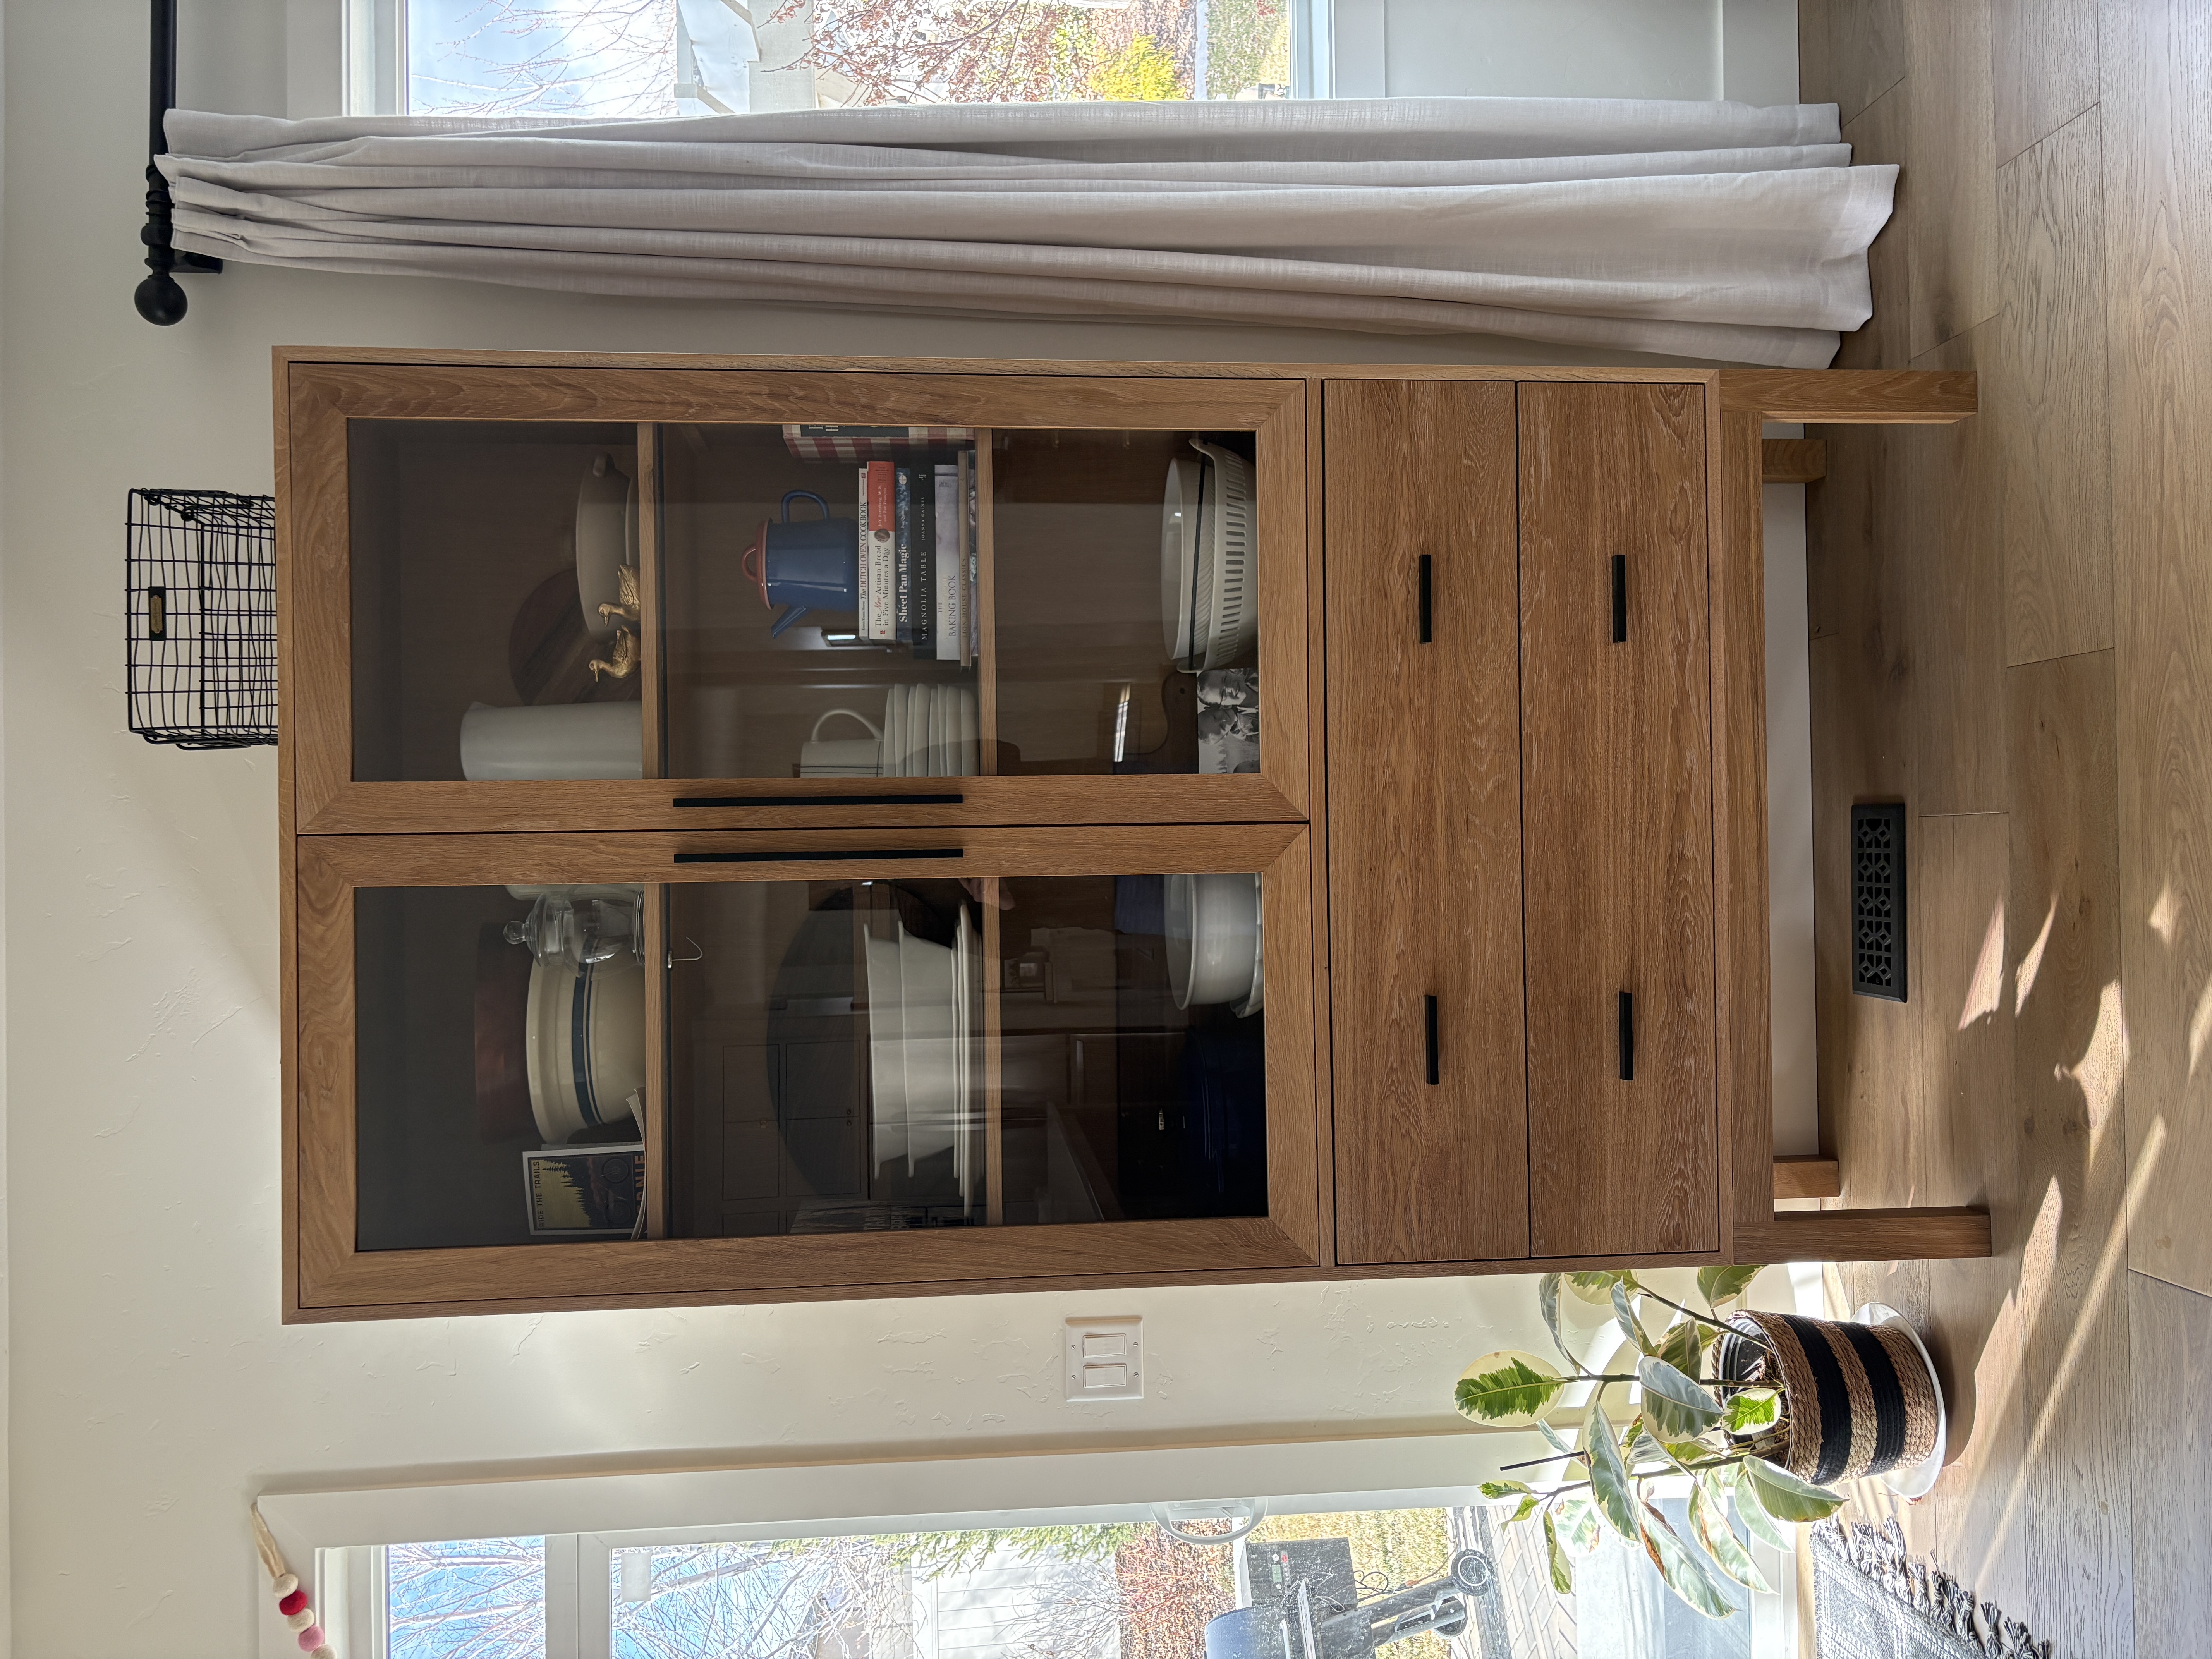
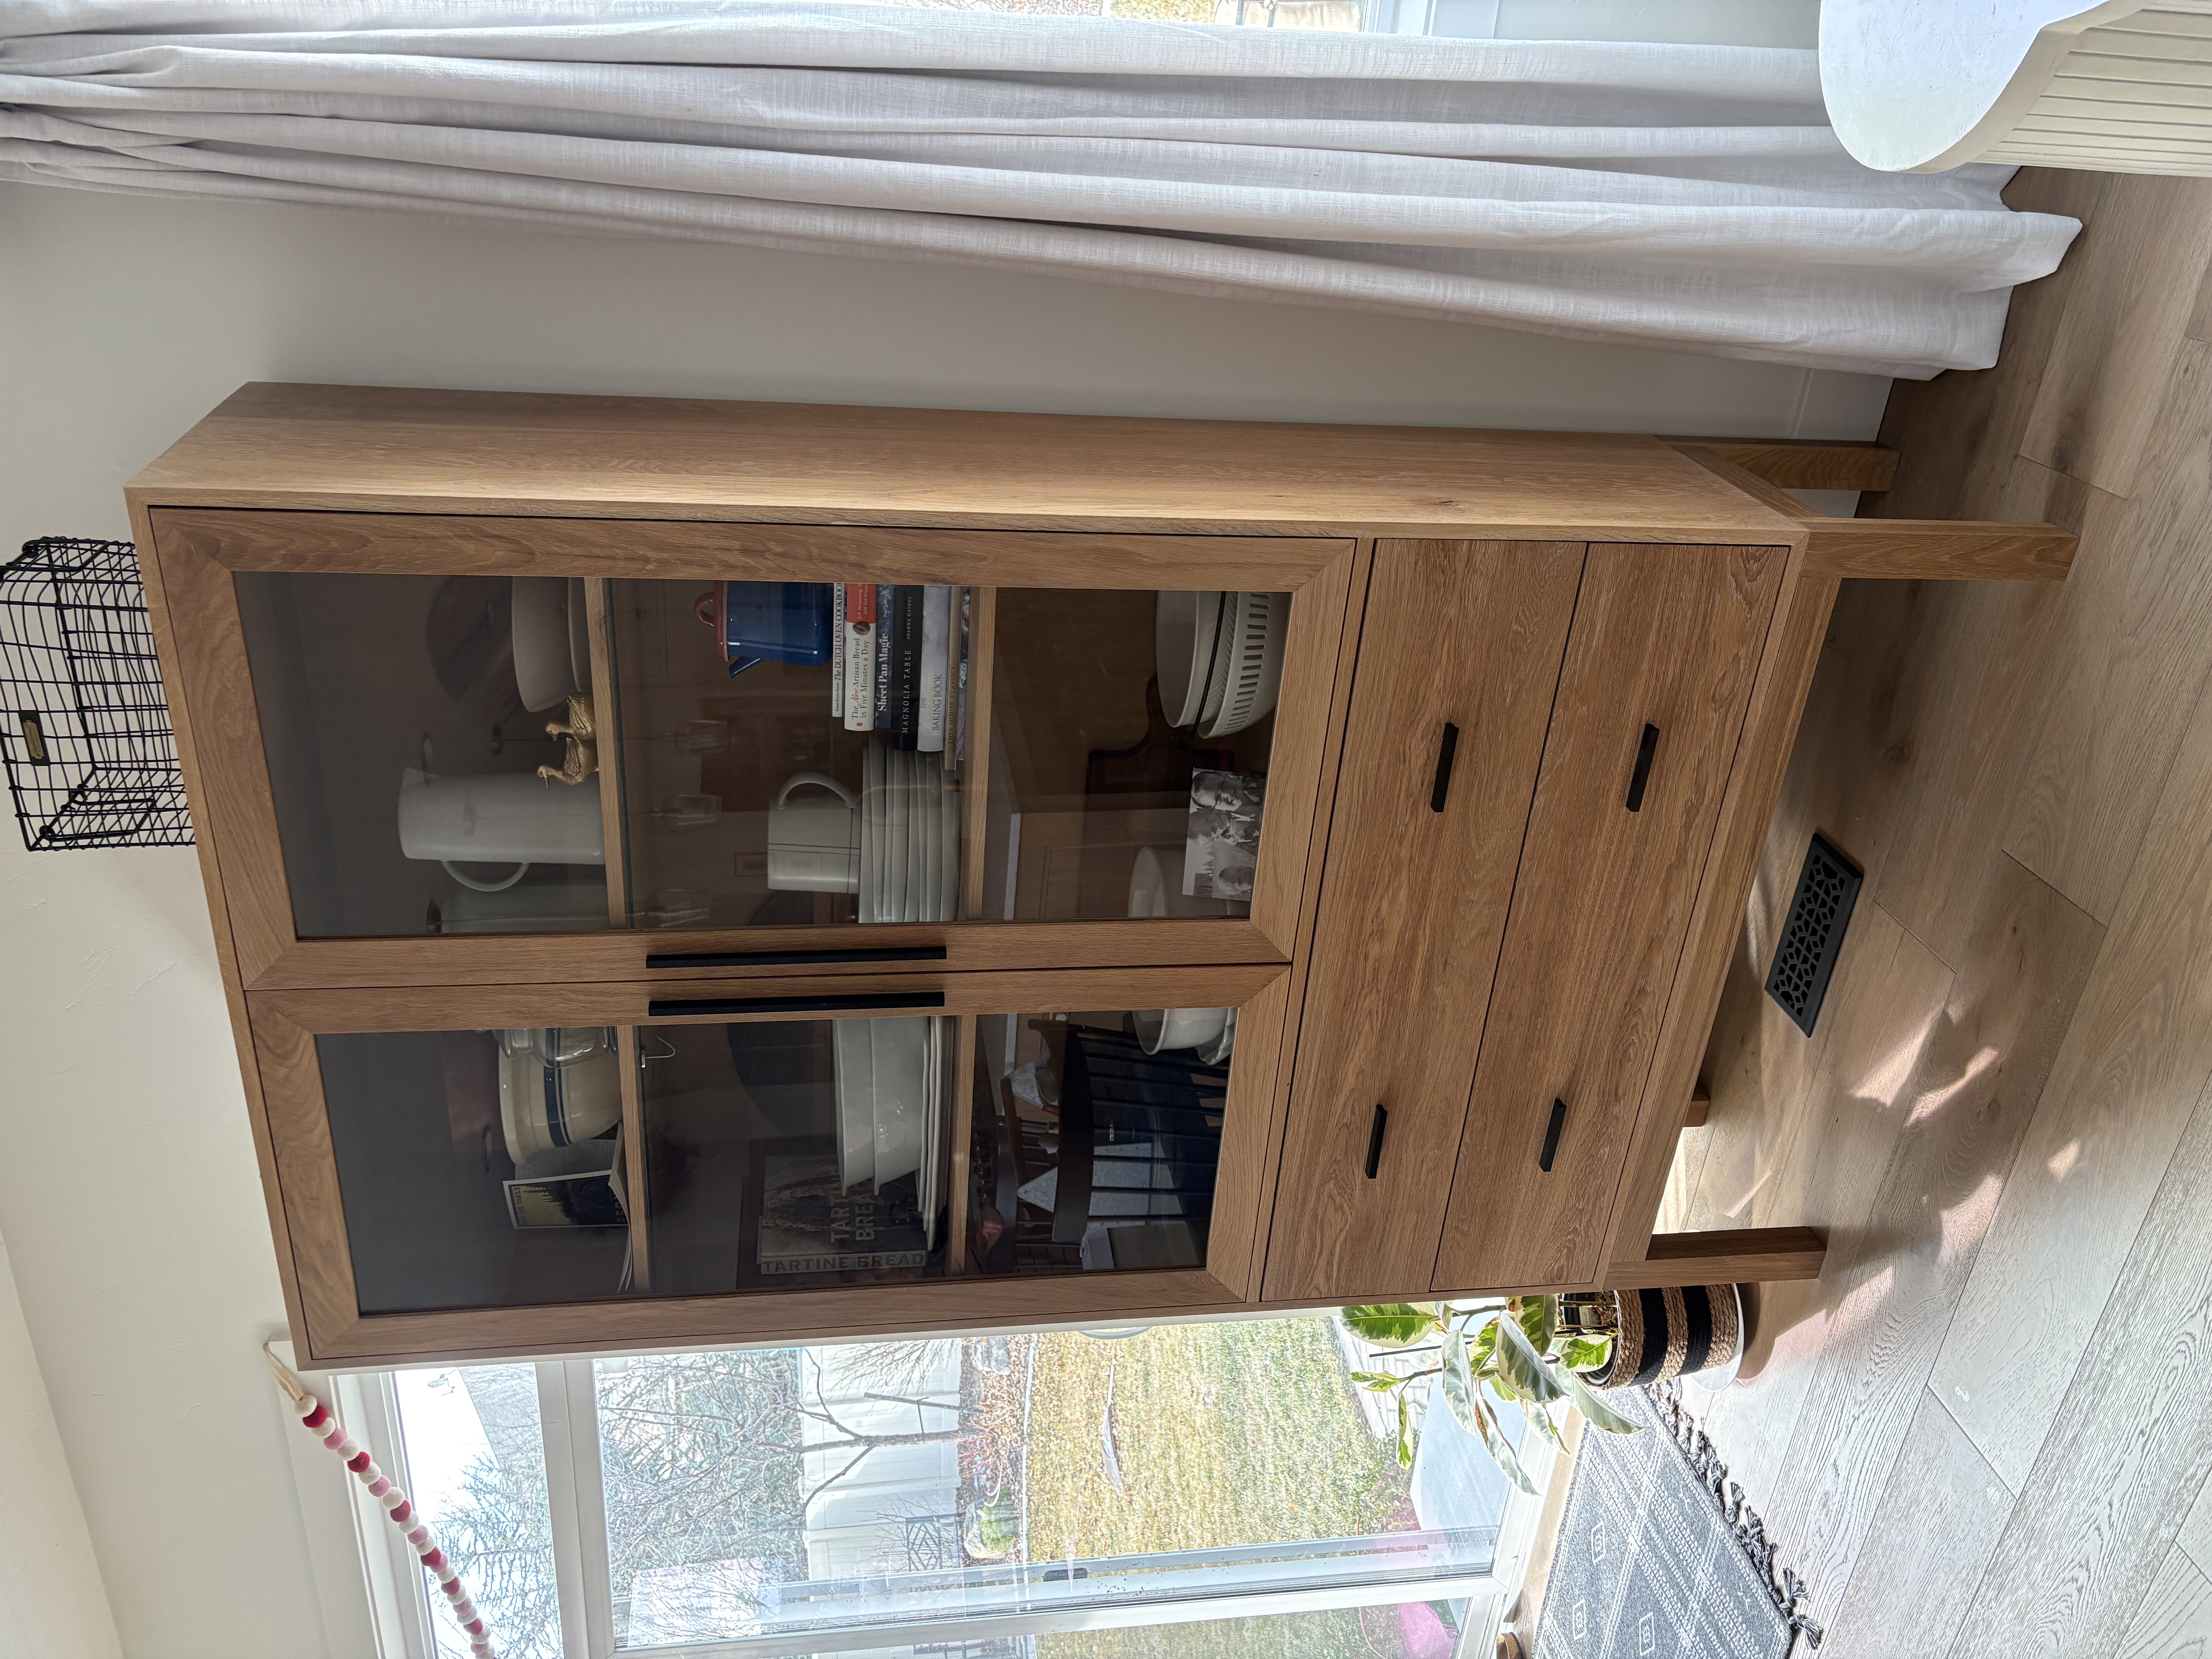
Custom White Oak Hutch
Built this hutch with solid white oak. Step-by-step instructions below.
Process
1. Build the Panels
Start with raw 4/4 white oak.
Mill it down to 3/4″ thick in a variety of widths.
Glue and clamp the boards to form panels. (I used a biscuit jointer to help align the boards due to their length, but this is optional.)
Trim all glued panels to a uniform width.
2. Assemble the Main Body
Cut 45-degree miters on all edges of the side, top, and bottom panels.
Glue and clamp the mitered edges to form the main body of the hutch.
Use a biscuit jointer to help align the corners during glue-up (optional but helpful).
3. Add the Divider Panel
Glue up another panel, cut it to size, and install it to separate the drawer section from the cabinet section.
Use small strips of wood to support the divider.
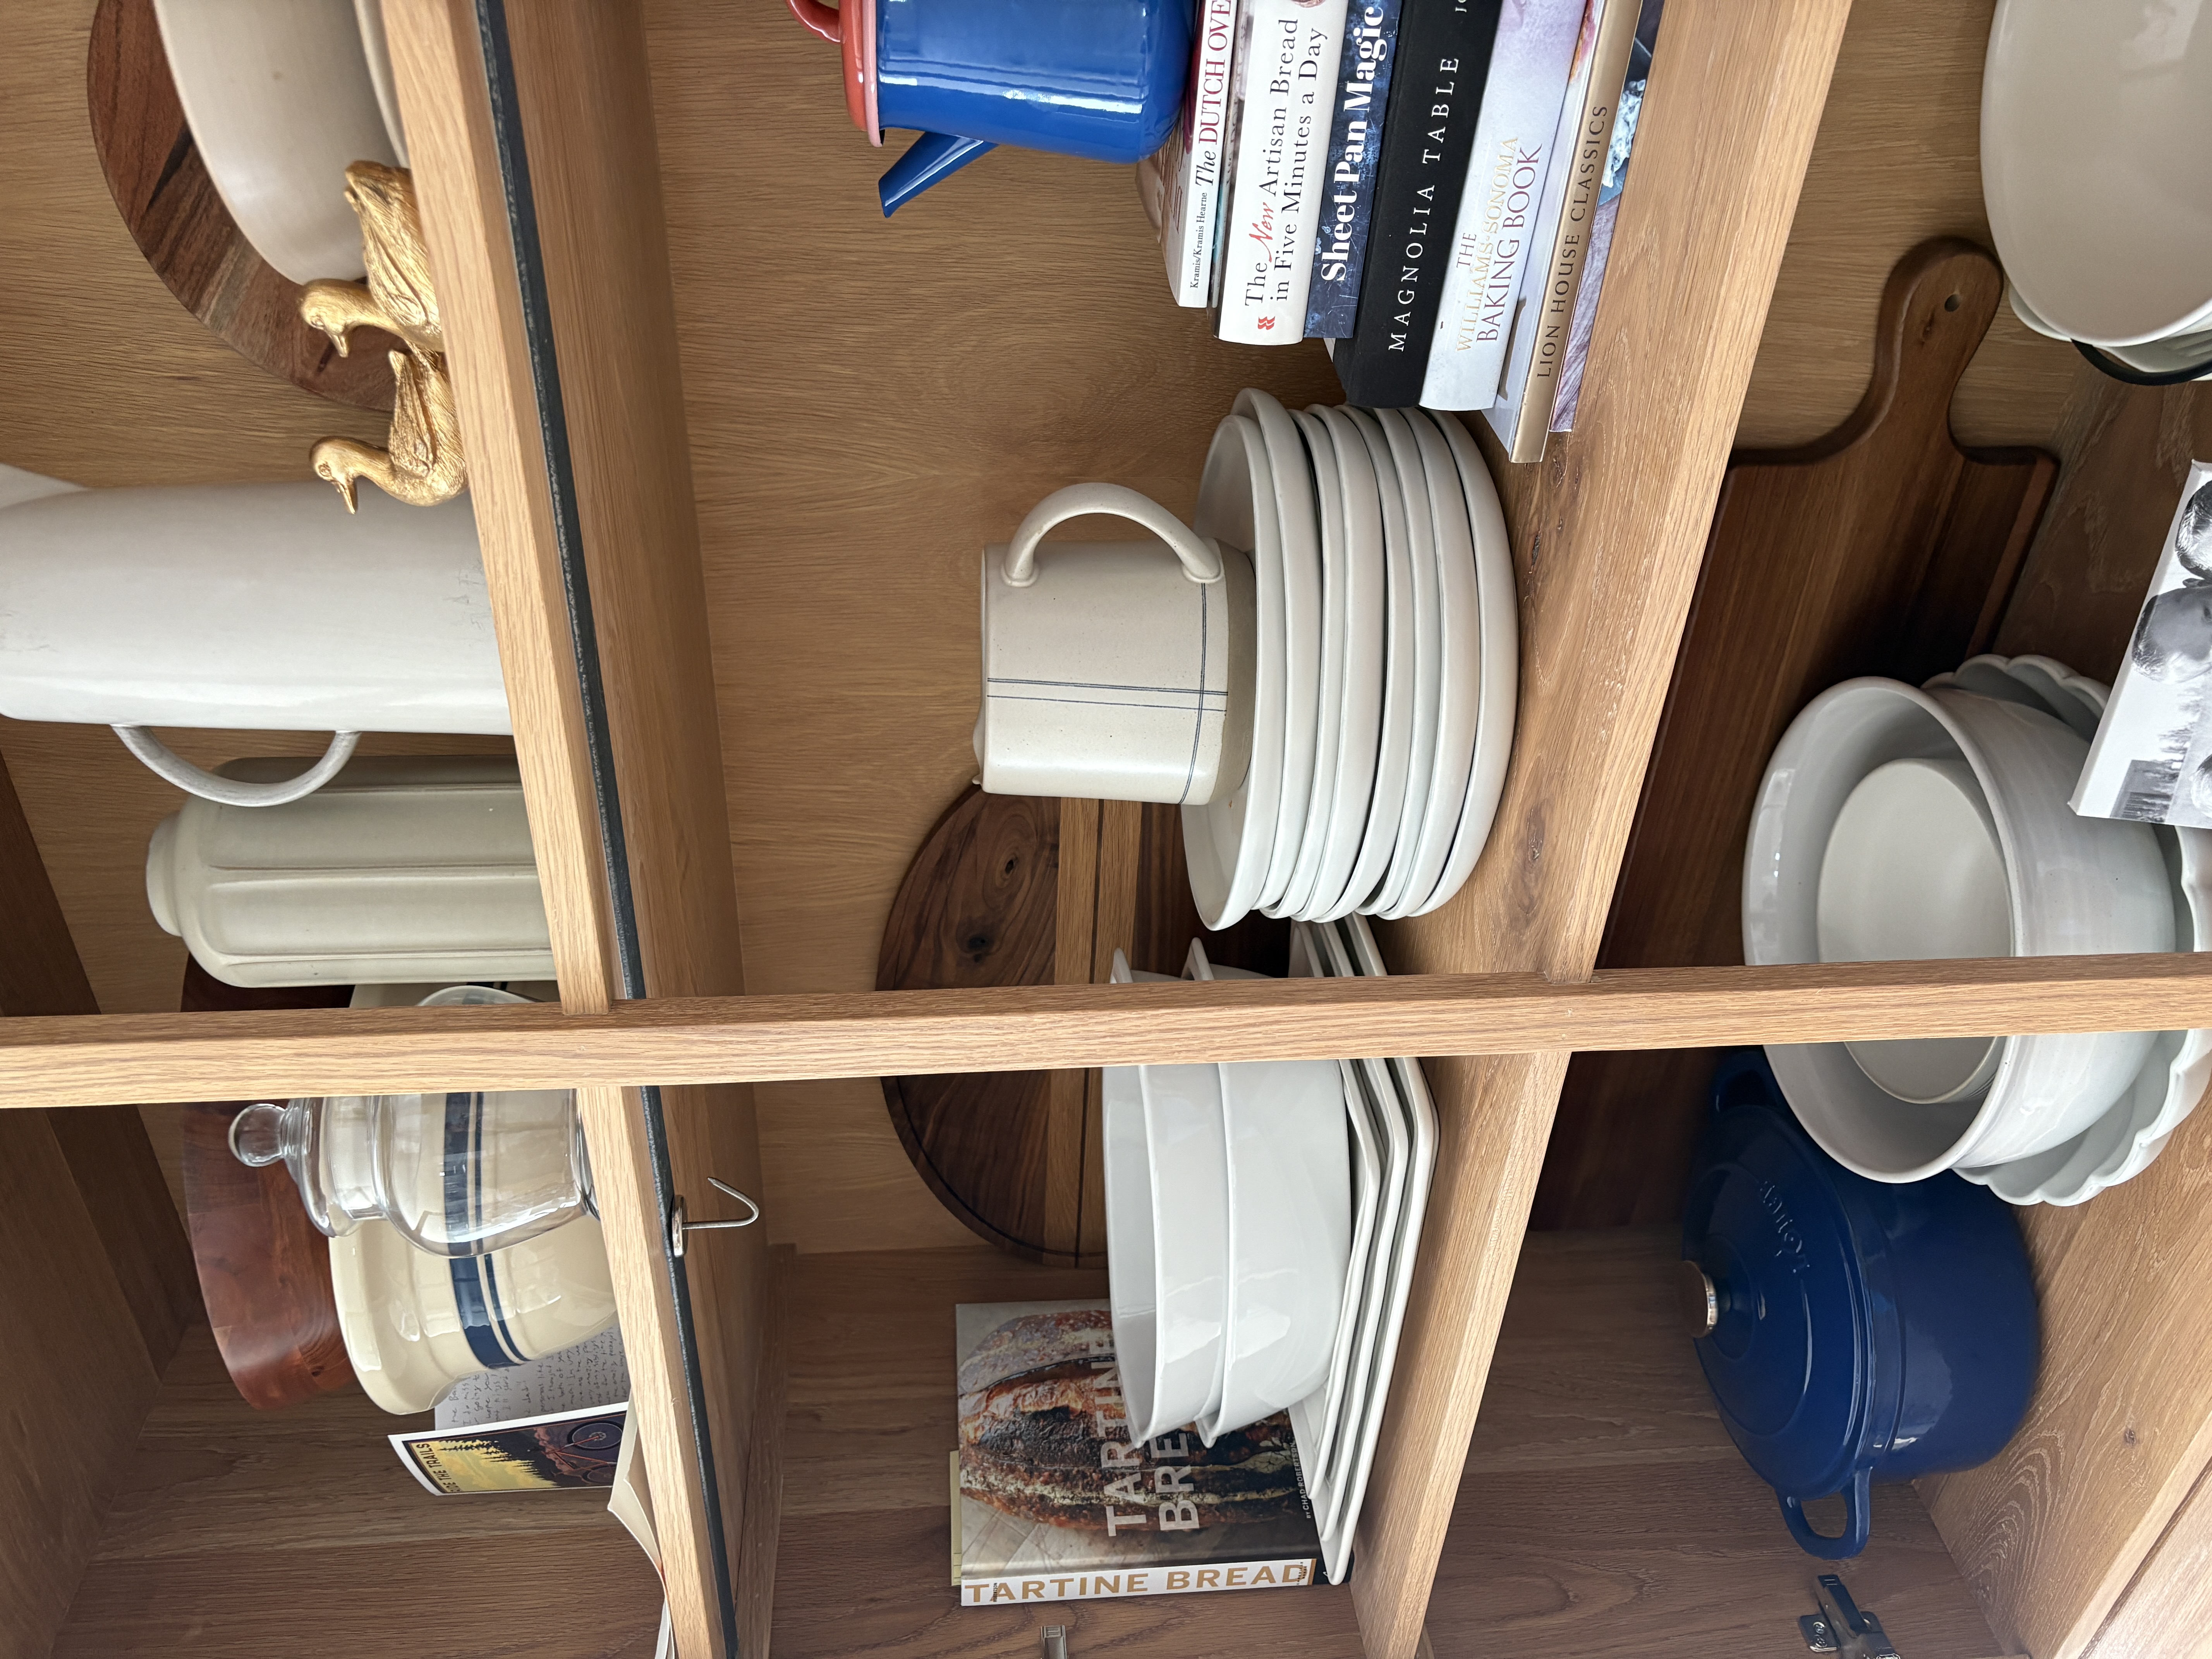
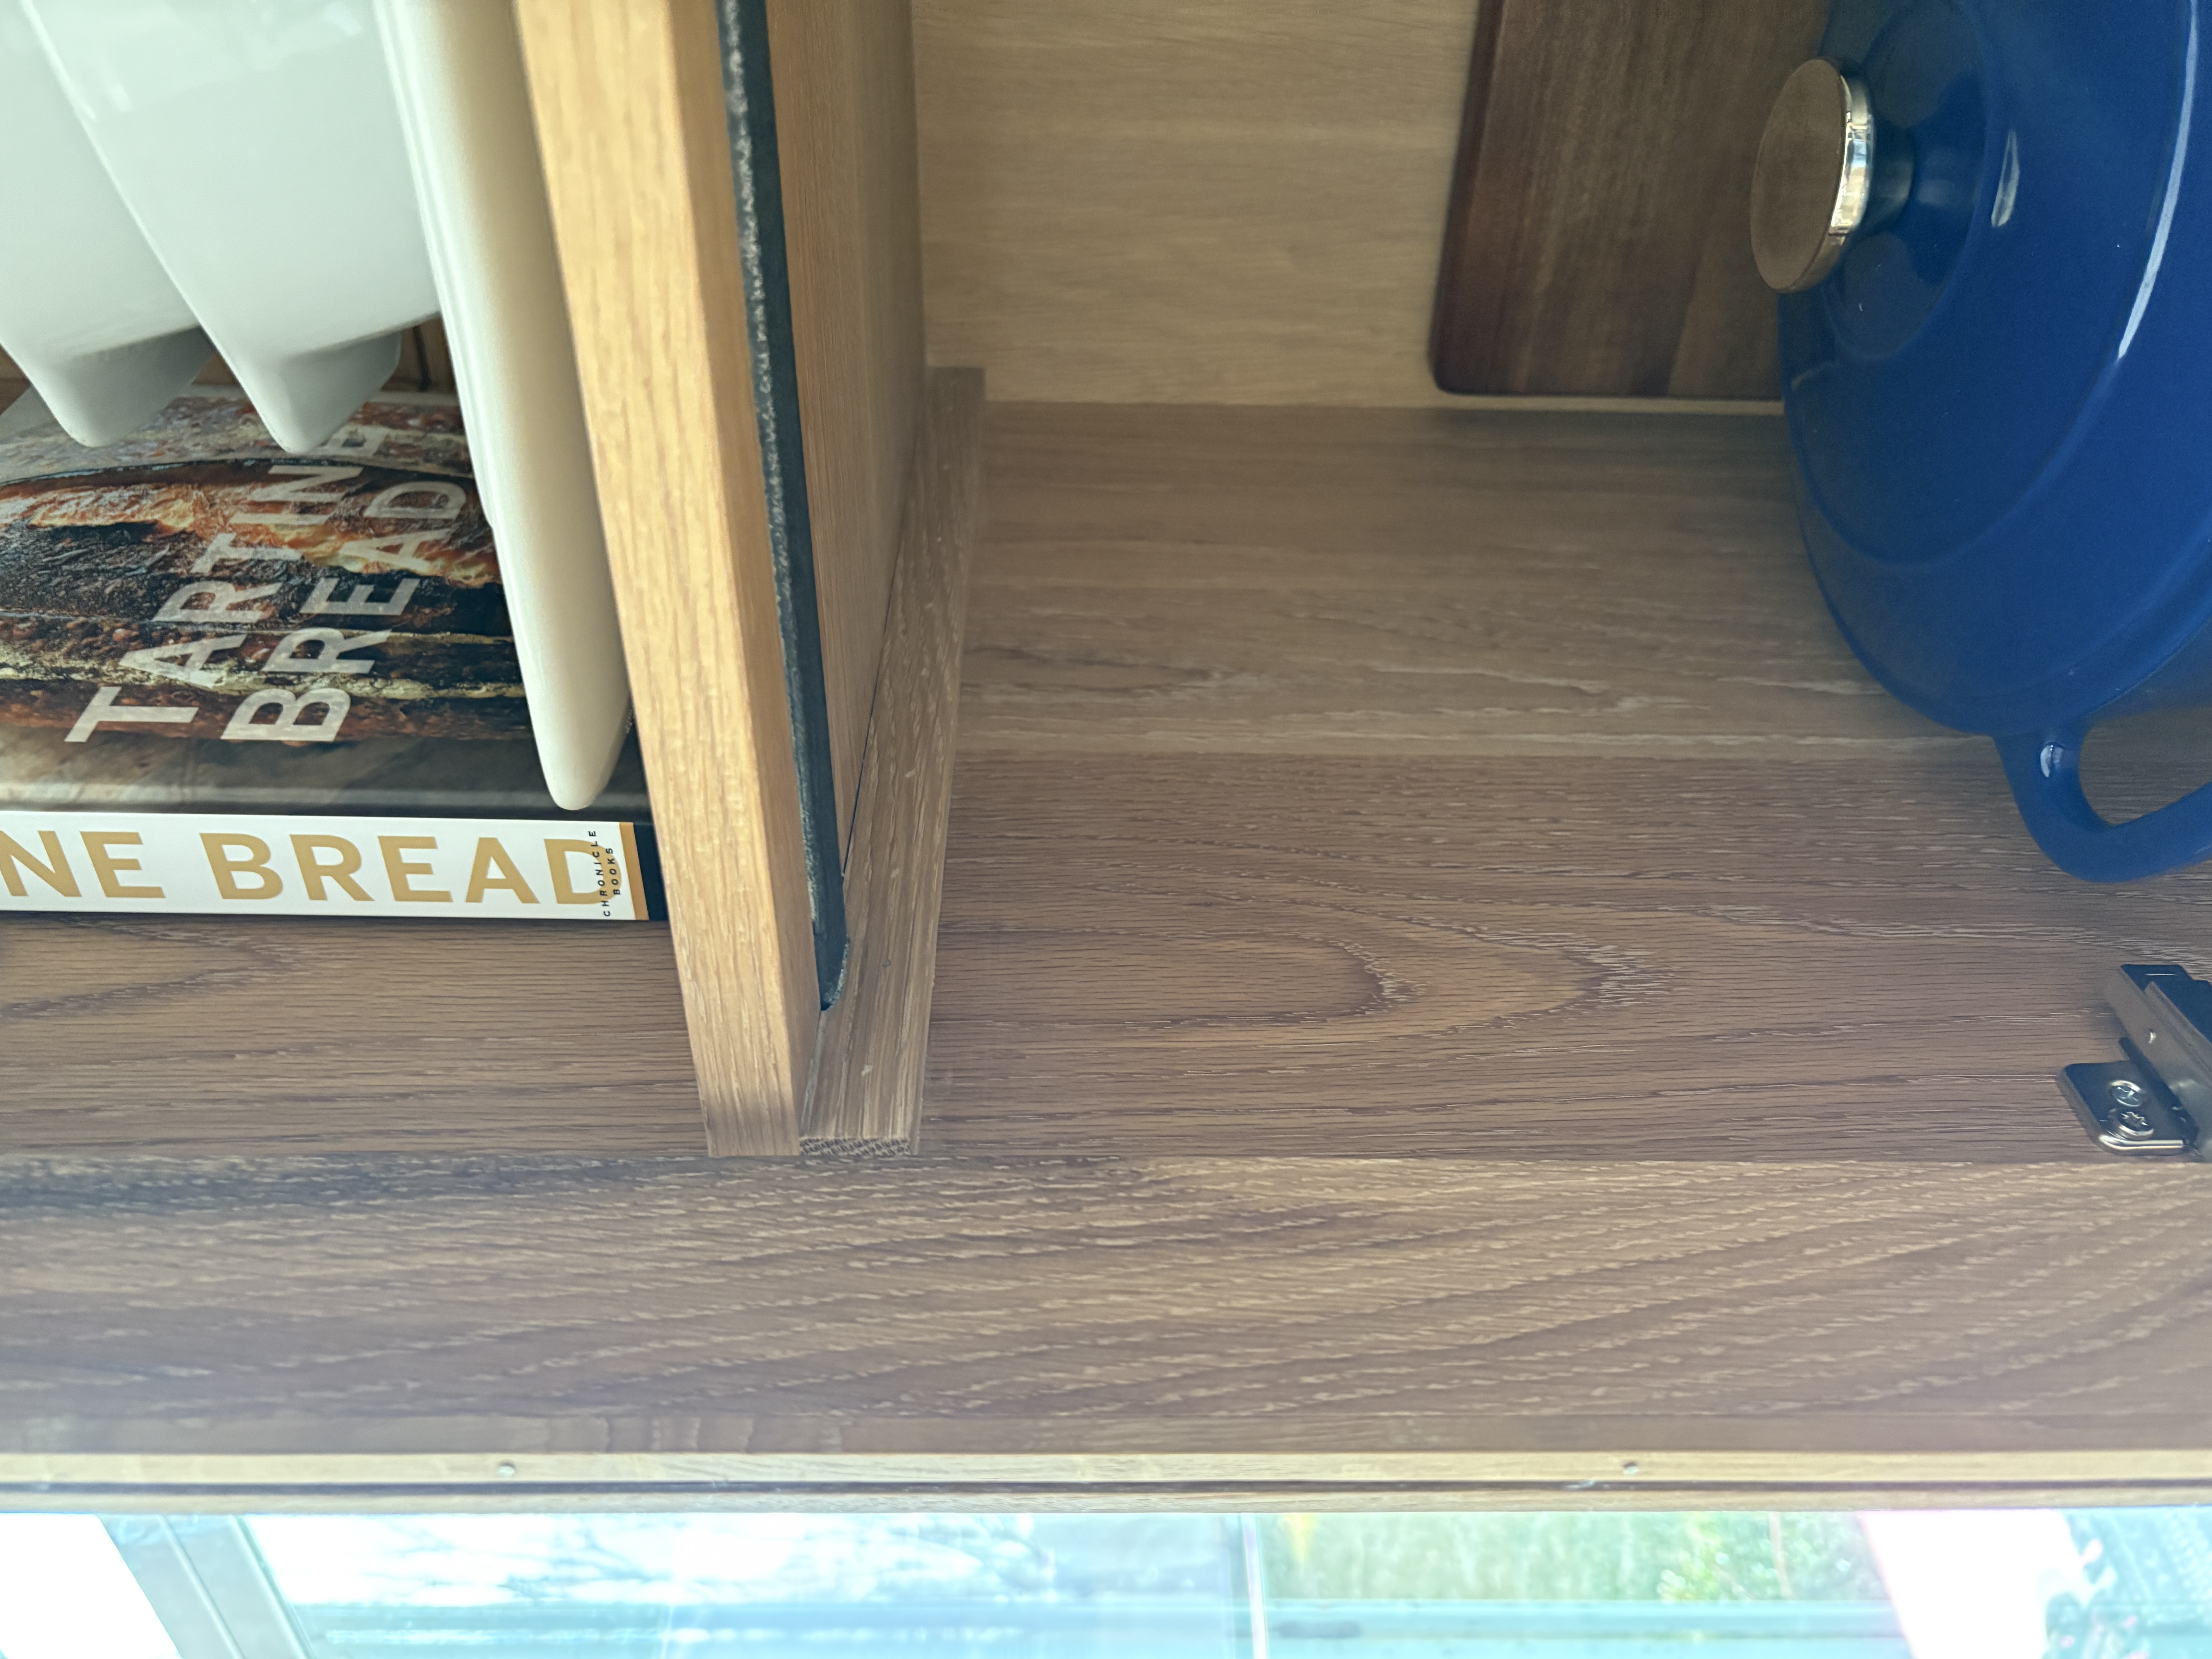
4. Install the Shelves
Make two more panels and cut them to fit as shelves.
Attach small strips of wood to support the shelves.
5. Add the Back Panel
Cut a rabbet on the back side of the main body to insert the back panel.
Make the rabbet deep enough to fit the panel along with supporting wood.
Use a 1/4″ thick panel with a white oak veneer on one side.
Add a center support piece to help prevent shelf sagging.
Install corner braces to reinforce the main body.
6. Reinforce the Shelves
Back Support: Drill 3/8″ holes through the back panel and into the rear edge of the shelves. Insert dowels, then cut them flush with the back.
Front Support: Install a front rail with grooves that fit into the shelves to add support.
Steel Reinforcement (Optional): I added a steel bar under the shelves to help prevent bowing, but it wasn’t very effective structurally. However, I liked the look of it in the final piece.
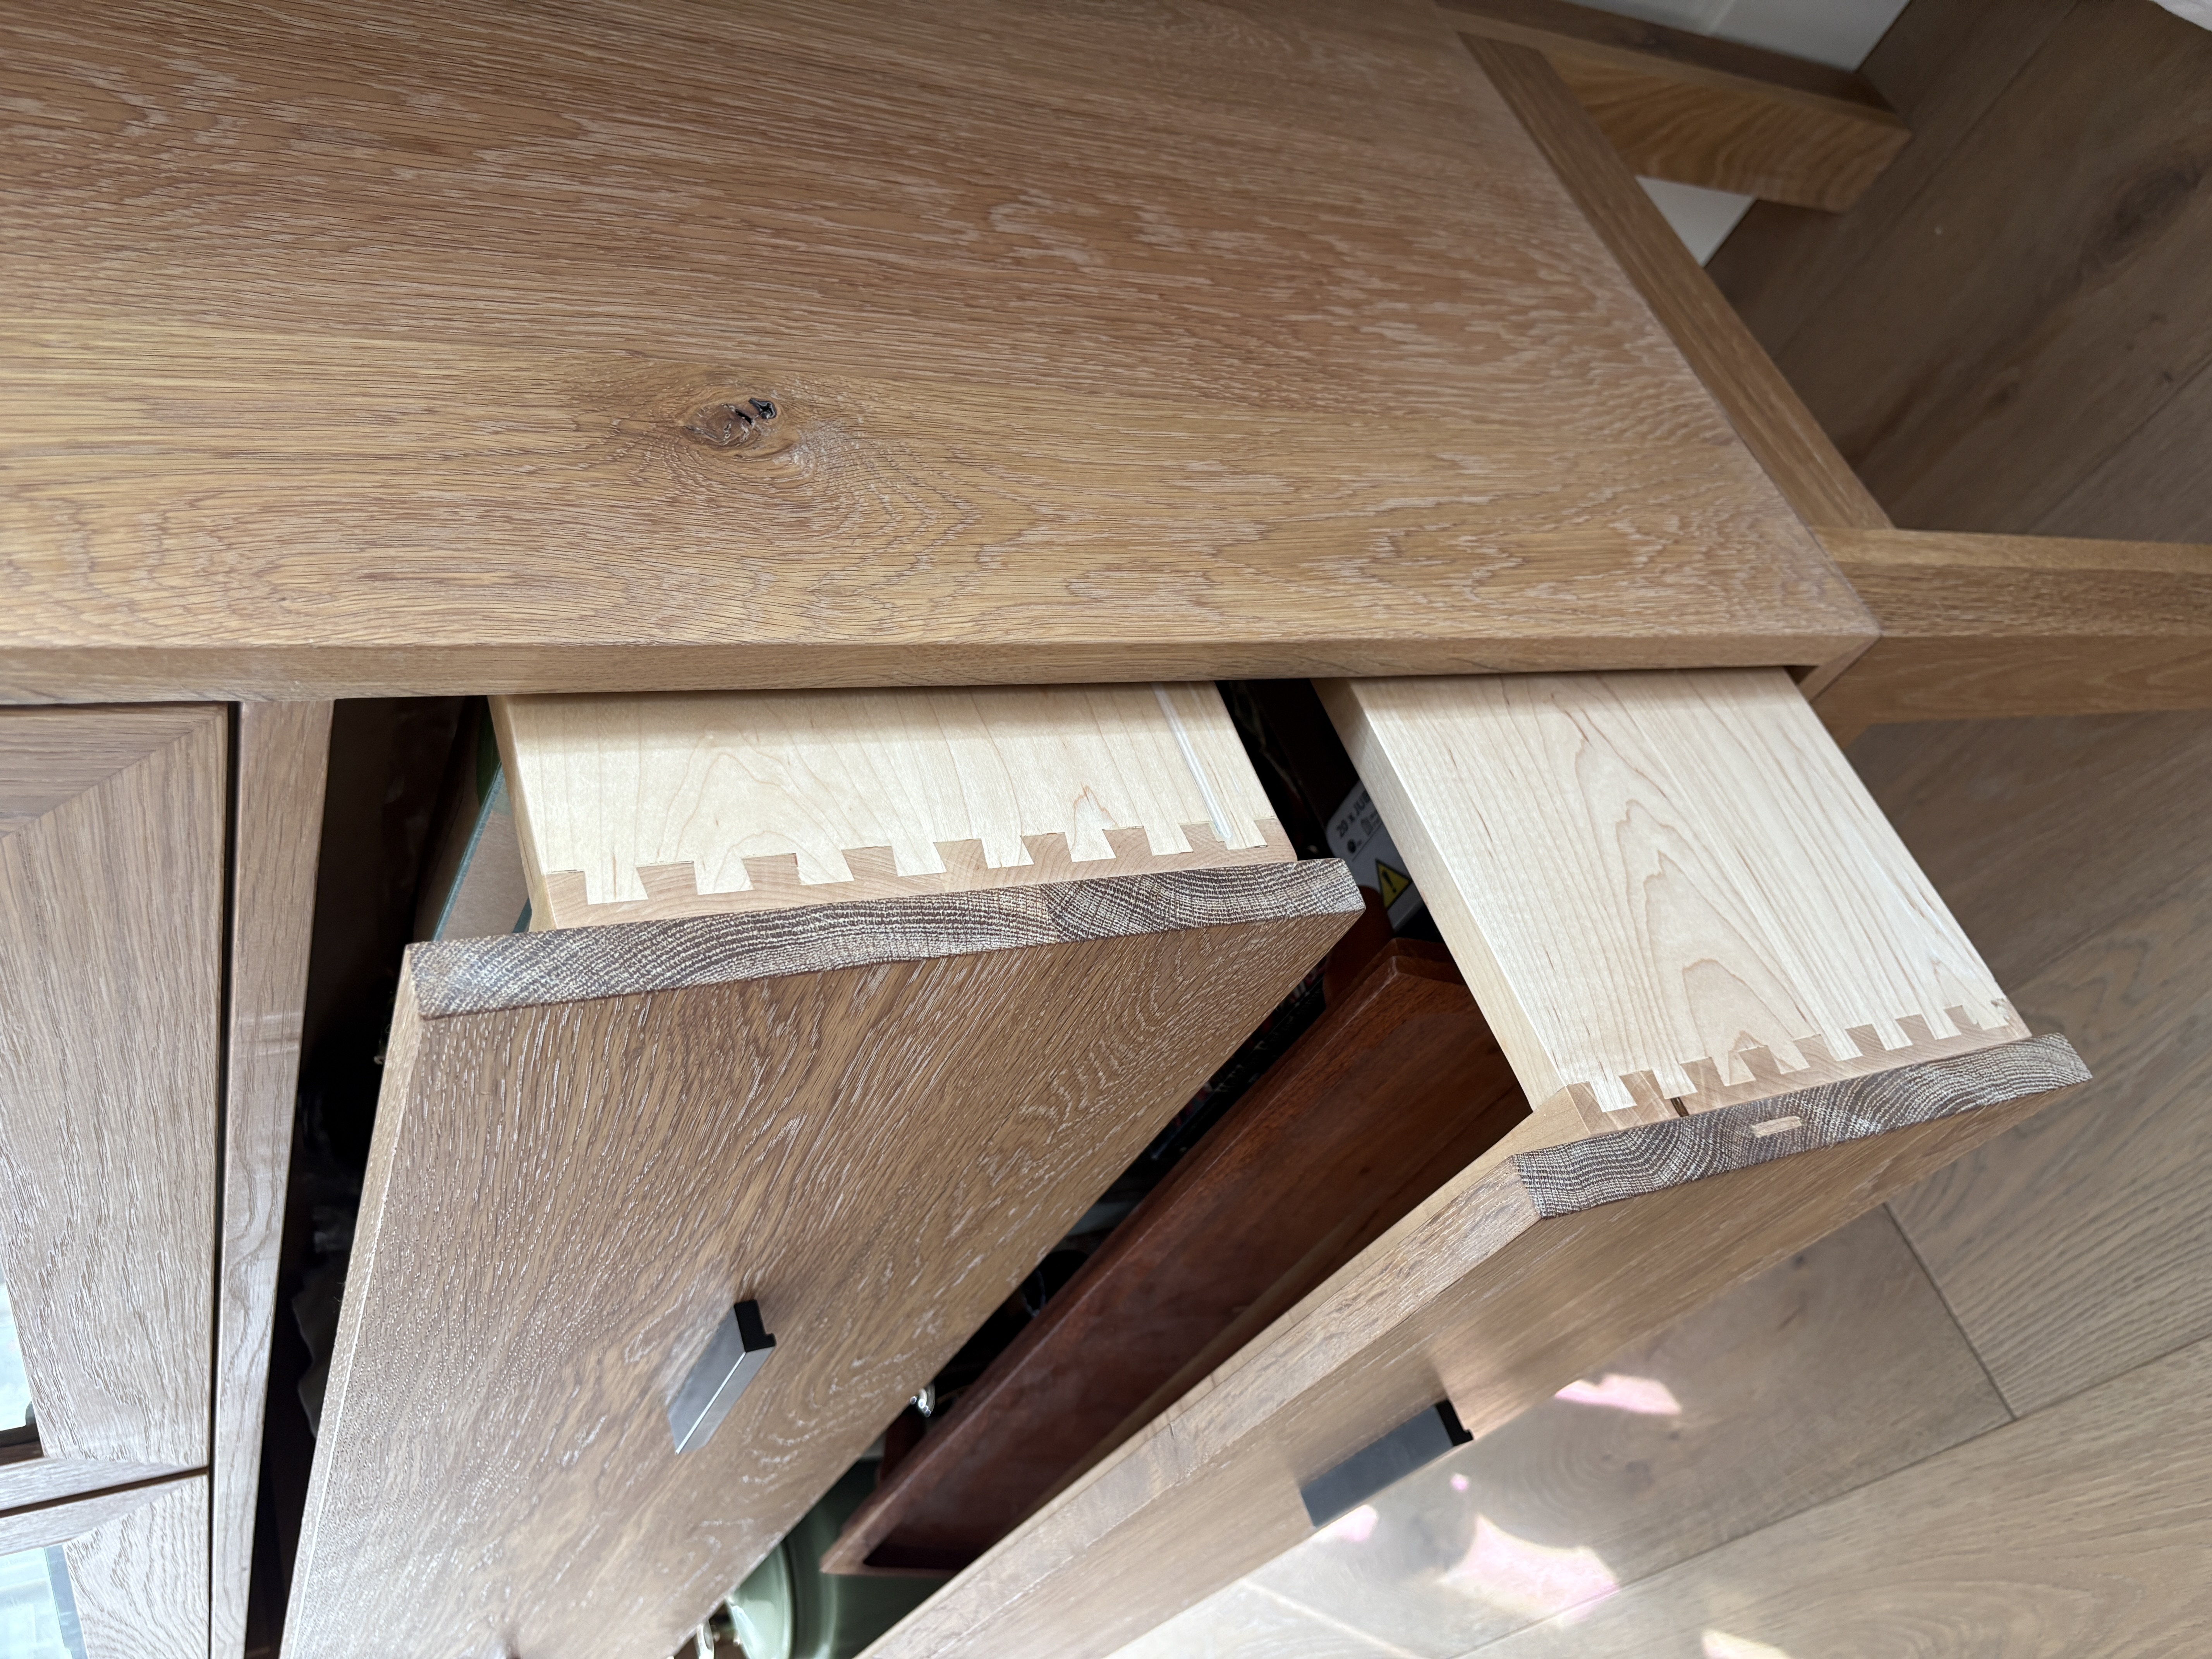
7. Build the Drawers
Drawer Fronts: Glue up a single panel large enough for both drawer fronts. Cut the panel into two pieces so the grain flows consistently across both drawers.
Drawer Boxes: Use hard maple for the drawer sides, milled to 5/8″ thick.
Joints: Cut dovetail joints for a strong, clean look.
Bottom Panel: Use a 1/2″ Baltic birch panel for the drawer bottoms.
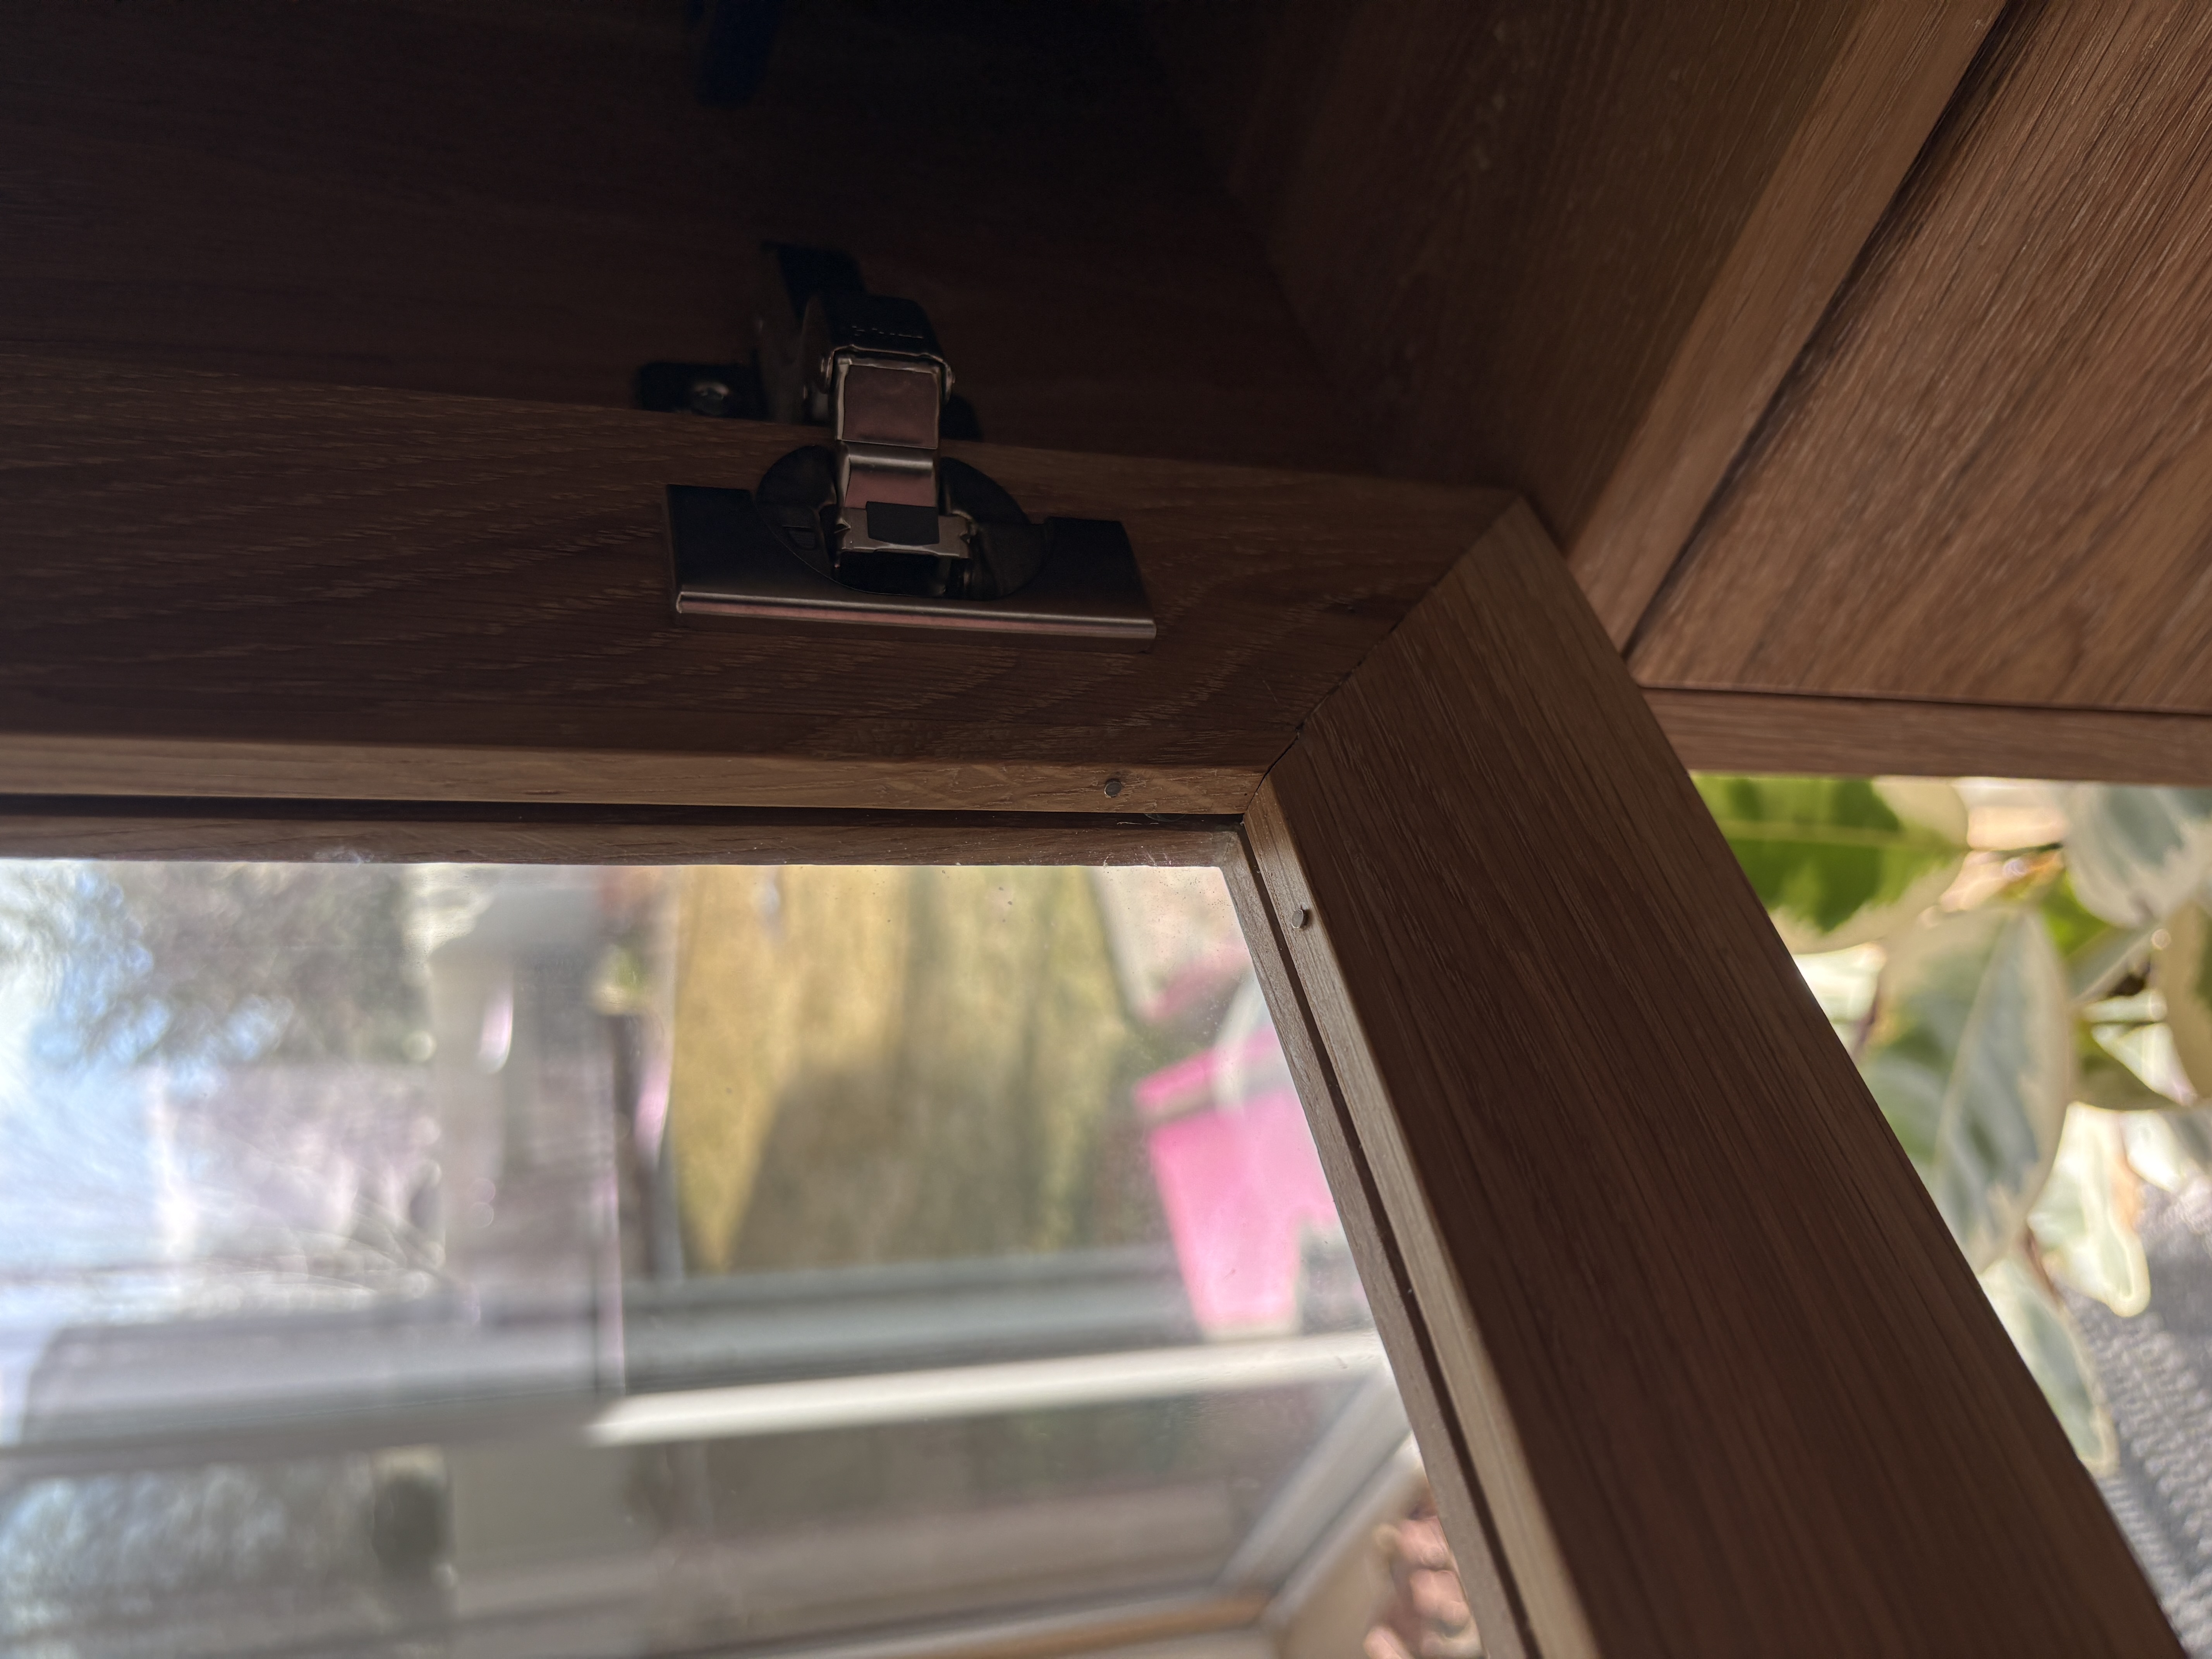
8. Build the Doors
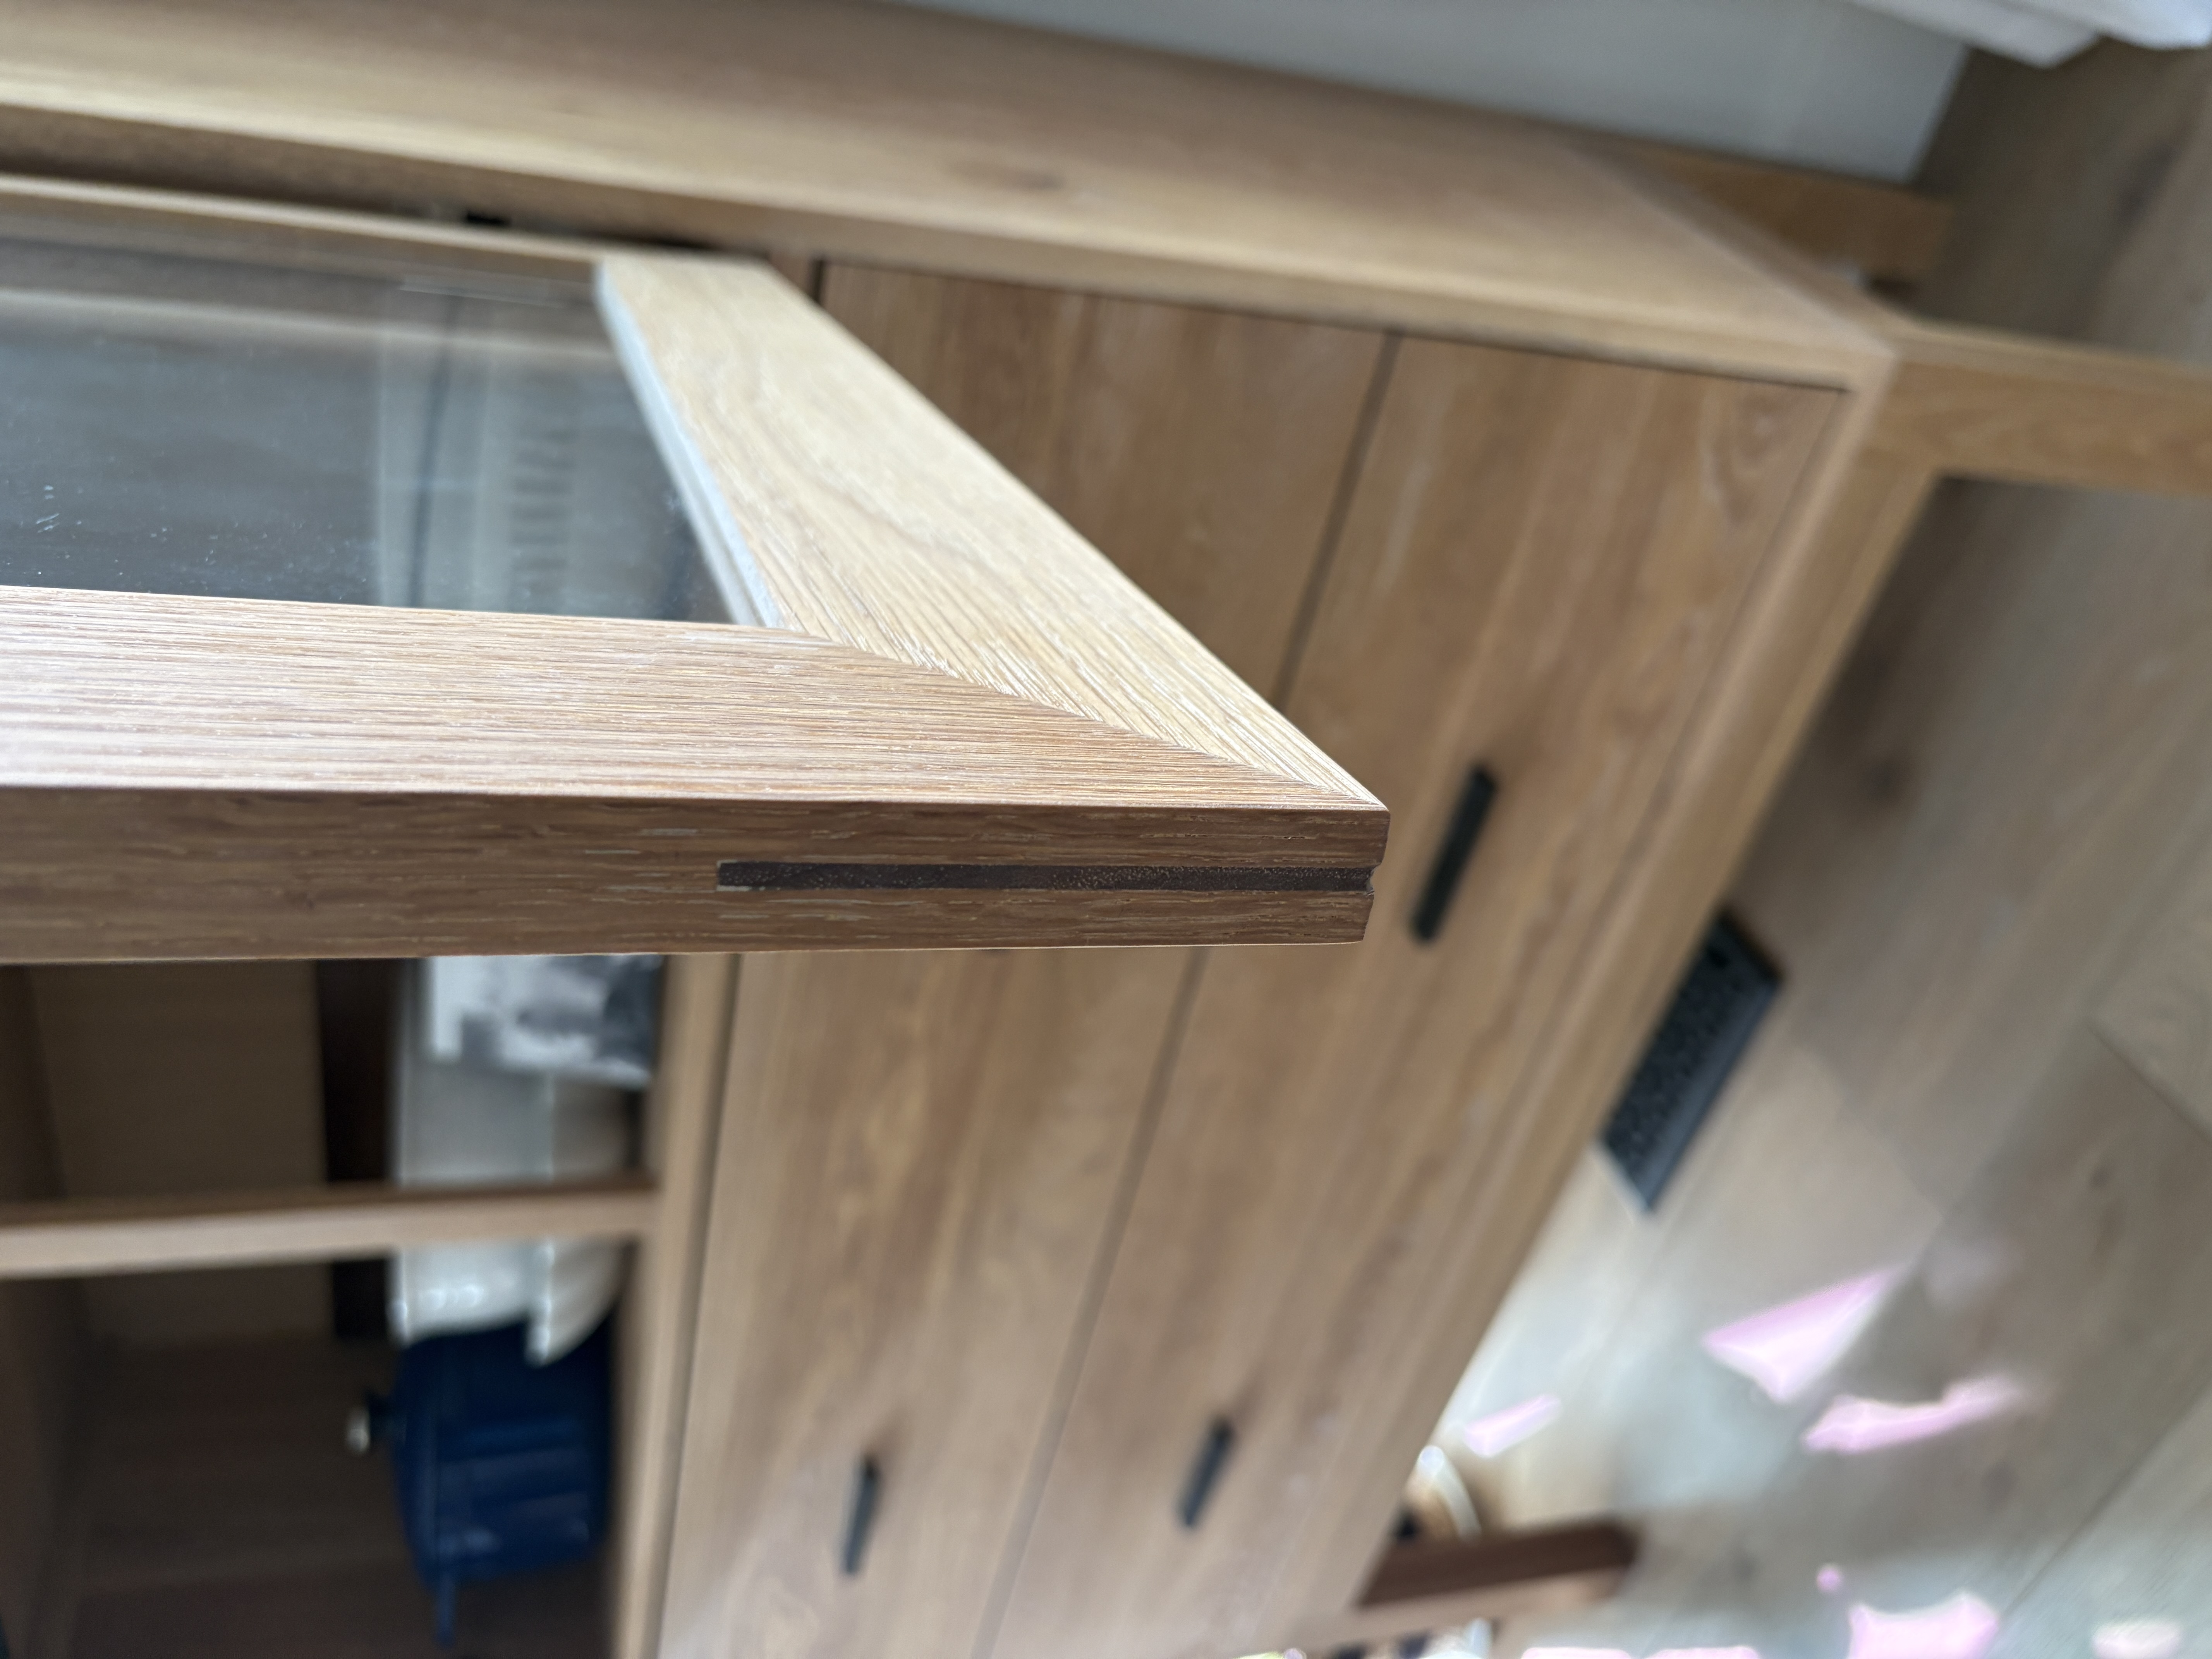
Mill the white oak to 3/4″ thick and cut to width and length with mitered ends.
Cut a rabbet on the inside edges to hold the glass.
Glue and clamp the door frames, ensuring they are perfectly square.
Add walnut splines at the corners for extra strength and contrast.
Install the glass and secure it with small strips of wood from the back. (I finished the wood before installing the glass and securing strips.)
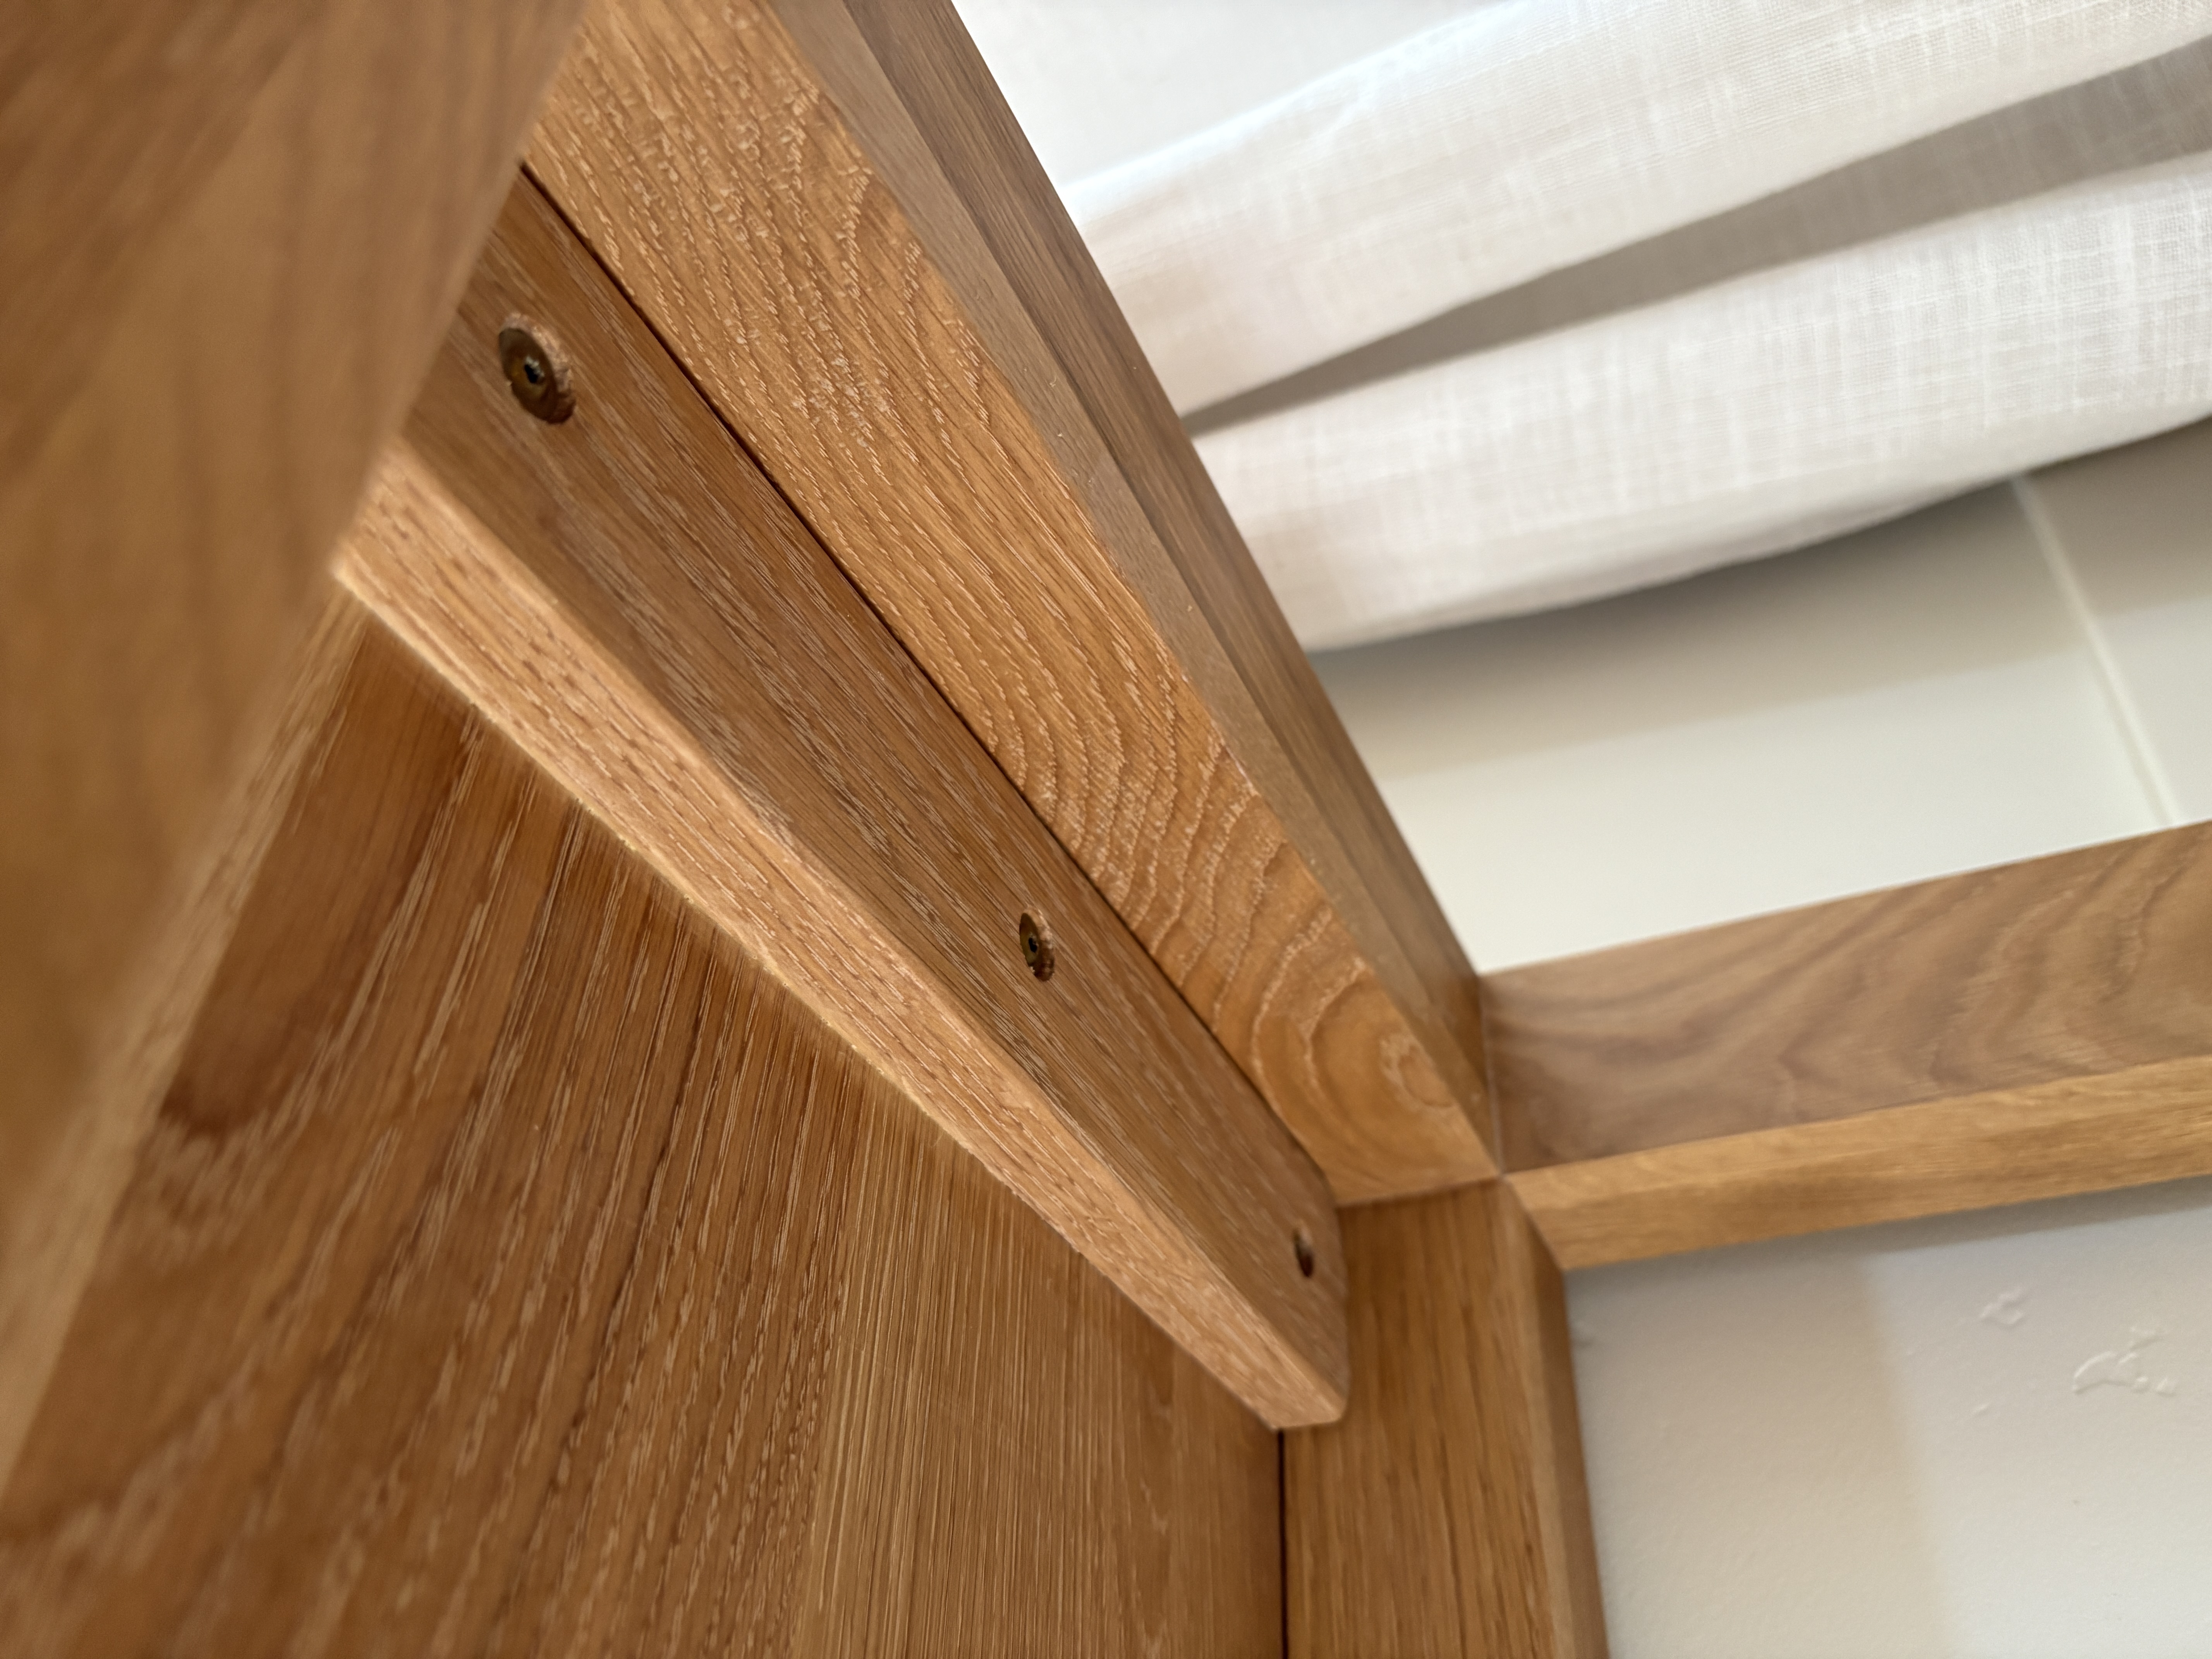
9. Build the Base
Construct the base as a separate piece to make the hutch easier to move.
Use 3/8″ dowels for all joints.
10. Attach the Base to the Main Body
Add wood strips to the underside of the hutch body so it locks in place on the base.
To align it correctly, place the main body on the base and then install the wood strips so they butt up against the inside edges of the base. This allows for easy alignment when assembling later.
11. Apply Finish
Apply Rubio Monocoat 5% Smoke to the white oak.
Spray the drawer boxes with a clear lacquer.
12. Install the Drawers
Use Blum under-mount drawer glides.
Align and attach the drawer fronts using the card trick (placing cards as spacers for even gaps).
13. Install the Doors
Use Blum soft-close hinges.
Align the doors using the card trick before screwing in the hinges.